This post may contain affiliate links. Please read our disclosure policy.
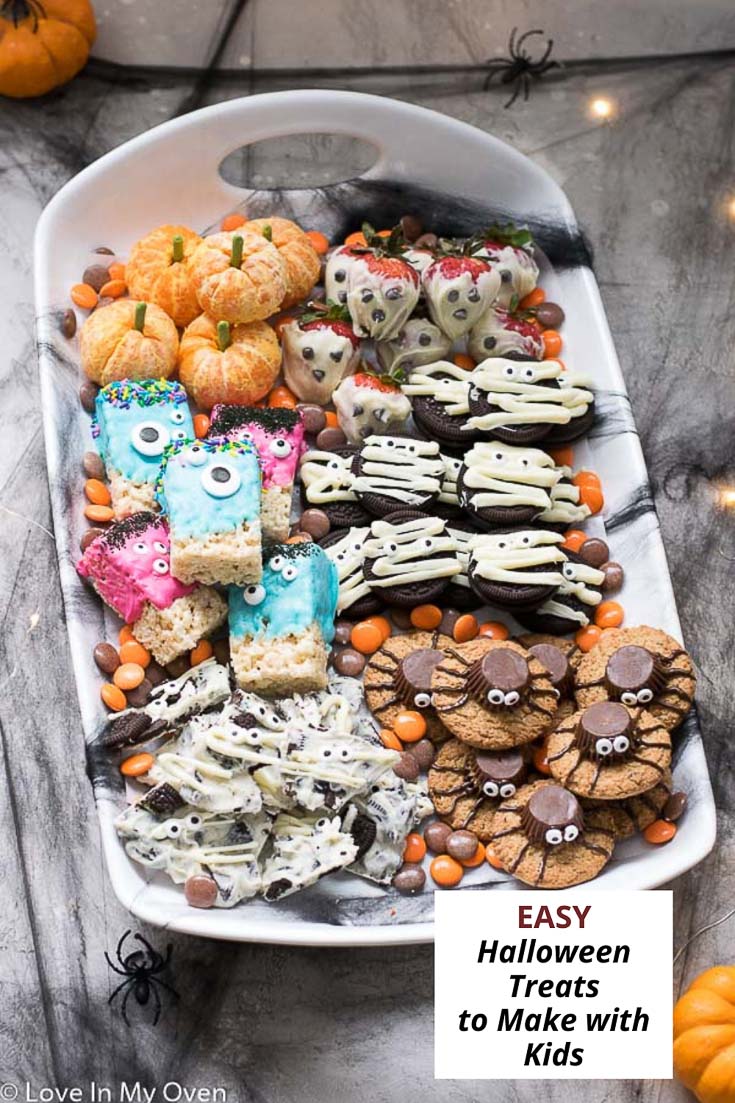
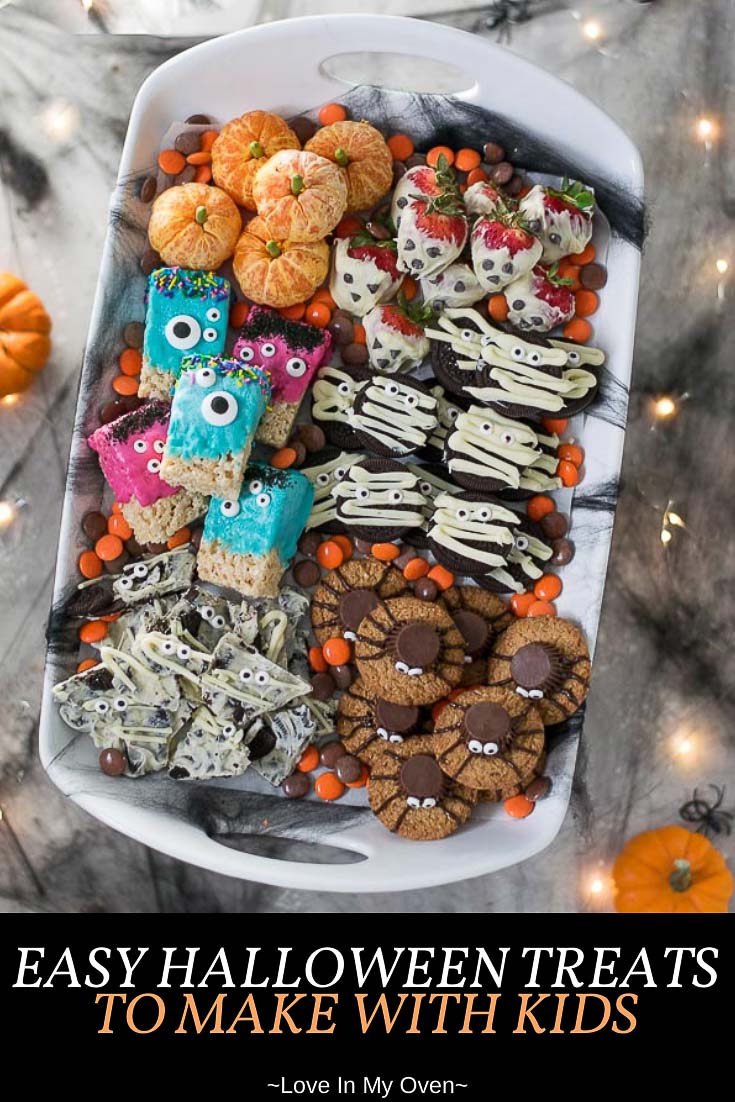
Make things a little spookier this Halloween with these 3 ingredient Halloween treats to make with kids! You can make these easy Halloween treats for school or for a party. All of the treats are easy enough for kids to help with!
More Halloween treats from the blog include this no churn Halloween ice cream, Halloween fudge, and fun Halloween cake pops!
I don’t think I’ve made it any secret that I LOVE Halloween! Such a fun holiday. I have good memories of trick-or-treating as a kid (ok, and as a teen) and memories of carving pumpkins and doing Halloween-y crafts with my family. We’d always make little ghosties for the tree out of old rags stuffed with tissue and newspaper. It’s funny, now that I’m a Mom, I really appreciate all of the things that my parents did for us when we were kids. All of these activities that I have memories of took TIME and effort! But it’s all worth it, and I know these years are going to go by fast!
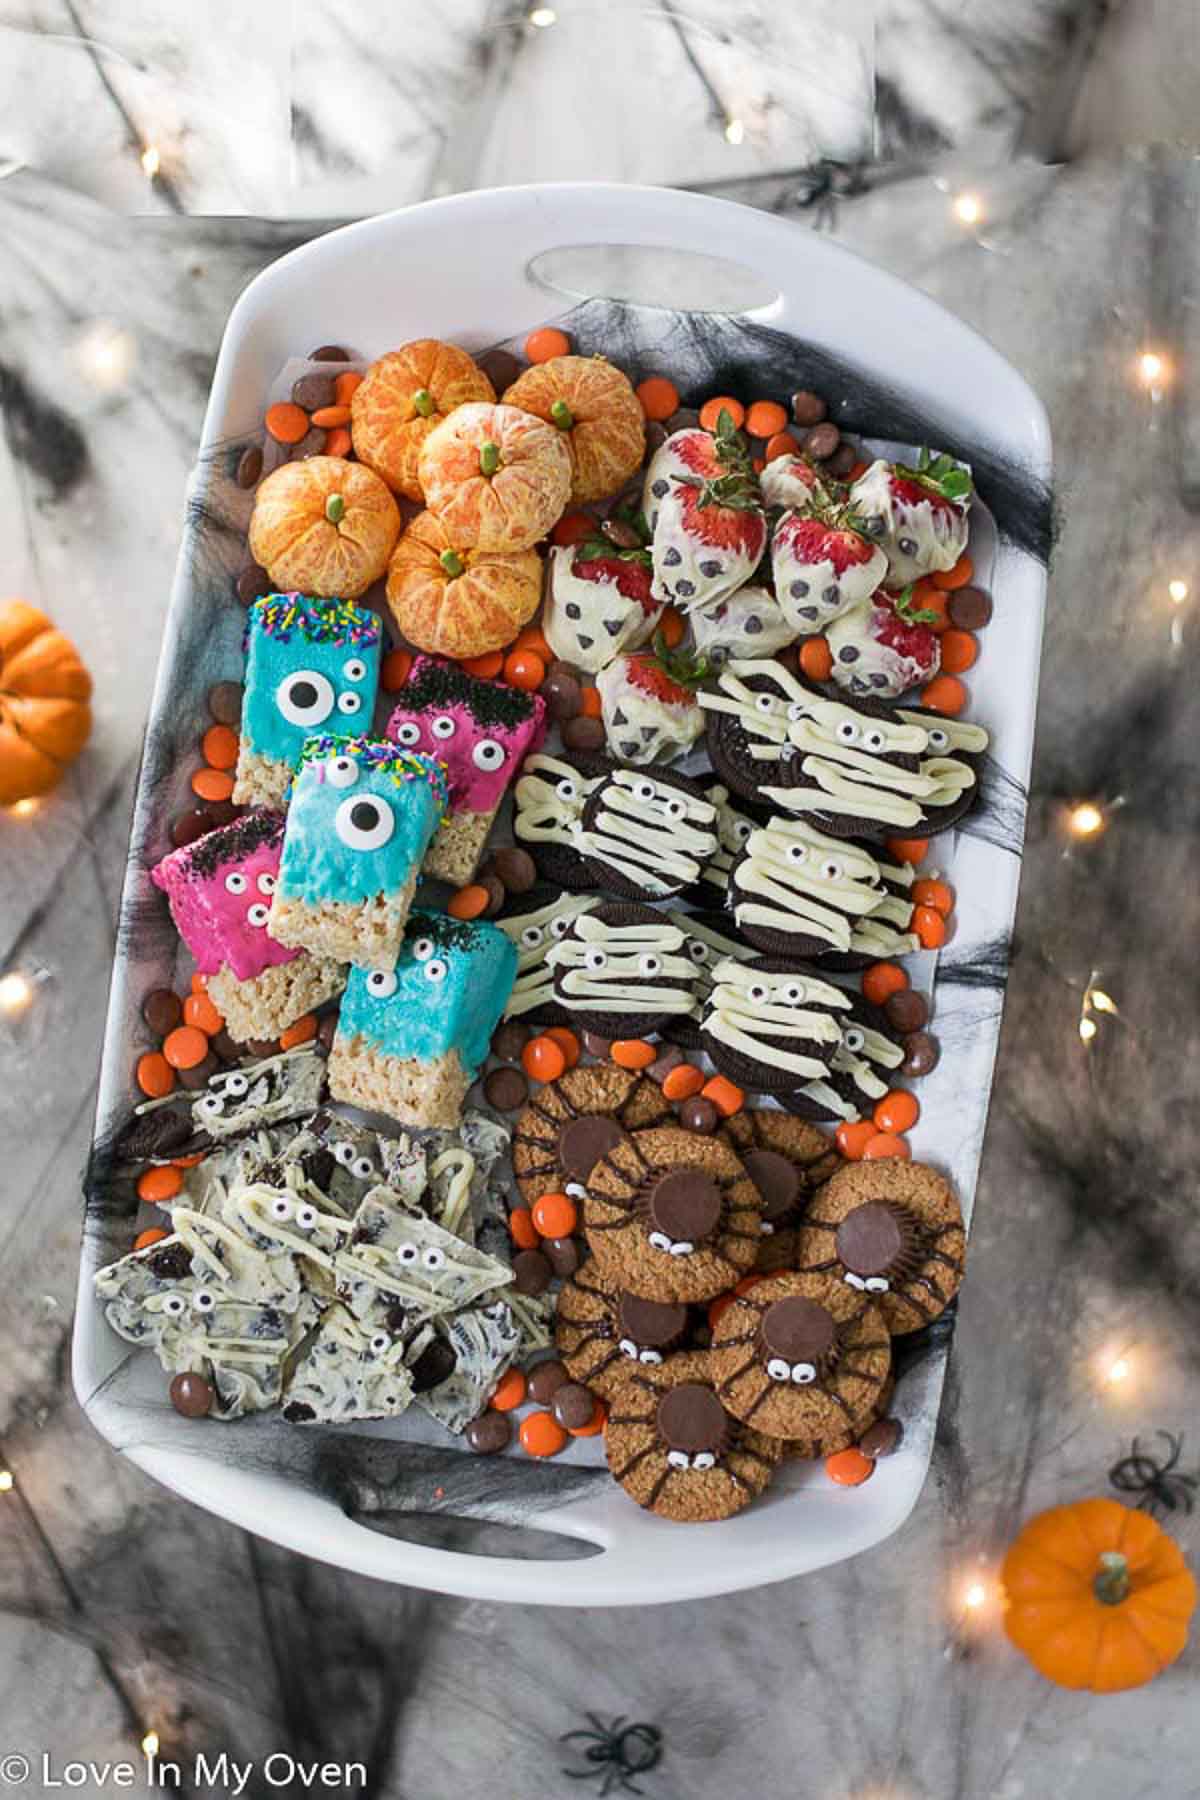
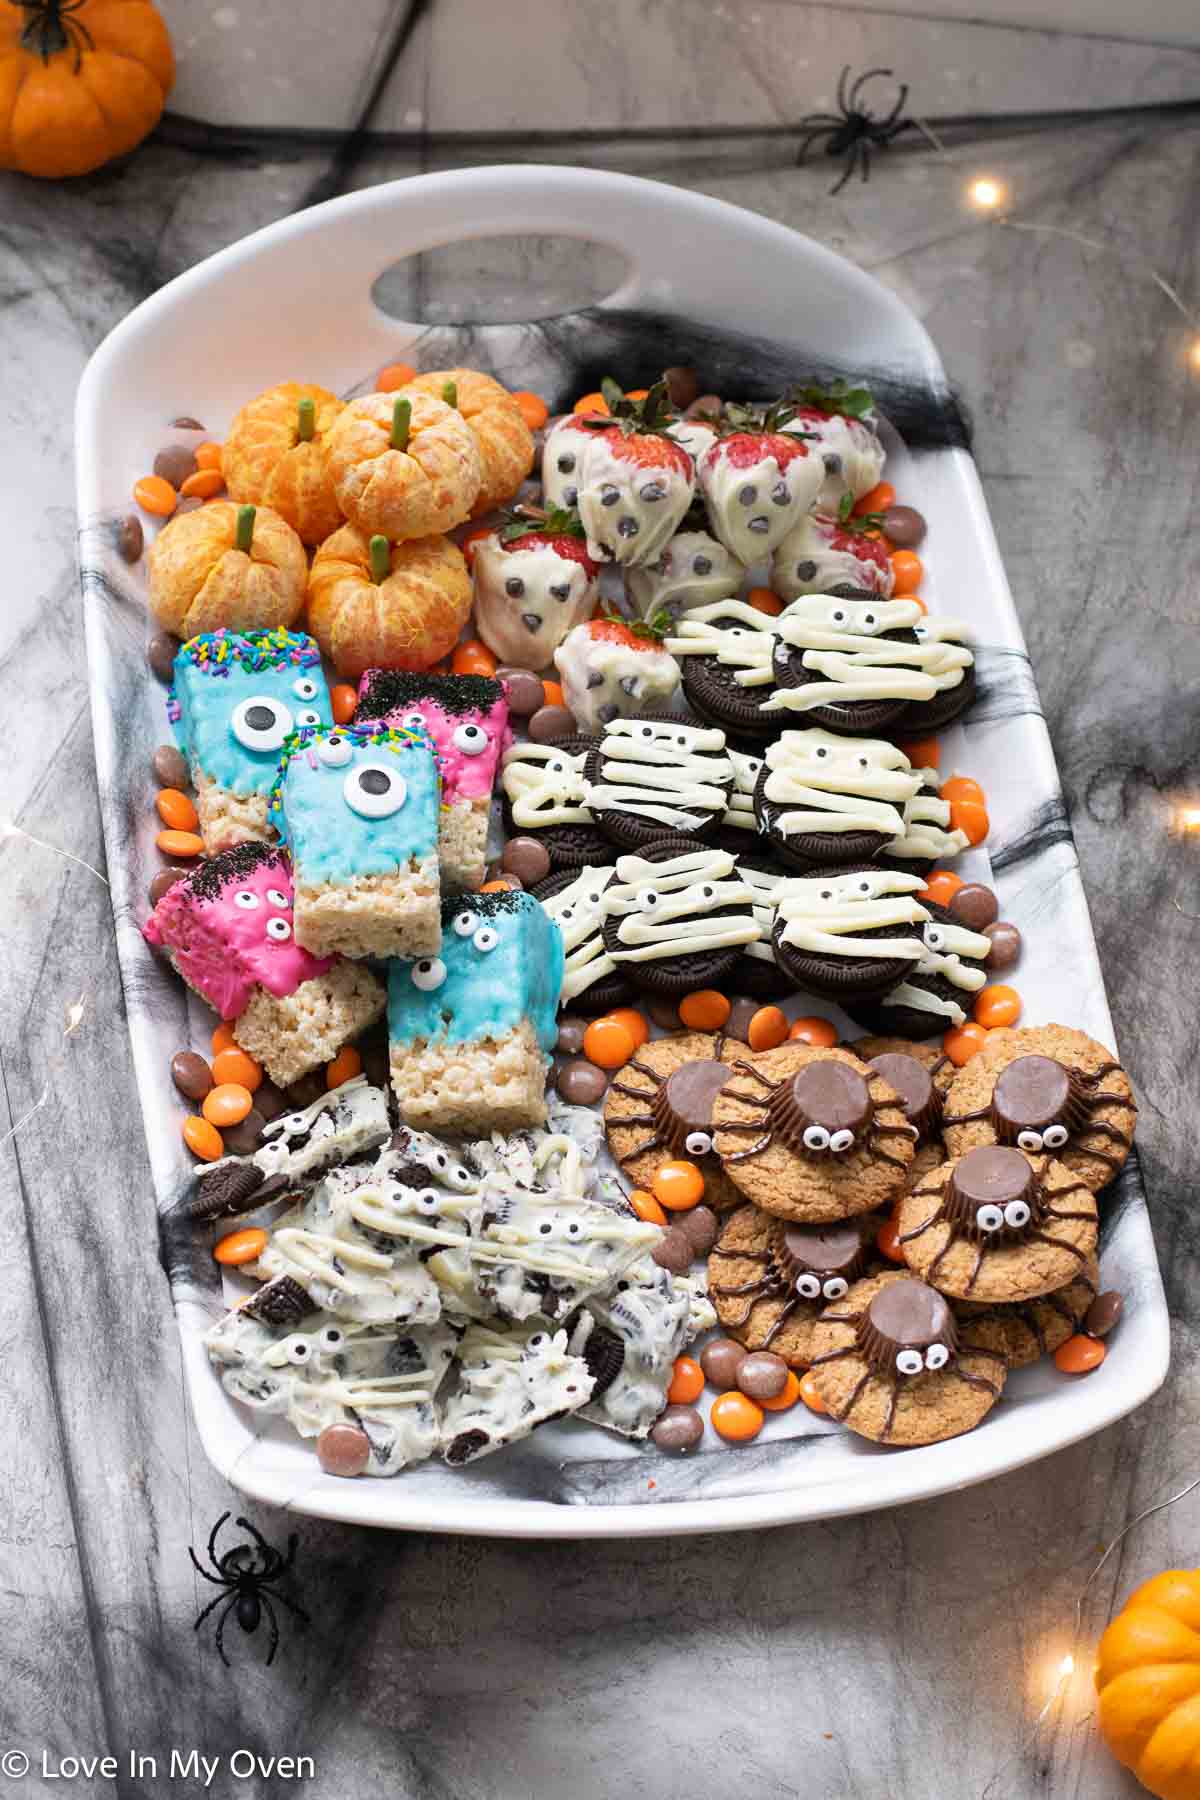
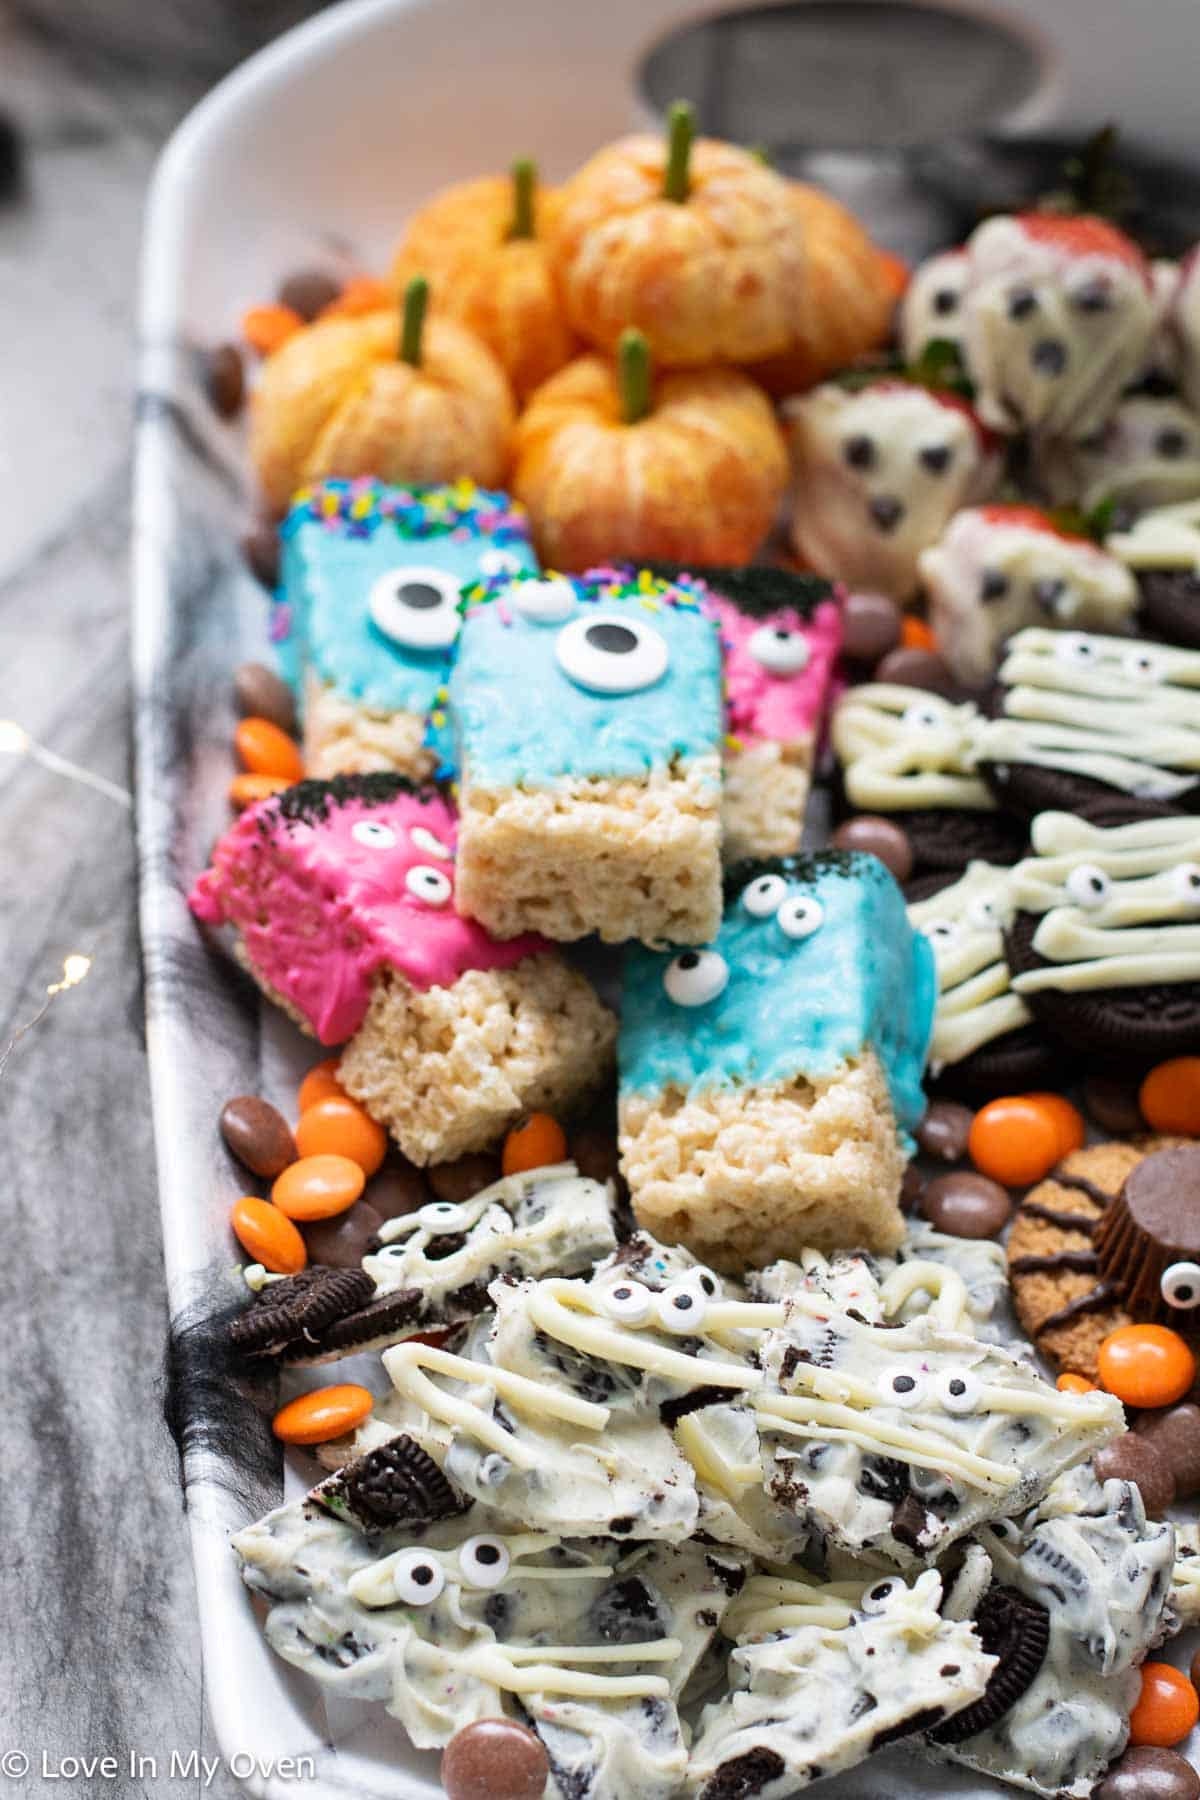
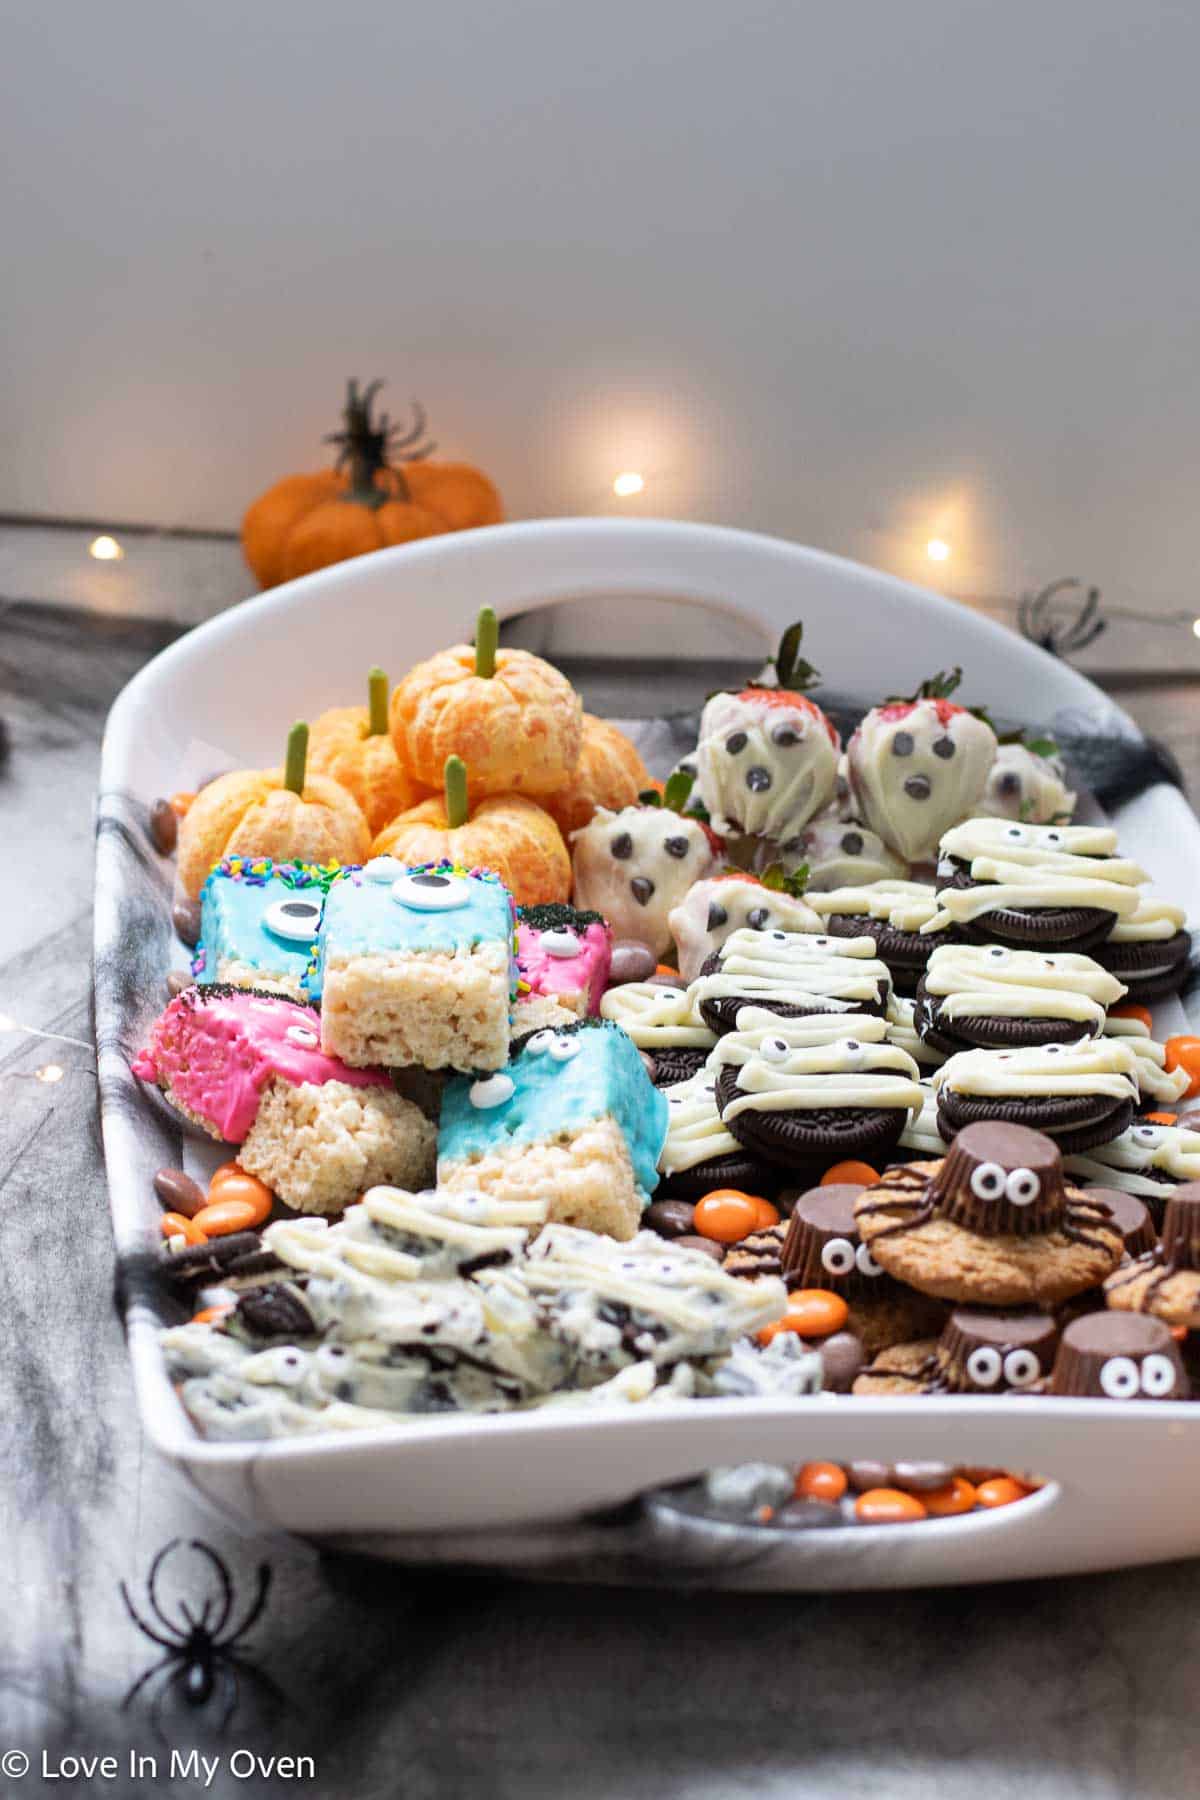
One of my other favorite things to do with the munchkins is make some cute little Halloween treats. Everything on this platter can easily be done with kids. Some of the more intricate things, like putting the “legs” on the spider cookies, you’ll want to do yourself, but there’s something they can help with for every treat!
I used this beautiful platter from Williams Sonoma Canada to display all of the goodies. It’s large and lightweight, and cleans up easily. I love it!
The way I’ve written this post is to have each treat written up below, with its own recipe. If there’s just one that you want to make it will be easy for you to find below! Each one takes only a few minutes of time, too – and of course – they are only 3 ingredients each! Or less 🙂
Happy Halloweening!
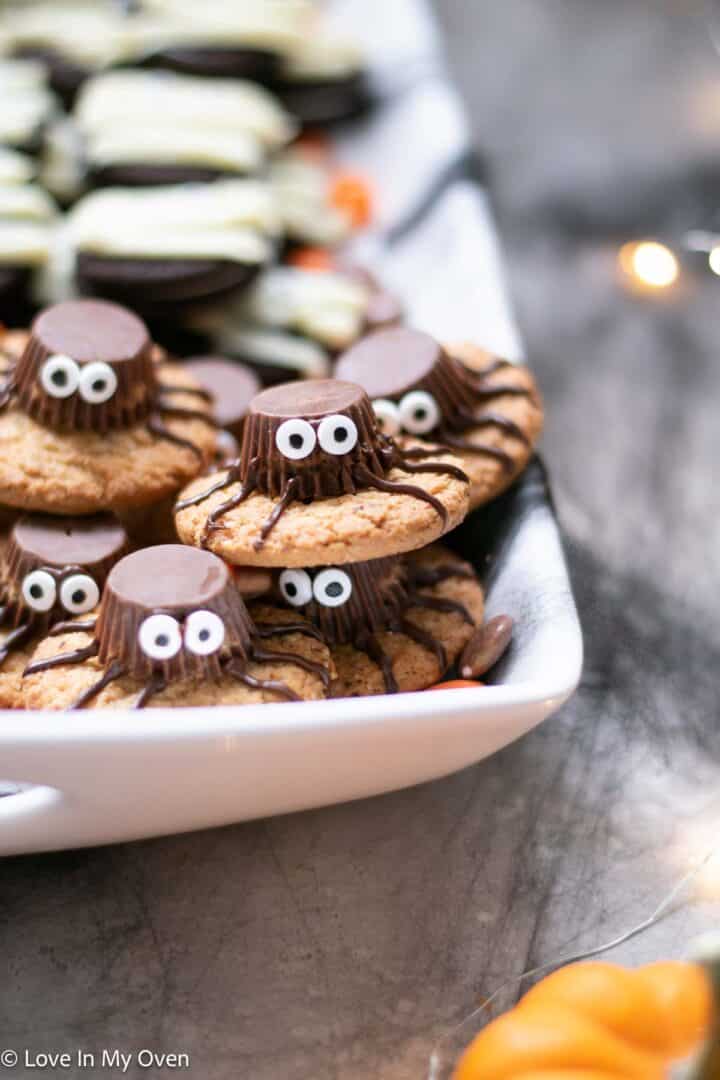
Peanut Butter Spider Cookies
These cute little spider cookies are my favorite of the bunch – mostly because I’m a huge fan of Reese’s. You’ll love these!

Peanut Butter Spider Cookies
- Total Time: 10 minutes
- Yield: 12 cookies 1x
Description
These cute little spider cookies are made of a peanut butter oatmeal cookie, topped with a mini Reese’s peanut butter cup and drizzled with a bit of chocolate for the legs!
Ingredients
- 12 peanut butter cookies (store-bought or homemade)
- 12 mini Reese’s peanut butter cups
- 1/4 cup semi-sweet chocolate, melted
- optional: 24 mini candy eyeballs
Instructions
- Melt the chocolate in a double boiler or in the microwave, stirring every 30 seconds until smooth and melty. Transfer the chocolate to a piping bag or Ziploc bag with a tiny bit of the end snipped off.
- Place a tiny bit of melted chocolate in the middle of a peanut butter cookie then press a mini peanut butter cup on top. Using the piping bag, create 8 “legs” with the chocolate, 4 on each side. Repeat with remaining cookies.
- Use a bit of the melted chocolate on the front of the Reese’s peanut butter cup and place 2 mini candy eye balls on top, pressing them on.
Cookies will keep at room temperature, for 5-6 days or in the freezer for up to 2 months.https://www.chelseasmessyapron.com/3-ingredient-halloween-treats/
Notes
*Recipe adapted from Chelsea’s Messy Apron.
- Prep Time: 10 minutes
- Category: cookies
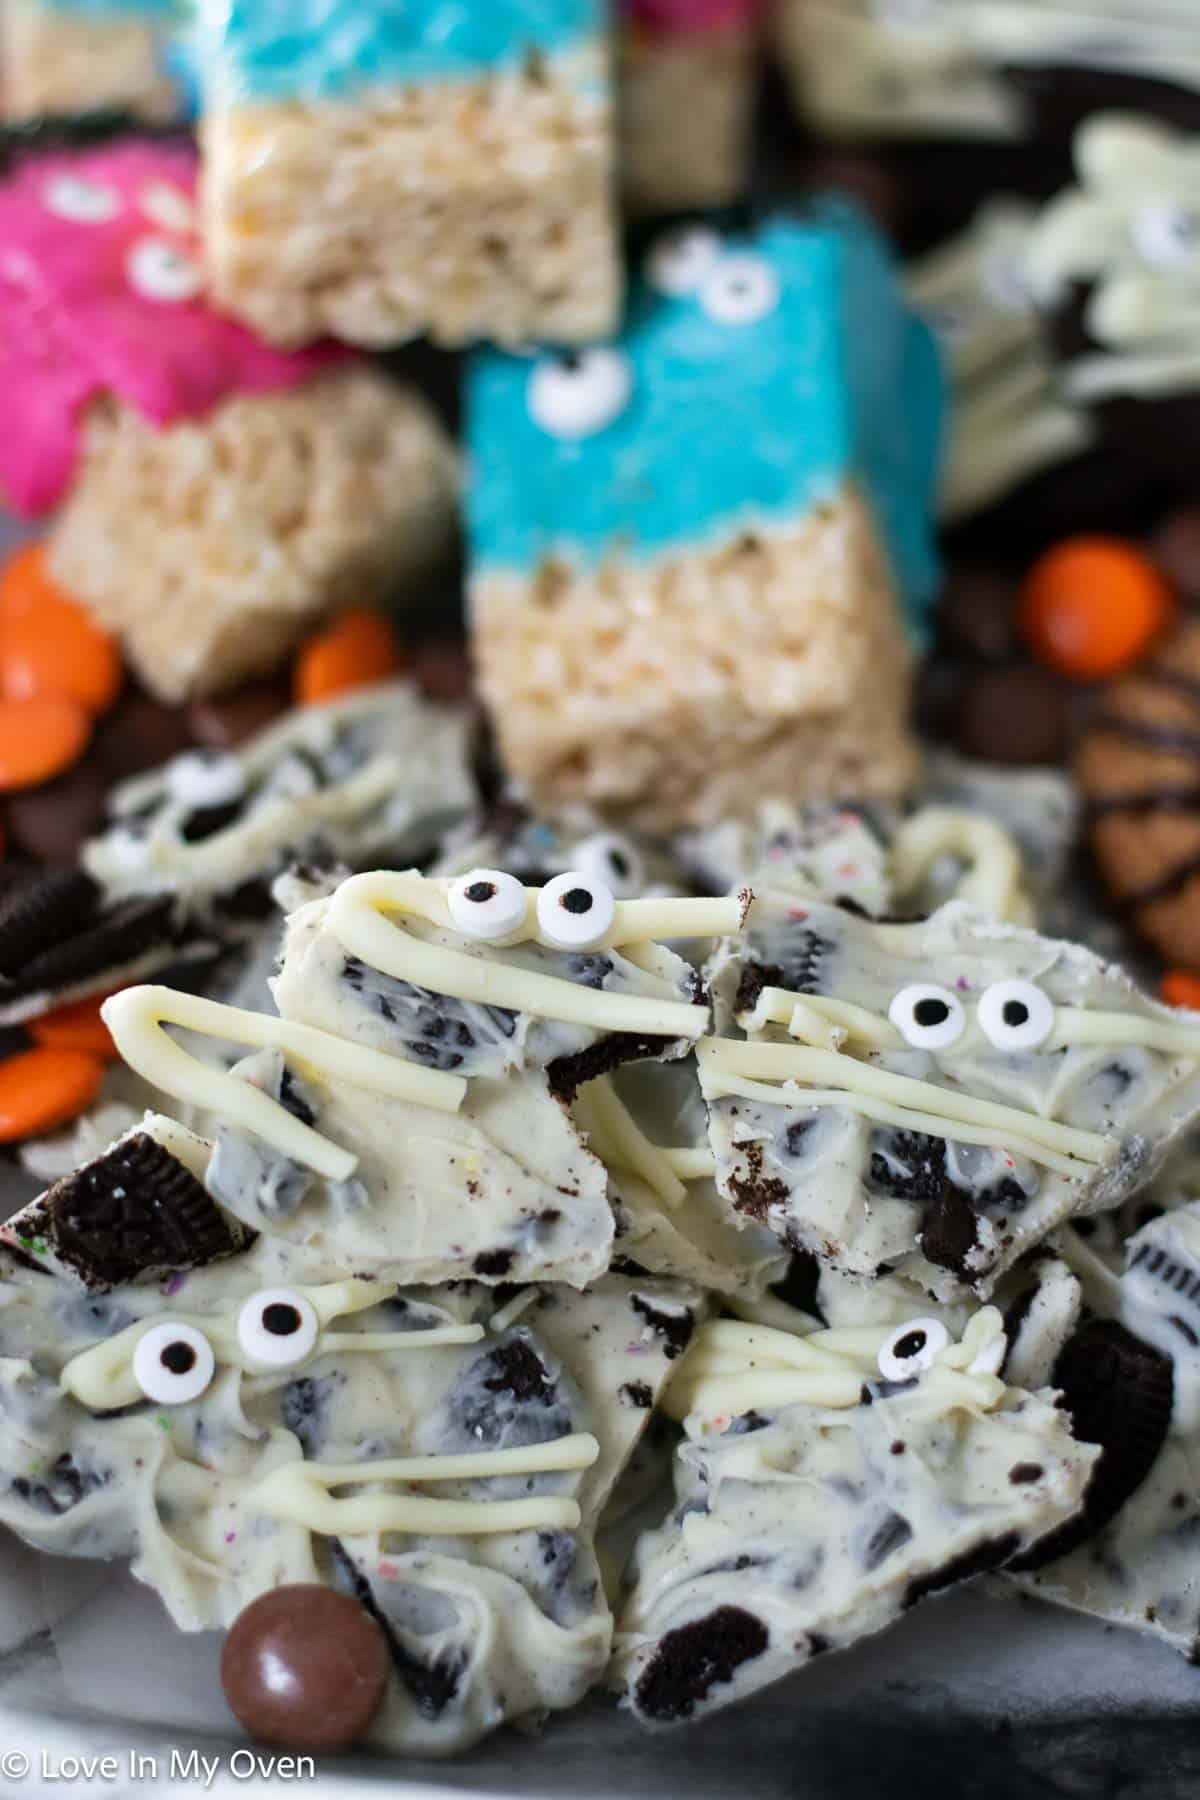
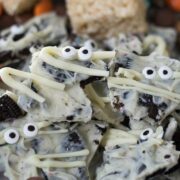
Mummy Cookies and Cream Bark
If you’re a fan of cookies and cream you will LOVE this white chocolate bark. It’s crazy easy and so good! Mix in some chopped up Oreos for that classic cookies and cream flavor and add some little eyeballs on for the spooky effect!
Mummy Cookies and Cream Bark
- Total Time: 10 minutes
- Yield: 20 pieces 1x
Description
You might want to call YOUR mommy after making this cookies and cream mummy bark! Made with only 3 ingredients and only 5 minutes of time, you’ll love it!
Ingredients
- 2 cups white chocolate
- 8 Oreo cookies
- 1/4 cup mini candy eyeballs
Instructions
- Chop up the Oreo cookies and set aside. Line a baking sheet with aluminum foil. In a microwave safe bowl (or use a double boiler) melt the chocolate chips in the microwave in 30 second increments at 70% power, stirring in between until the chocolate is smooth and creamy. Place 1/4 cup of the chocolate into a Ziploc bag or piping bag, then stir in the chopped up cookies to the remainder.
- Pour the chocolate out on to the foil, using the back of a spoon to spread the chocolate out – thin and even. Place the chocolate in the fridge to harden for about 5 minutes. Remove chocolate, then drizzle the remaining white chocolate all over the bark, creating “mummy” lines. Place sets of eyeballs together all over the drizzled chocolate, pressing them in. Place the chocolate back into the fridge for 10 minutes, before removing and breaking into pieces, keeping the eyeball sets together.
Chocolate bark should be stored in the fridge, for 4-5 days.
- Prep Time: 10 minutes
- Category: candy
- Method: microwave
Easy Orange Pumpkins
These oranges don’t even require a recipe card, they’re SO stinking easy! All you need is mandarin oranges and something green for the stem. I used the tip of a matcha flavored Poky stick, but you could use a green Tic-Tac, or a green Mike & Ike candy. Anything that shape and color will work! Just take a mandarin orange, peel it, and place the “stem” inside. Voila!
The oranges are ok to leave at room temperature (or pack into a lunch) for 5-6 hours but after that they’ll start to dry out without their peel!
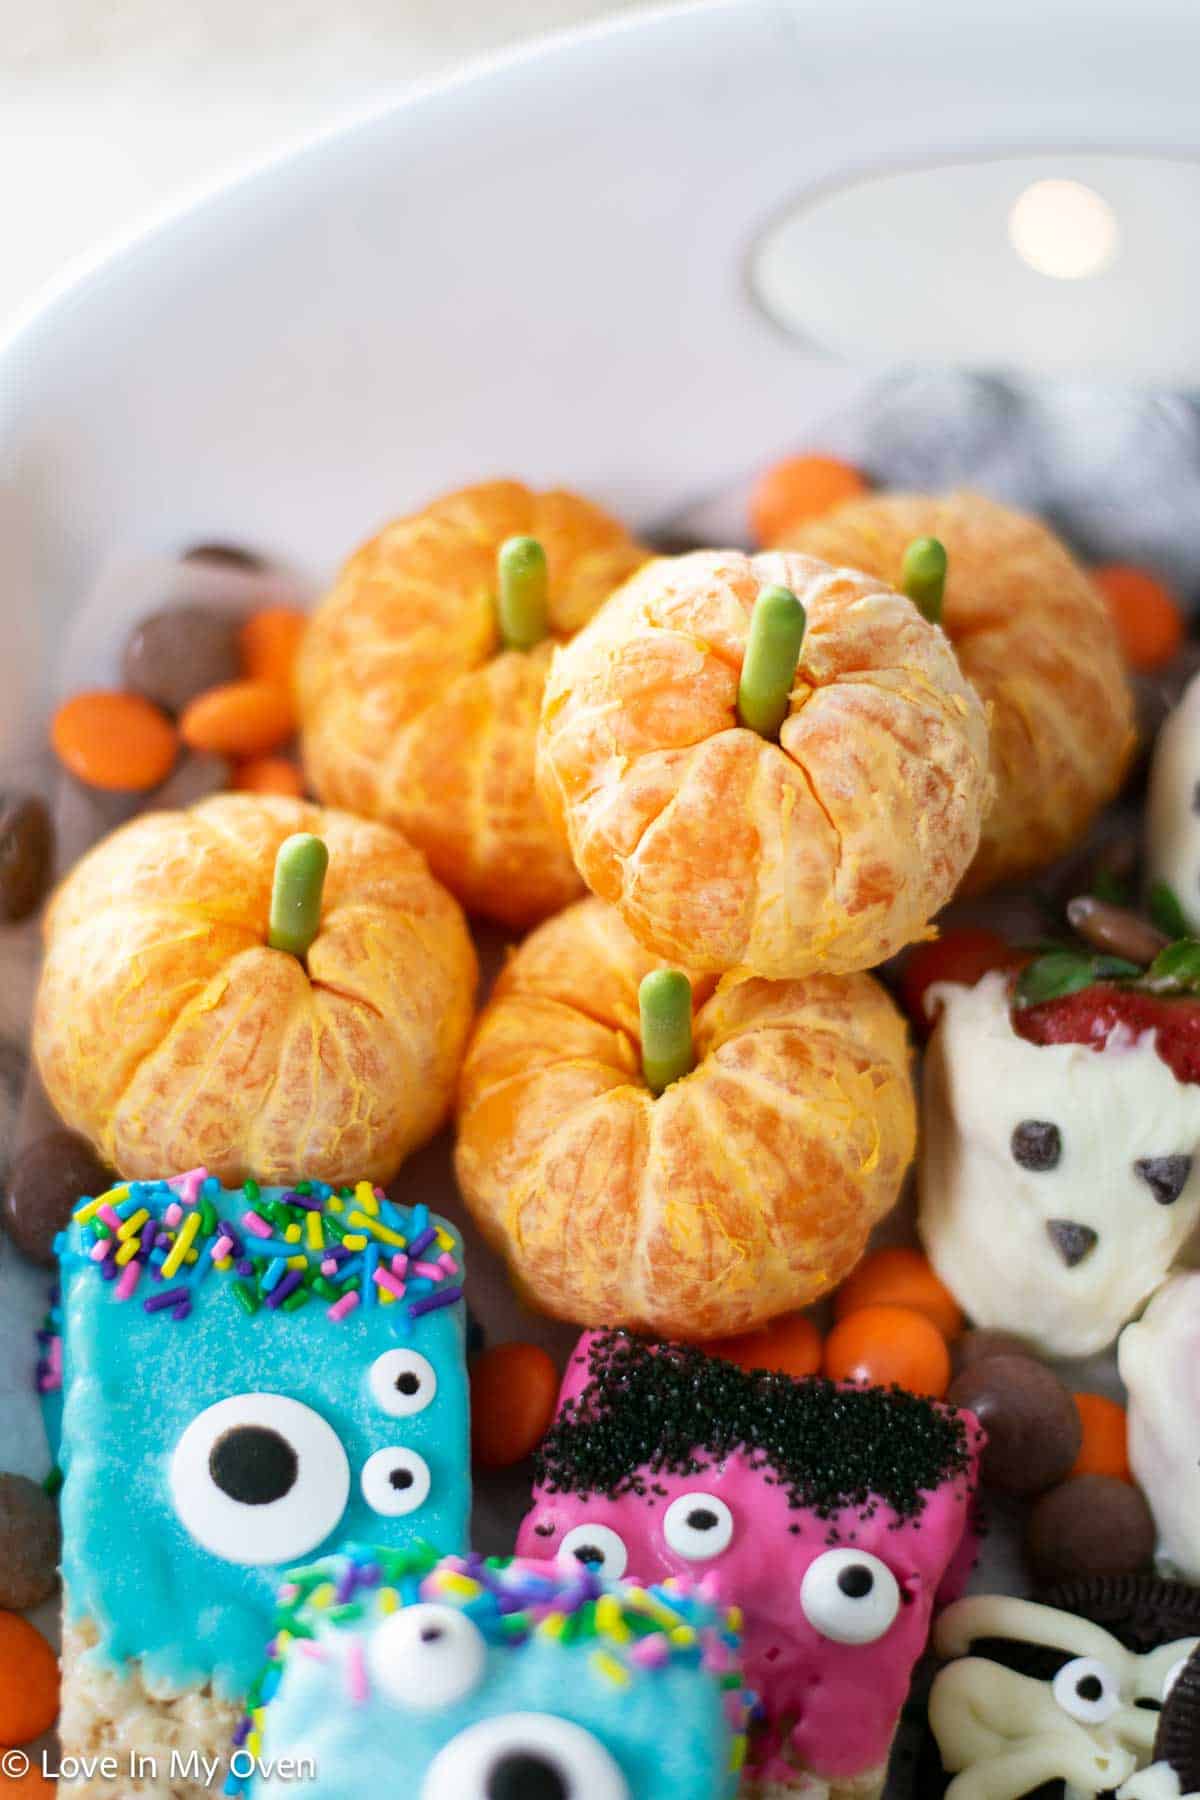
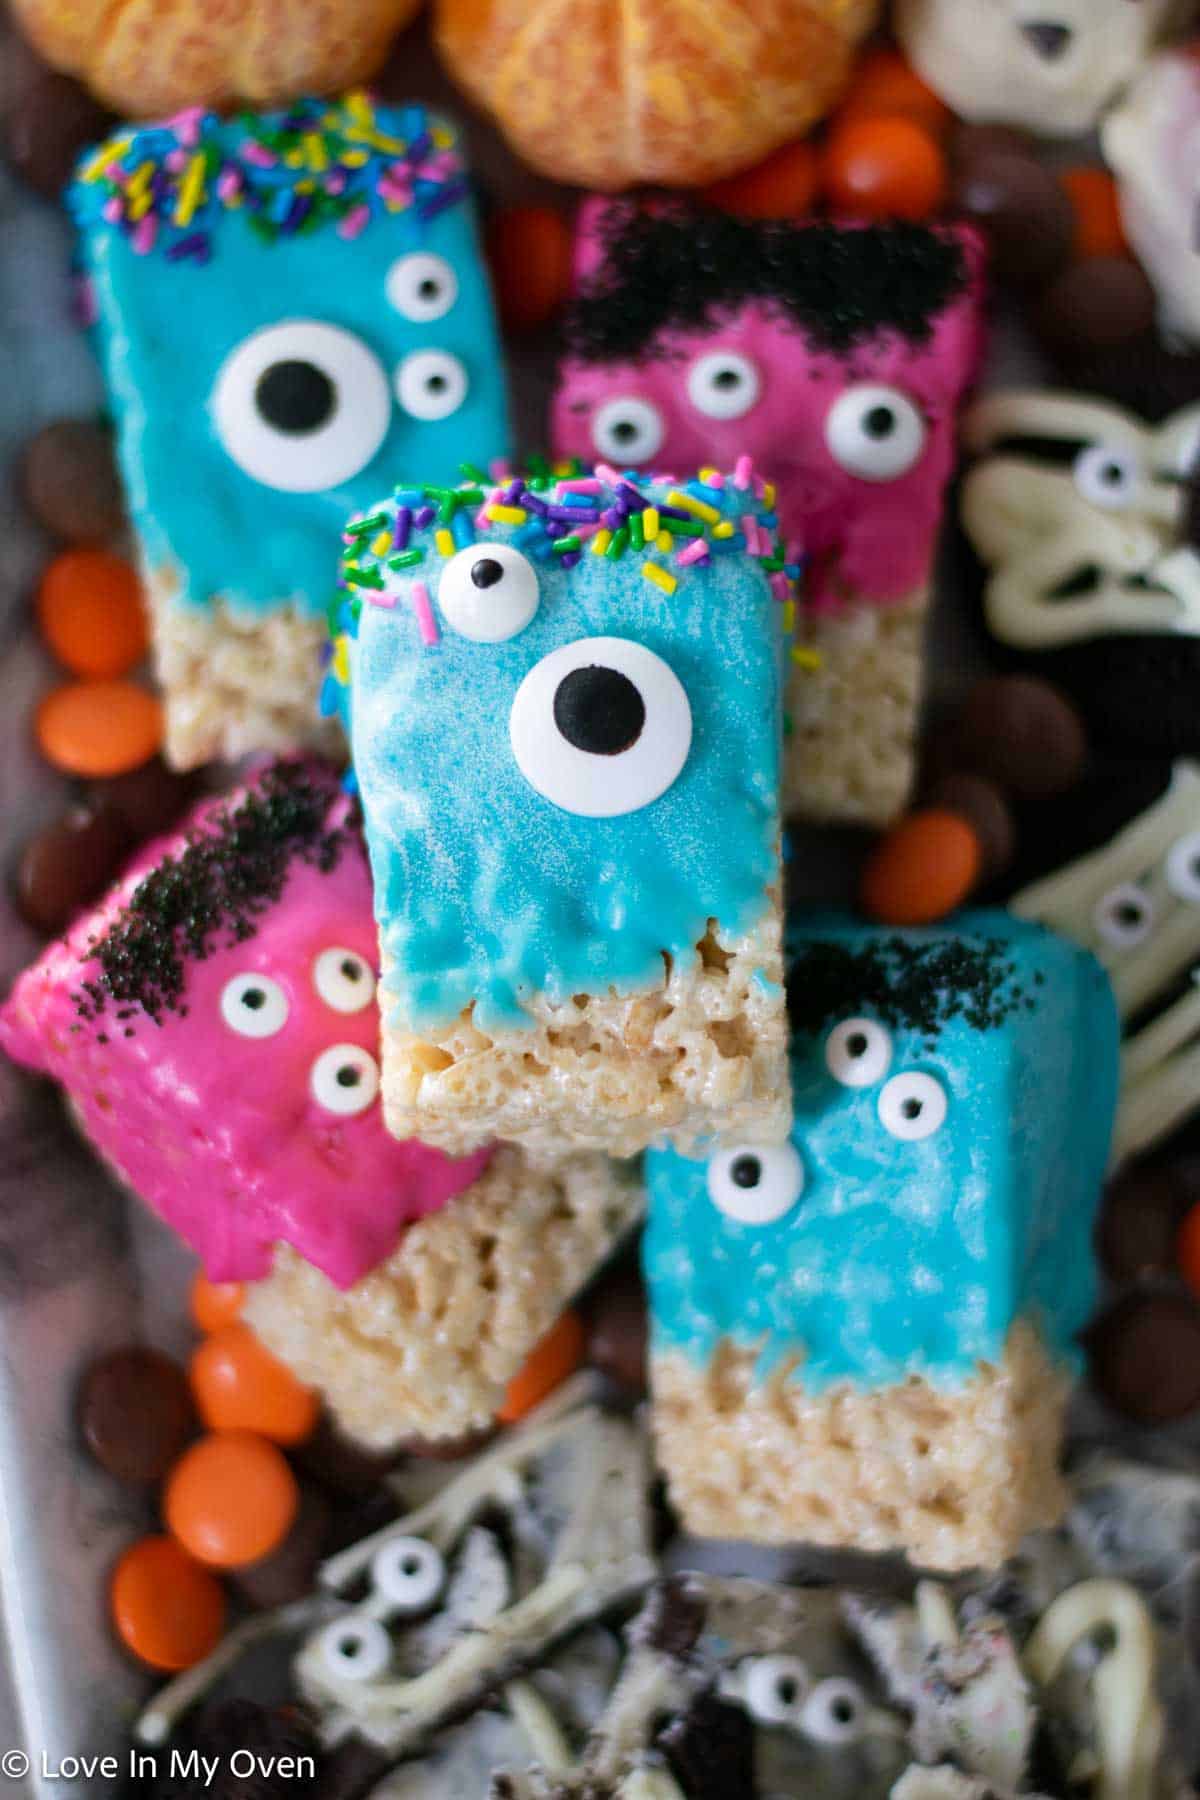
Rice Krispie Monsters
Of all the easy Halloween treats to make with kids, this one is the most fun!! My kids LOVED these. If you have your favorite Rice Krispie square recipe, you can use that, OR you can use the store-bought Rice Krispies to make these even easier.
Use any color of candy melt you want, as well as any color of sprinkle! So fun! These also make a terrific little treat to pack into school lunches.

Monster Halloween Rice Krispie Squares
- Total Time: 10 minutes
- Yield: 8 bars 1x
Description
These super cute little monsters are not only easy to make, they’re delicious! You only need 2 ingredients for these adorable Halloween treats!
Ingredients
- 6 oz candy melts (in any color)
- 8 Rice Krispie squares (homemade or storebought)
- 1/4 cup assorted candy eyeballs
- optional: sprinkles for decorating
Instructions
- Line a baking sheet with parchment paper and set aside. In a microwave-safe bowl, melt the candy melts in the microwave in 30-second increments, at 70% power, stirring each time until smooth. Stir until smooth.
- Holding the end of a Rice Krispie square, dip it into the melted chocolate until it’s covered 3/4 with chocolate. Hold it up to let the excess chocolate drip off. Place the square on the baking sheet. Immediately press in various candy eyeballs, and add the sprinkles, if using. Repeat with remaining squares. Place the squares in the fridge for 10 minutes until the chocolate is hardened.
Squares remain fine at room temperature for 4-5 days, in an airtight container.
Notes
*Recipe adapted from Chelsea’s Messy Apron.
- Prep Time: 10 minutes
- Category: snacks
- Method: microwave
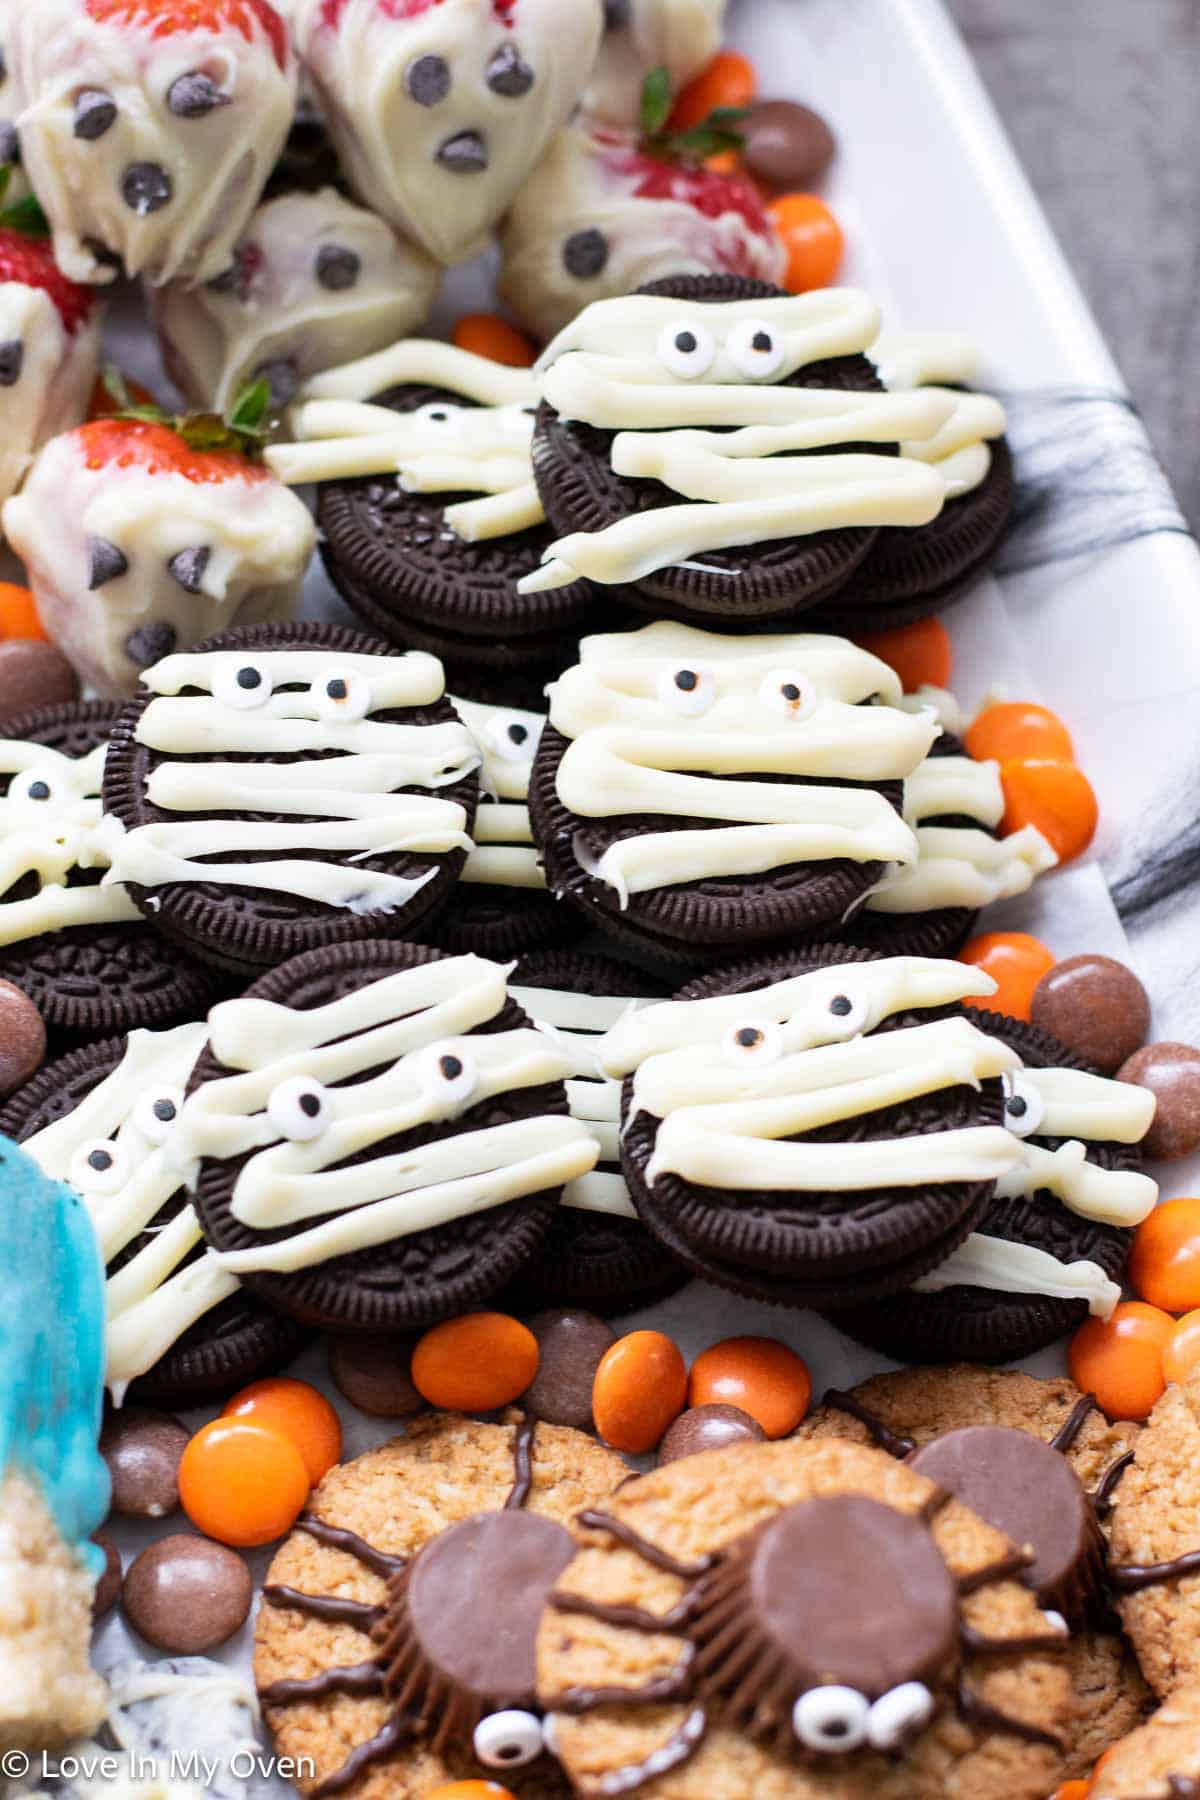
Strawberry Ghosts
These 3 ingredient strawberry ghosts are so super easy and soo delicious! If you haven’t had a white chocolate covered strawberry yet, you need to try these! Add in a few mini chocolate chips to create a spooky little ghost face and you’ve got yourself another perfect treat for kids (or adults)!


Strawberry Ghosts
- Total Time: 10 minutes
- Yield: 12 strawberries 1x
Description
These cute little strawberry ghosts are super easy and super DELICIOUS! White chocolate and strawberry is a great combination!
Ingredients
- 12 fresh strawberries
- 4 oz white chocolate chips
- 36 mini chocolate chips
Instructions
- Clean the strawberries and pat them dry with a paper towel. Let the strawberries come to room temperature, about 1 hour. Line a baking sheet with parchment paper and set aside.
- In a microwave-safe bowl or using a double boiler, melt the white chocolate at 70% power in 30 second increments, stirring in between until the chocolate is smooth. Grab the strawberries by the leaves, then dip them into the white chocolate, allowing the excess to drip off. Place the strawberry on the parchment paper then add the mini chocolate chips to create the ghost face. Place the strawberries in the fridge until hardened, about 5 minutes.
Strawberries will be ok at room temperature for a few hours, but leftovers should be refrigerated for 2-3 days.
- Prep Time: 10 minutes
- Category: snacks
- Method: microwave
Oreo Mummy Cookies
Another mummy cookie! These Oreos are cute, easy and always a fan favorite. My kiddos love Oreos, so adding a bit of white chocolate on top is just the “icing” on the….cookie? Another recipe using cute little candy eyeballs!

Oreo Mummy Cookies
- Total Time: 10 minutes
- Yield: 10 cookies 1x
Description
These super cute little Oreo mummy cookies are a great lunchbox treat and even better party treat!
Ingredients
- 10 Oreo cookies or other chocolate sandwich cookies
- 4 oz white chocolate chips
- 2 tbsp candy eyeballs
Instructions
- Line a baking sheet with parchment paper. Line up the Oreo cookies side by side on the baking sheet. In a microwave-safe bowl or using a double boiler, melt the white chocolate in 30 second increments, at 70% power, stirring until smooth and creamy.
- Scrape the melted white chocolate into a Ziploc bag or piping bag and cut the tip off the bag. Drizzle the chocolate back and forth across the cookies until the cookies are covered. Place two mini candy eyeballs on each cookie. Place the cookies in the fridge until the chocolate is hardened.
Cookies can be kept at room temperature for 1-2 weeks in an airtight container.
- Prep Time: 10 minutes
- Category: cookies
- Method: microwave
How excited are you for these easy Halloween treats to make with kids?! They can be whipped up in no time, which means you can create a fun treat platter like this one for Halloween, or make them this week so you can give your kiddos a treat in their lunchbox this week!
We’ve been snacking on these treats for the past couple of weeks!
Enjoy!
Some other Halloween treats to make this week:


That is such a gorgeous platter from Williams Sonoma… I can’t think of a nicer way to serve up goodies!
Thanks Heidi!! It is so perfect for so many uses!!