This post may contain affiliate links. Please read our disclosure policy.
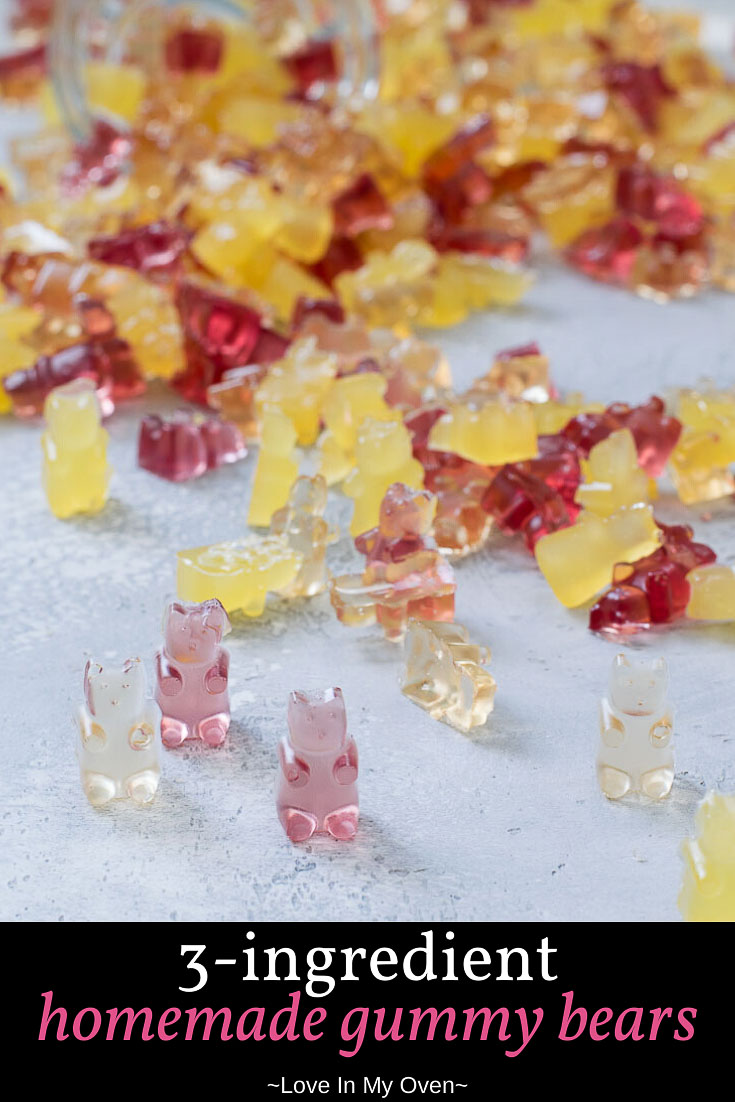
You’ll never buy gummy bears again after trying this healthy gummy bear recipe! With zero refined sugar, these 3-ingredient homemade gummy bears are a terrific treat for you and your kids!
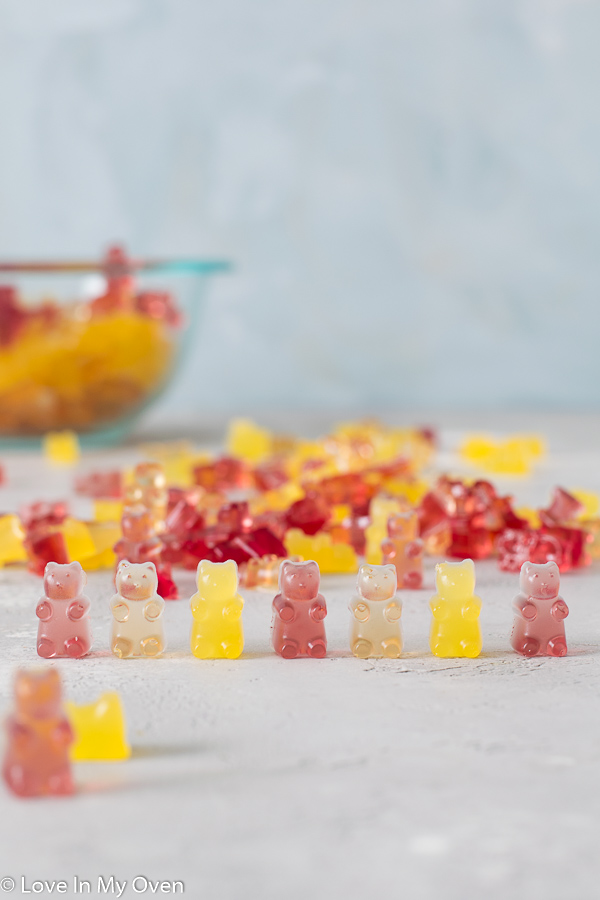
HOMEMADE GUMMY BEARS!!!
I feel like this is a perfect time to kick off my 3-ingredient recipe campaign BECAUSE:
- we all need ALL the recipes right now with only a few ingredients
- gummy bears are happy and we could all use a little more “happy”
- everyone is spending a little more time in the kitchen these days!
I’ve been trying my best to do some educational things with my oldest while he’s missing out on kindergarten, but truthfully it’s been more of a school of hard knocks (HAH – just kidding). But only kind of kidding, because him and Wally wrestle at least 75% of the day.
Other than the wrestling part of our day, I’ve been making something in the kitchen with the kids every day. Although this means we’re eating a lot of giant cookies and cakes, it also means good bonding!
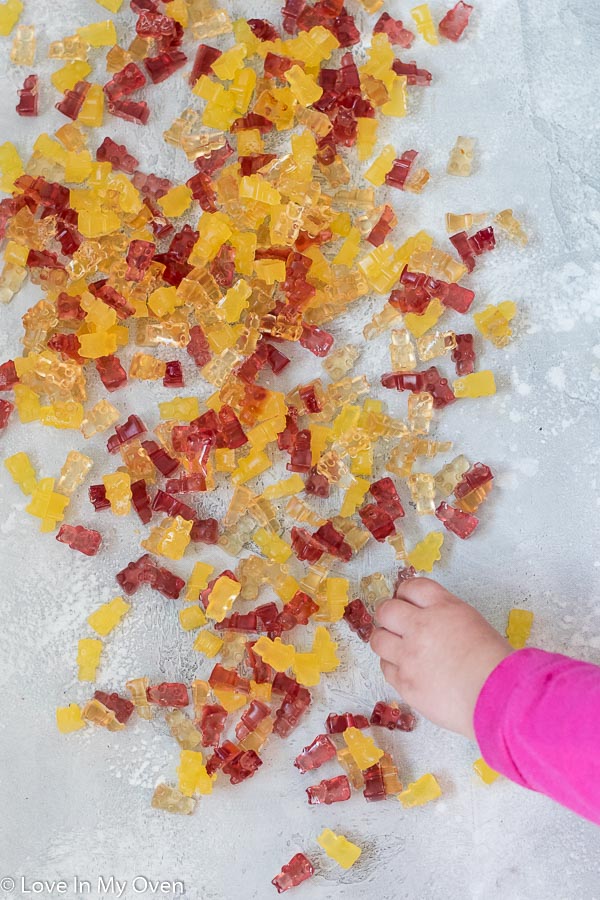
These gummy bears were a big hit with the munchkins, and the nice part is, they’re way healthier than the store-bought kind!
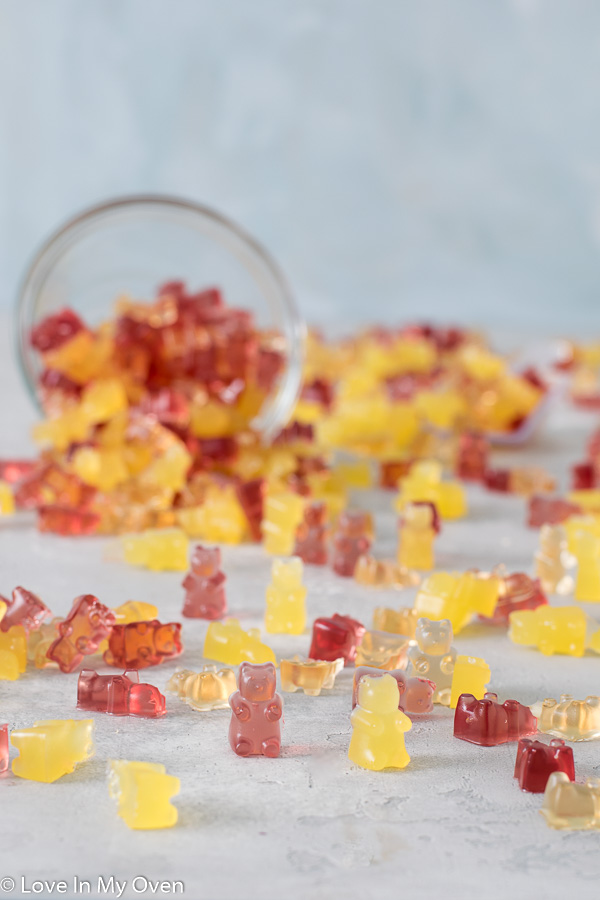
So, how do you make homemade gummy bears from scratch?
There’s a few different variations out there, but most recipes will consist of a few things (3 to be exact 😉 ):
- juice
- gelatin
- sweetener
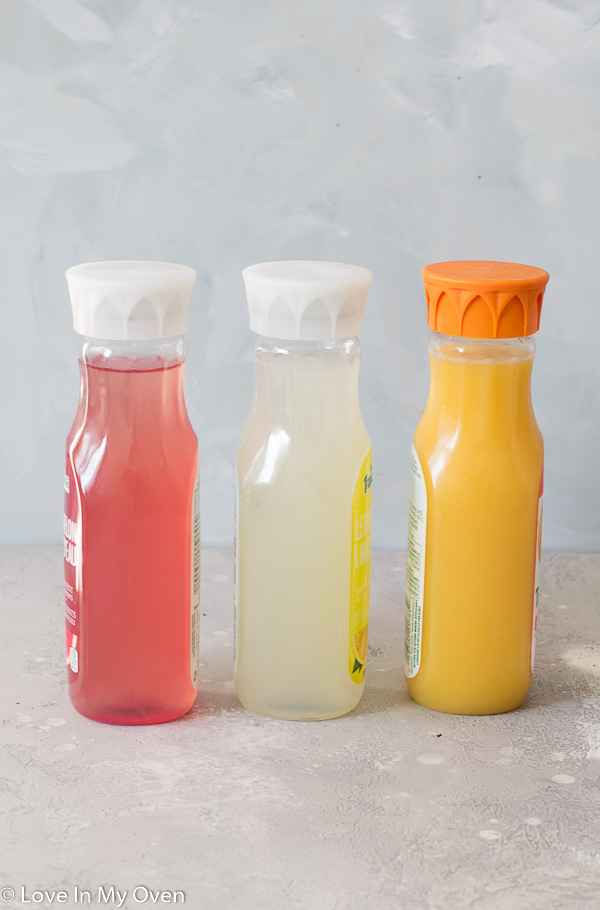
I use this gelatin from Vital Proteins because I like that it’s non-GMO and gluten-free. You can use whatever you like though, even the Knox you find easily at the store! For the juice, choose a few different flavors or even just one. Whatever you have on hand! For this particular recipe I used watermelon, lemonade and orange juice. They were great!
My sweetener of choice is maple syrup, but honey or agave would work just fine too.
You’ll want to start making your gummy bears by heating the juice, along with your sweetener of choice, in a medium saucepan over medium-high heat. Once things start bubbling, remove it from heat and sprinkle over the gelatin, using a whisk to incorporate everything.
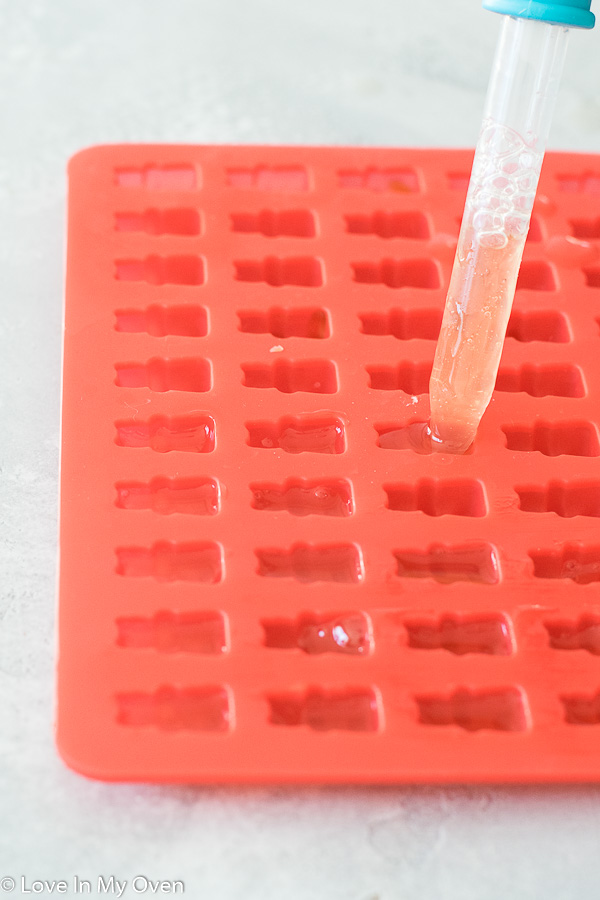
Now for the fun part – use a dropper syringe and silicone gummy bear mold to quickly fill up the mold. This is the mold I use, although you can really use any mold, it doesn’t even have to be a gummy bear mold!
Do homemade gummies need to be refrigerated?
You do have to refrigerate the gummy bears initially to let the gelatin set, but then they’re actually fine at room temperature for quite a while. I’ve had them out for the whole day and they’re still fine, but I would keep them in the fridge for any longer than that!
These gummy bears will last for 1-2 weeks, in the fridge. Not that they’ll last that long! My kids and I snapped these up within a couple of days!
Can we just admire this chubby little hand for a minute….!?
Can homemade gummy bears be made vegan?
Unfortunately, traditional gelatin is made of animal parts, so with that in mind, the gummy bears would not be considered vegan. You could potentially try using agar-agar in this recipe, although I’ve never tried it myself. If you do, let me know how it goes! I’d love to know.
Have some fun with these gummy bears and switch up the flavors! They’re a fun treat to make for your little ones.
The 3-Day Recipe Campaign Begins!
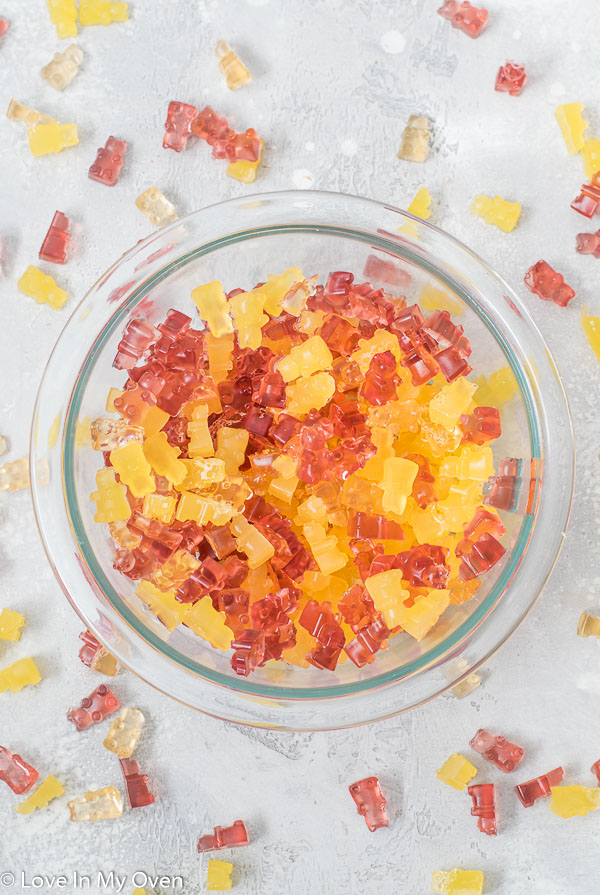
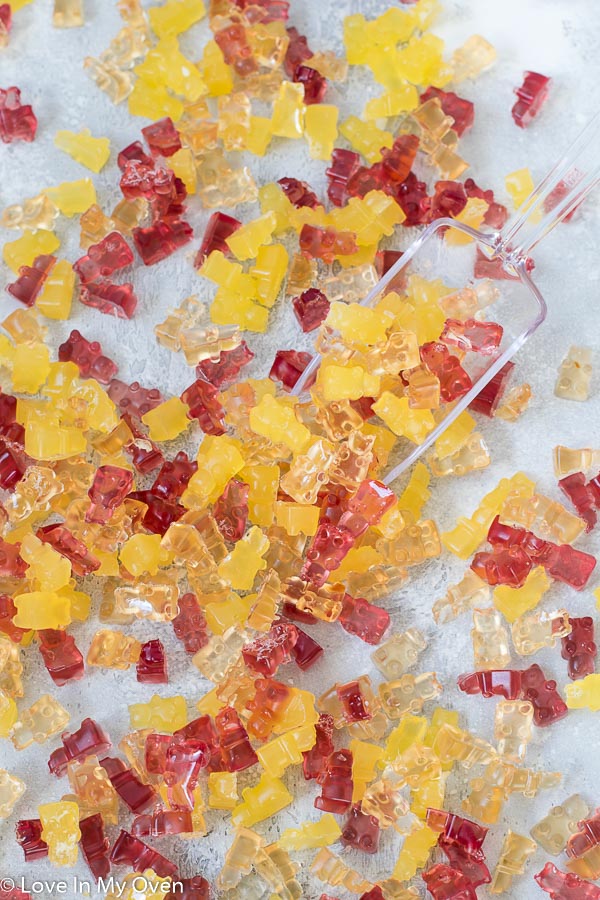
I’m just beginning this whole 3-ingredient thing, but I’ve already got a few on the blog to enjoy!
Psst – don’t forget to check out the video to see just how easy this recipe is!
Homemade Gummy Bears
- Total Time: 40 minutes
- Yield: 2 cups gummies 1x
- Diet: Low Calorie
Description
You’ll never buy gummy bears again after trying this healthy gummy bear recipe! With zero refined sugar, these 3-ingredient homemade gummy bears are a terrific treat for you and your kids!
Ingredients
- 1 cup juice (any flavor, no sugar added)
- 3 tbsp maple syrup*
- 4 tbsp plain gelatin
Instructions
- In a medium saucepan over medium-high heat, bring the juice and syrup to a gentle simmer. Remove the pan from heat and sprinkle the gelatin over the mixture, then whisk thoroughly until combined.
- Using a dropper, fill each cavity from your mold with the mixture, filling it to the top. Refrigerate the filled mold for 20 minutes before popping out the gummies. Enjoy immediately, or refrigerate for another time!
Gummies keep best in the fridge, in an airtight container for up to 1 week, but they also hold up fine at room temperature for up to 1 day!
Notes
*You can use honey or agave instead of maple syrup, and adjust the sweetening to your liking (1-3 tbsp)
- Prep Time: 10 minutes
- Cook Time: 10 minutes
- Category: candy
- Method: no-bake
- Cuisine: american



These are the cutest little things Katherine — you did such a great job! My kids would want to gobble these up and they’re in high school! lol
Aw thanks Marcie! Haha I think they’re fun for any age, definitely!! 🙂
I don’t have little kids around anymore, but I totally could make this for myself and my “big kids” 😄. These gummies are so adorable!!
Your big kiddos would love them too, Thao! And I definitely didn’t mind dipping into them, hehe
I want to make these tomorrow for my daughter (and us) 😂.
Can’t wait. Thanks for the recipe.
Oh yay! I hope you guys love it Silvia!
No one has commented that they have already used this recipe. How are they on the taste or texture?
is the texture the same as the store bought ones?
Hi Jul, it’s not the exact same, no. It’s texture is more similar to Jello.
I tried this recipe and the texture was fine but it turned out to be pretty flavourless. What would you suggest to help the flavour be more pronounced? The juice itself is super strong flavoured, i used the guava juice from Costco. Thanks!
Hi Michelle! Sorry to hear they didn’t have a ton of flavor. You could try adding more sweetener to the mix, or taking double the juice, and then boiling it down to about half. The flavor should be more concentrated!
I realized you gotta dissolve the gelatin in cold water before mixing into the juice syrup
I think this recipe uses too much gelatine. The gummies didn’t have a lot of flavour and I could taste the gelatine.