This post may contain affiliate links. Please read our disclosure policy.
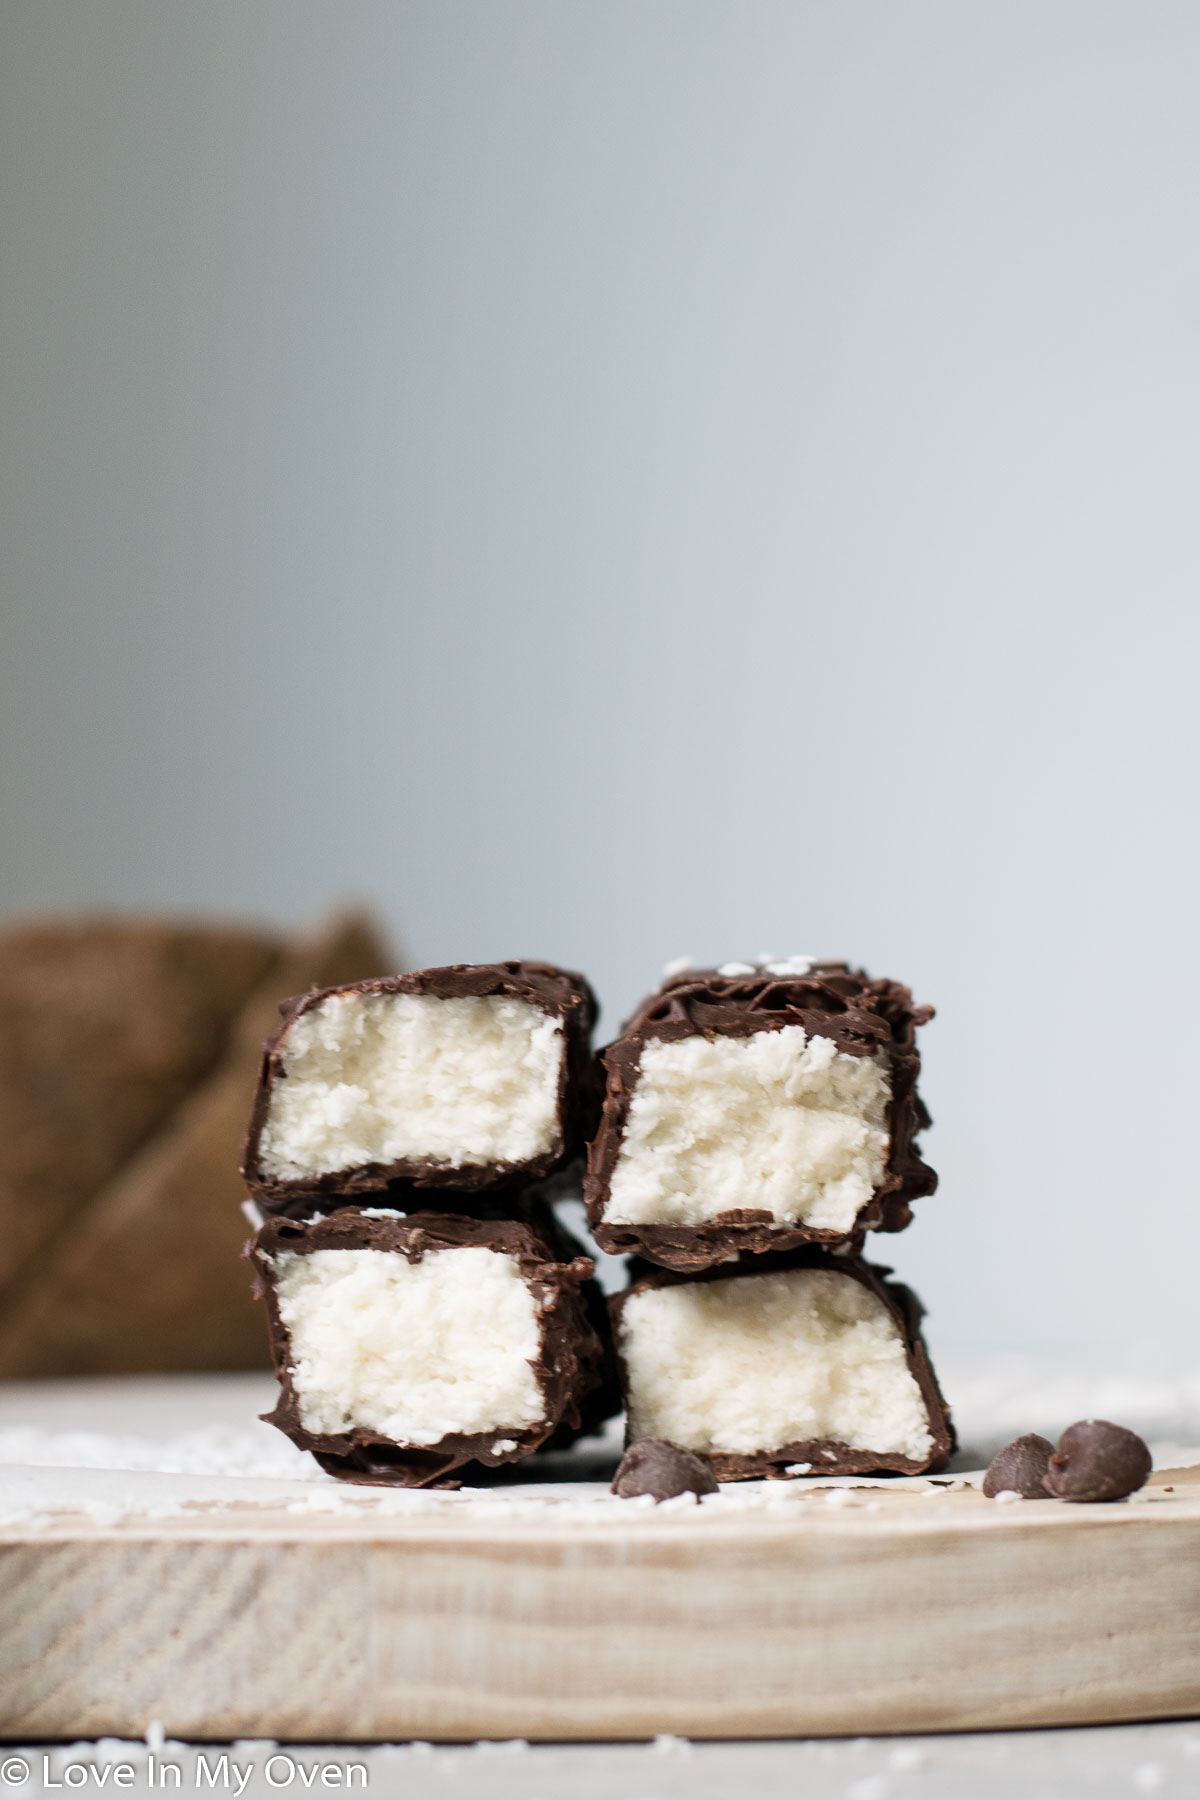
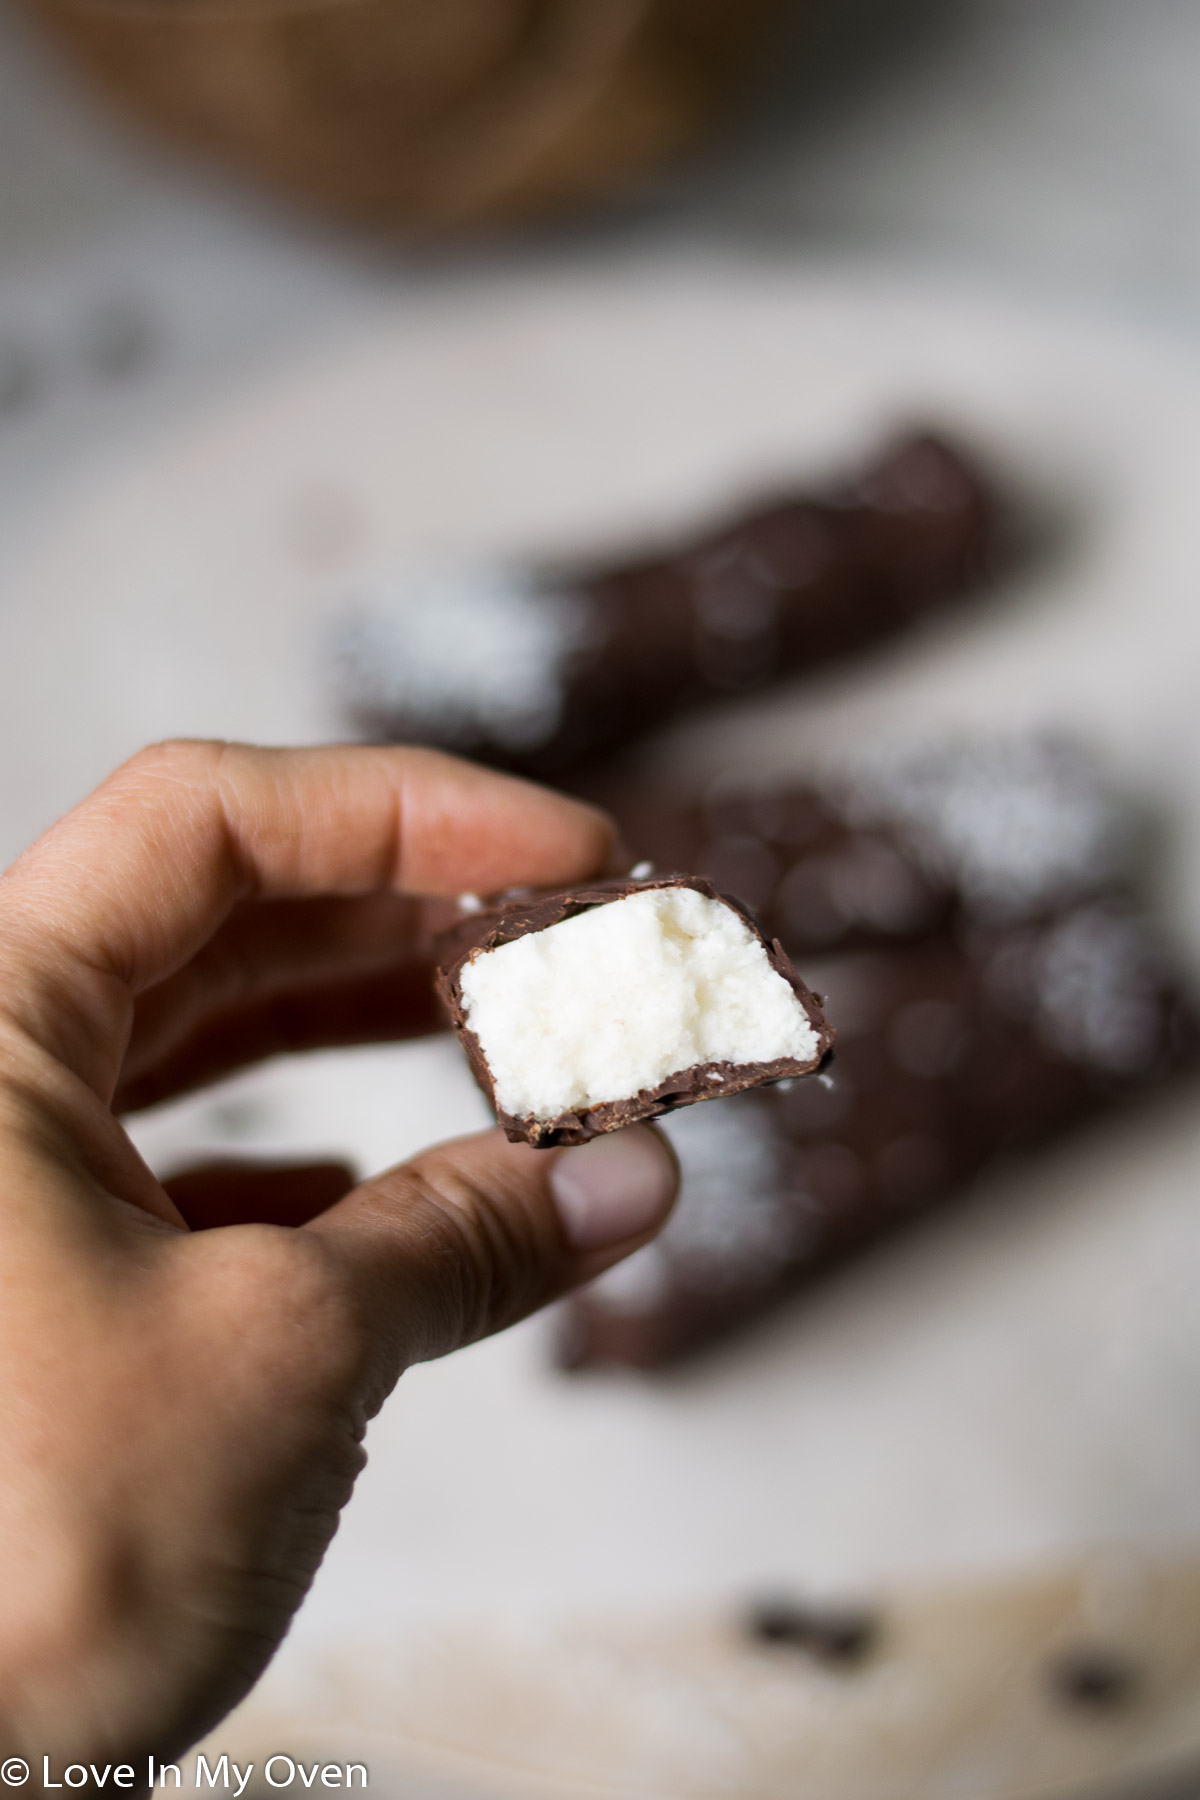
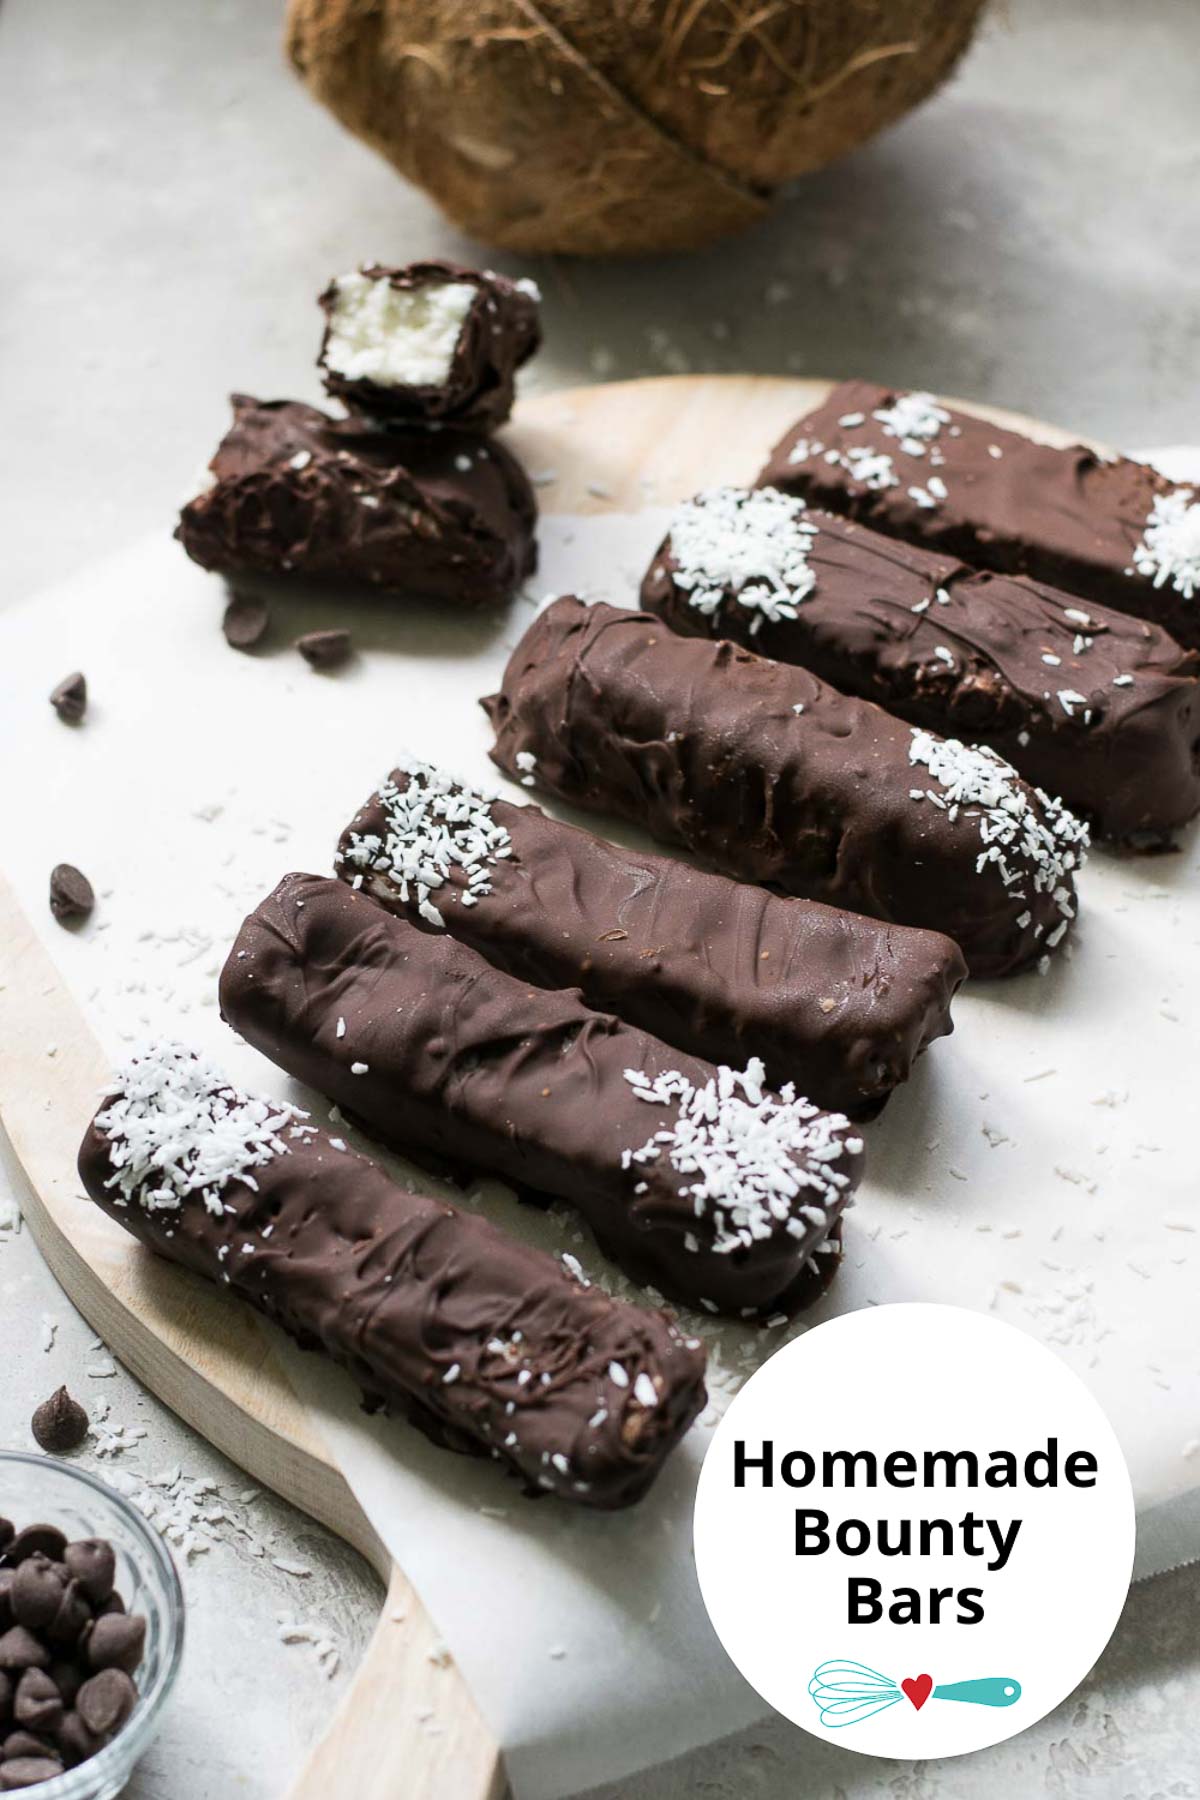
Once you try these homemade bounty bars you’ll never buy them again! The filling is refined sugar-free and full of flavor. They’re delicious!
*Please note* this post contains affiliate links that may earn me a small commission, at no extra cost to you.
They’re here! Finally!
I posted a sneak preview of these homemade Bounty bars a couple of weeks ago on the ‘gram but I hadn’t nailed down the recipe yet, and since then I had multiple readers asking me for the finalized recipe! Since I was playing around with different types of sweeteners I hadn’t made up my mind whether to make these low-carb/keto-friendly or not! So, I did a poll on Instagram and the majority of you voted for a refined-sugar free version instead of a low-carb sweetener.
HENCE – these are made with honey! And they’re terrific!
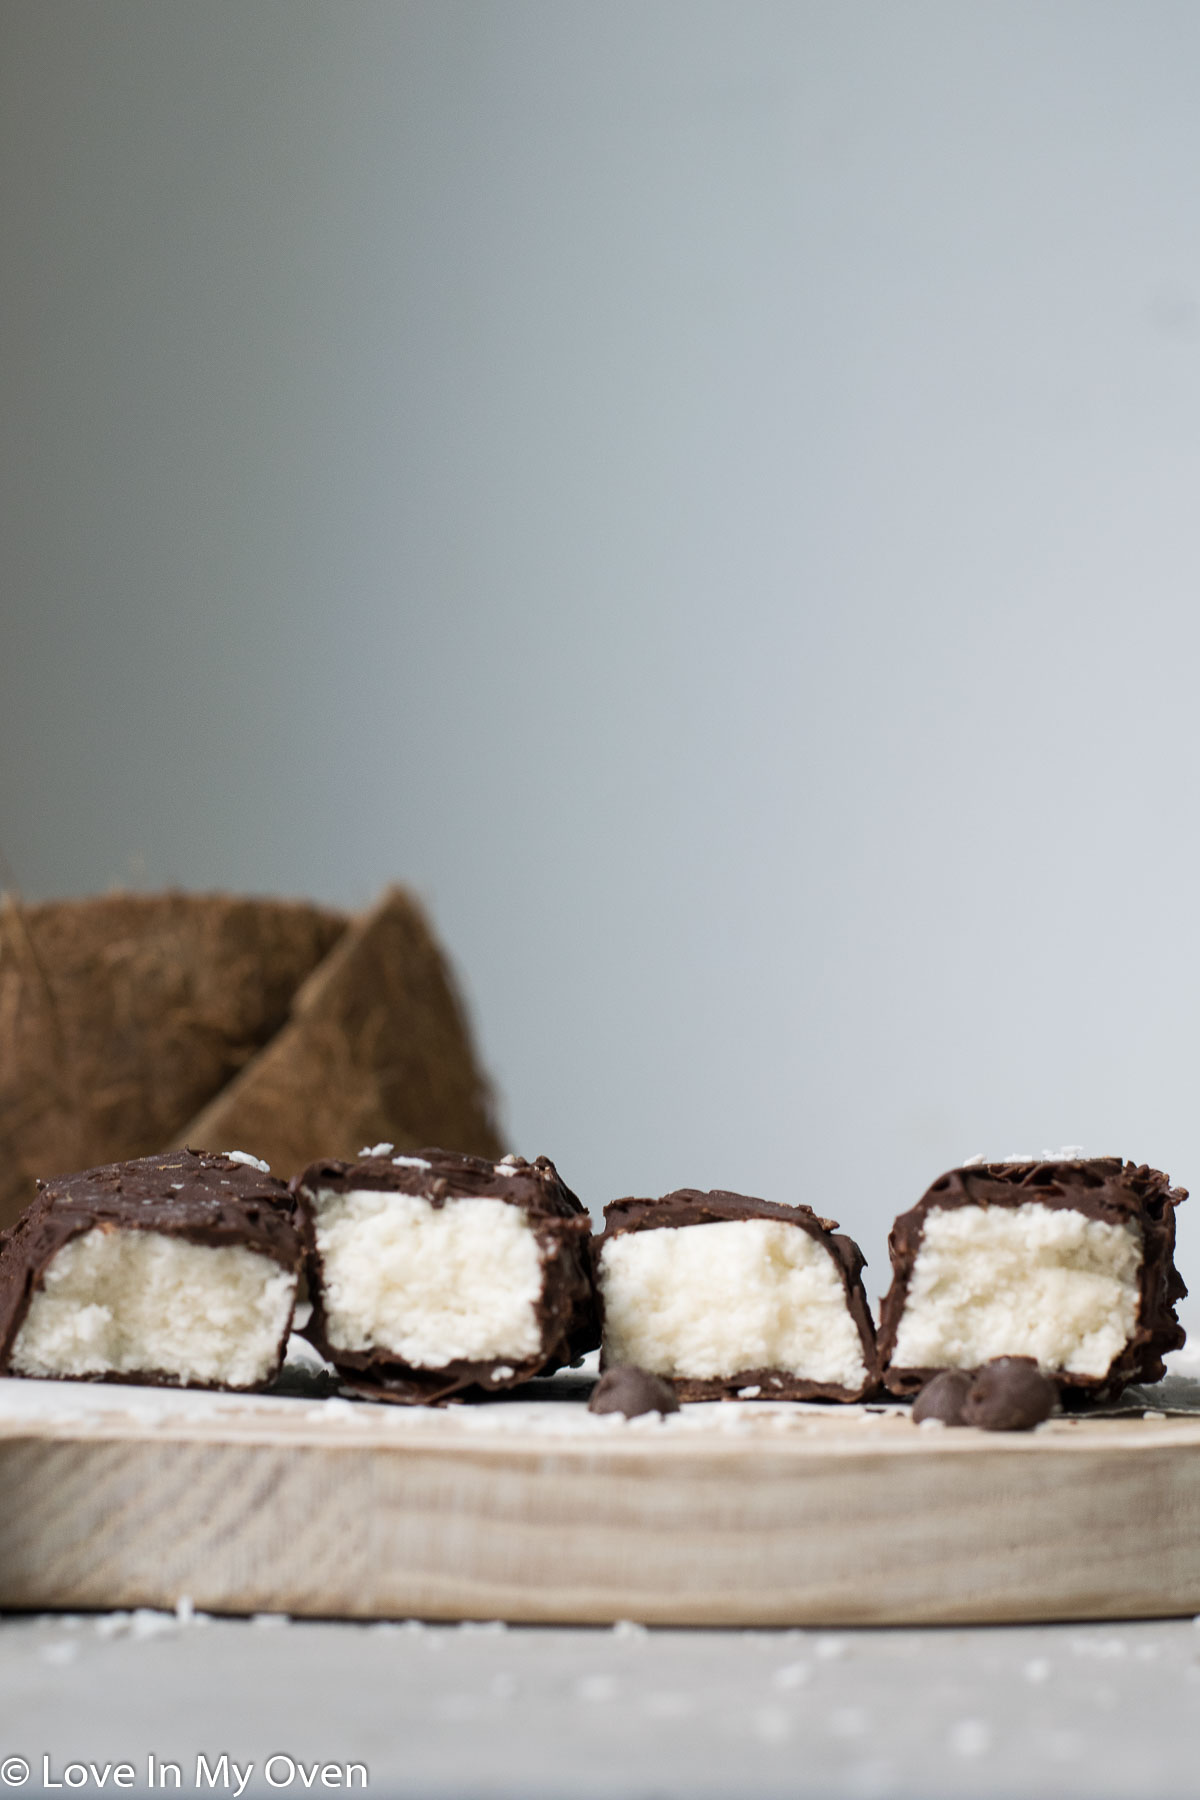
What is a Bounty bar?
If you’re in Canada you probably already know what a Bounty bar is – especially if you’re a fan of chocolate and coconut. I have this distinct memory of walking to a grocery store with my Dad on my 18th birthday, in the middle of a snowstorm. He told me to pick out a chocolate bar as we were paying, and I remember grabbing a Bounty, even though it wouldn’t have been my usual choice. Anyway, I have been hooked on them since that day!
And for those of you that aren’t familiar with a Bounty bar, you might know them as a Mounds bar. They’re essentially the same thing but the US name!
How do you make homemade Bounty bars?
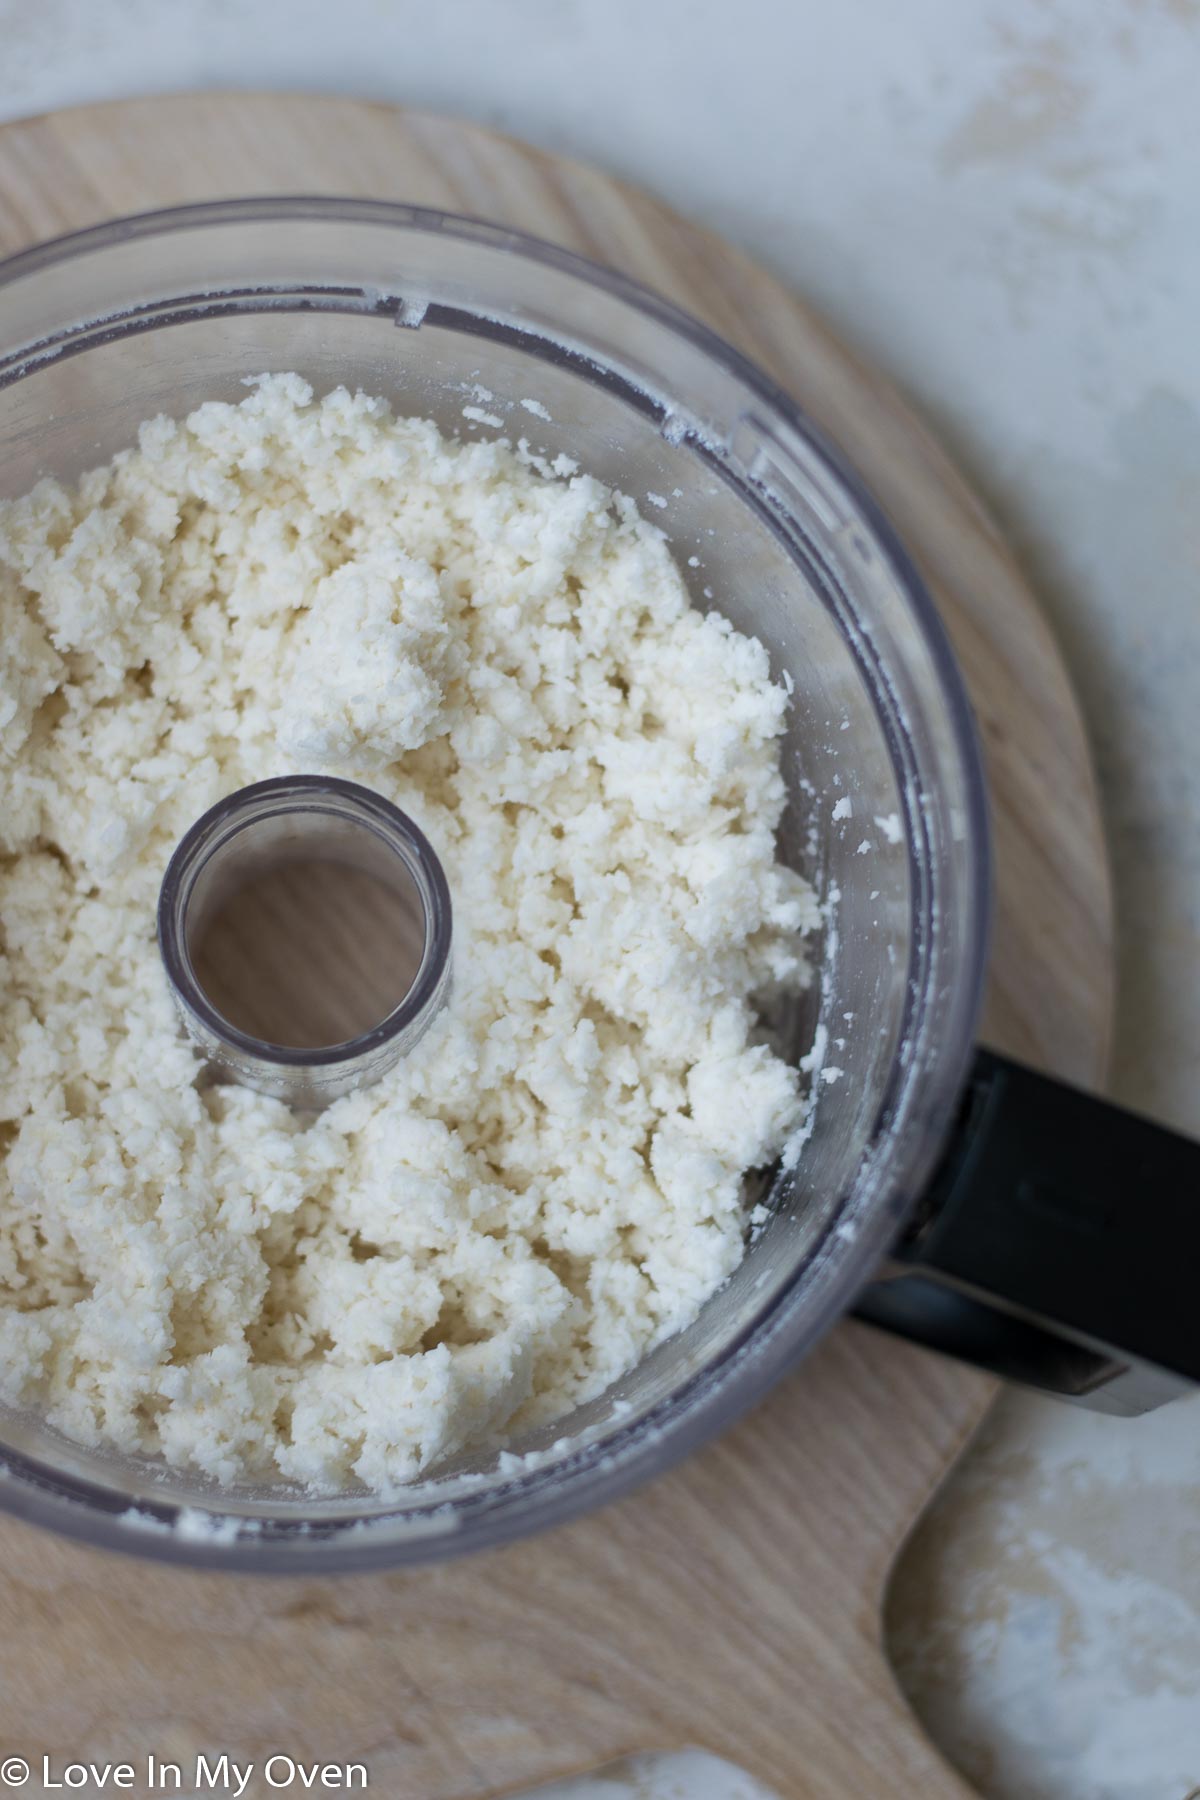
These bars couldn’t be easier! You will need a food processor or high-powered blender like a Vitamix. Combine together:
- shredded coconut
- coconut oil, solid
- liquid honey
- canned coconut cream
Just pulse the ingredients until a crumbly mixture is formed.
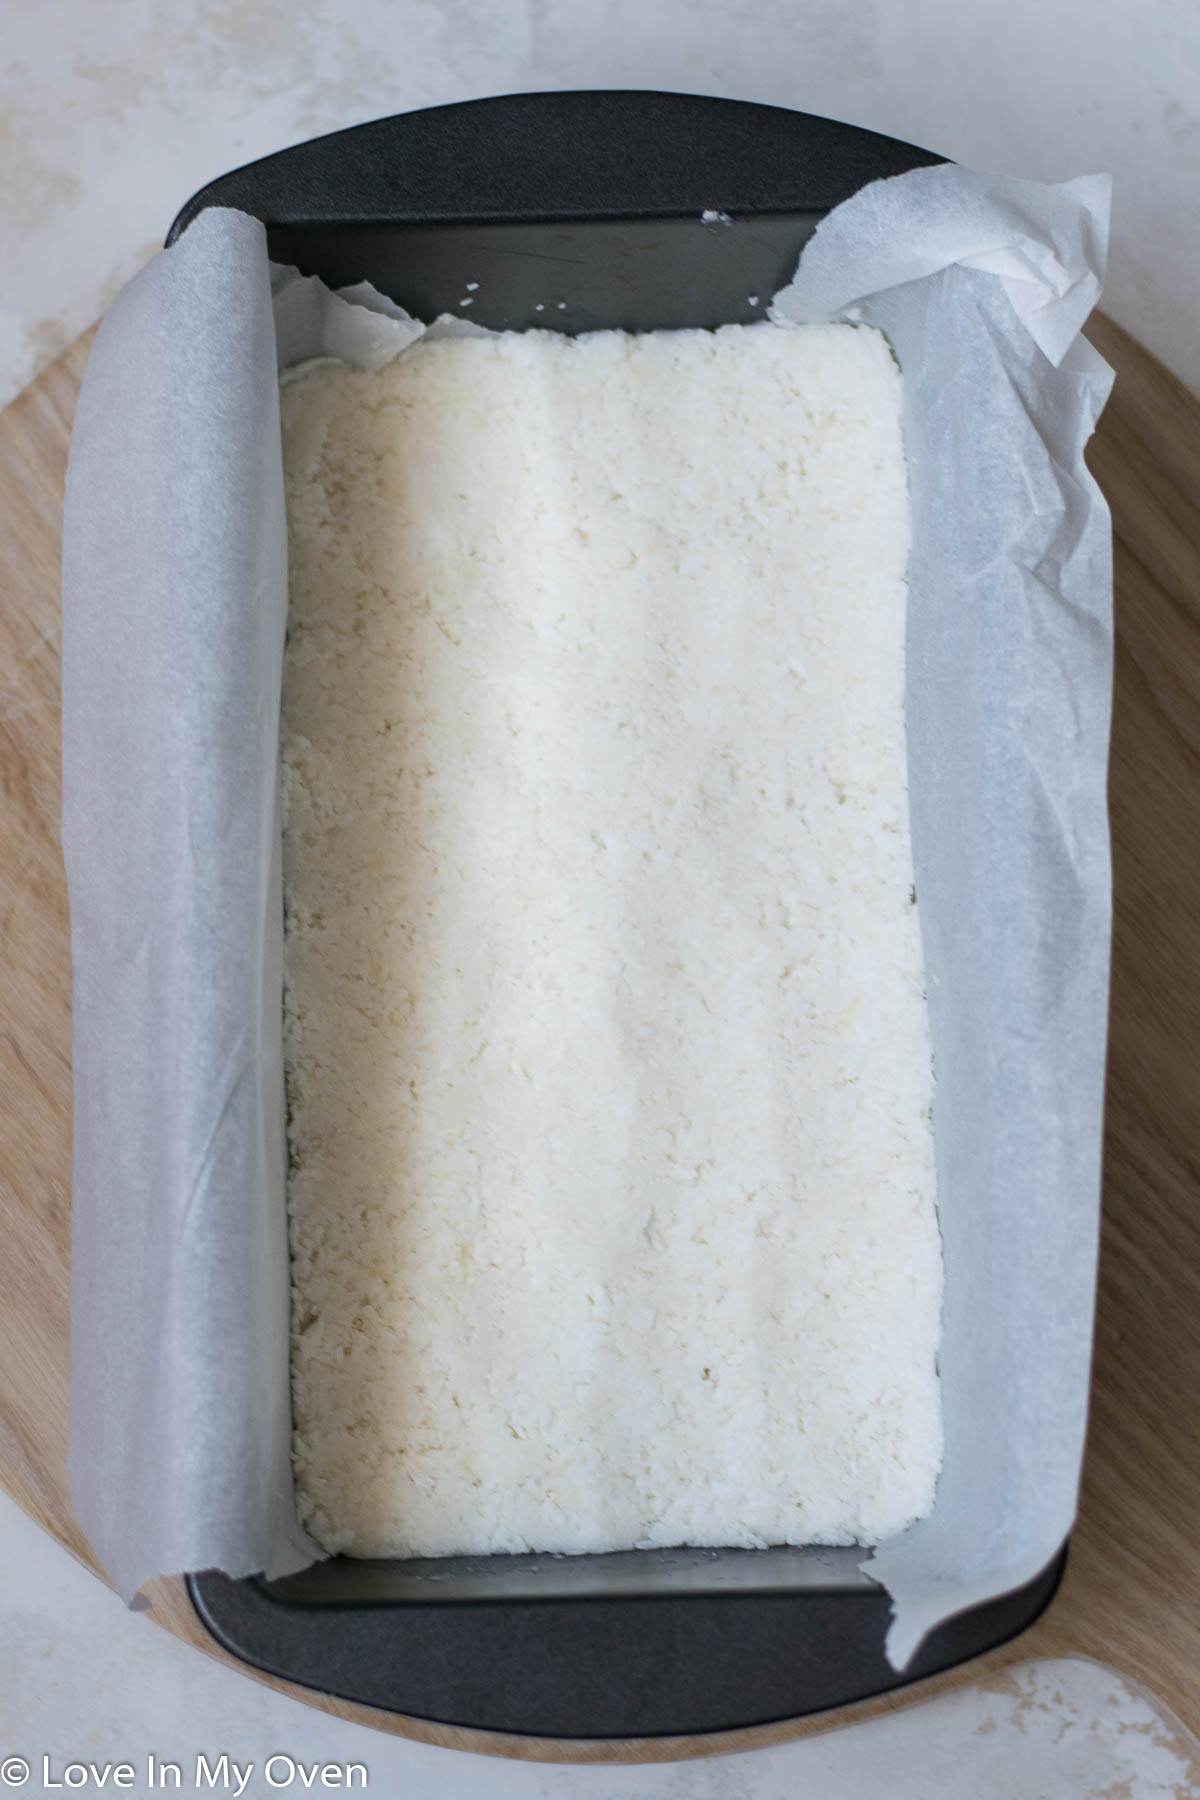
Next, line a standard-sized loaf pan with parchment paper so that there is a bit of an overhang on the edges for easier removal. Empty the mixture into the pan and pack it down as firmly as possible, using the back of a spoon.
You will then pop the mixture into the freezer to harden and set for 20 minutes.
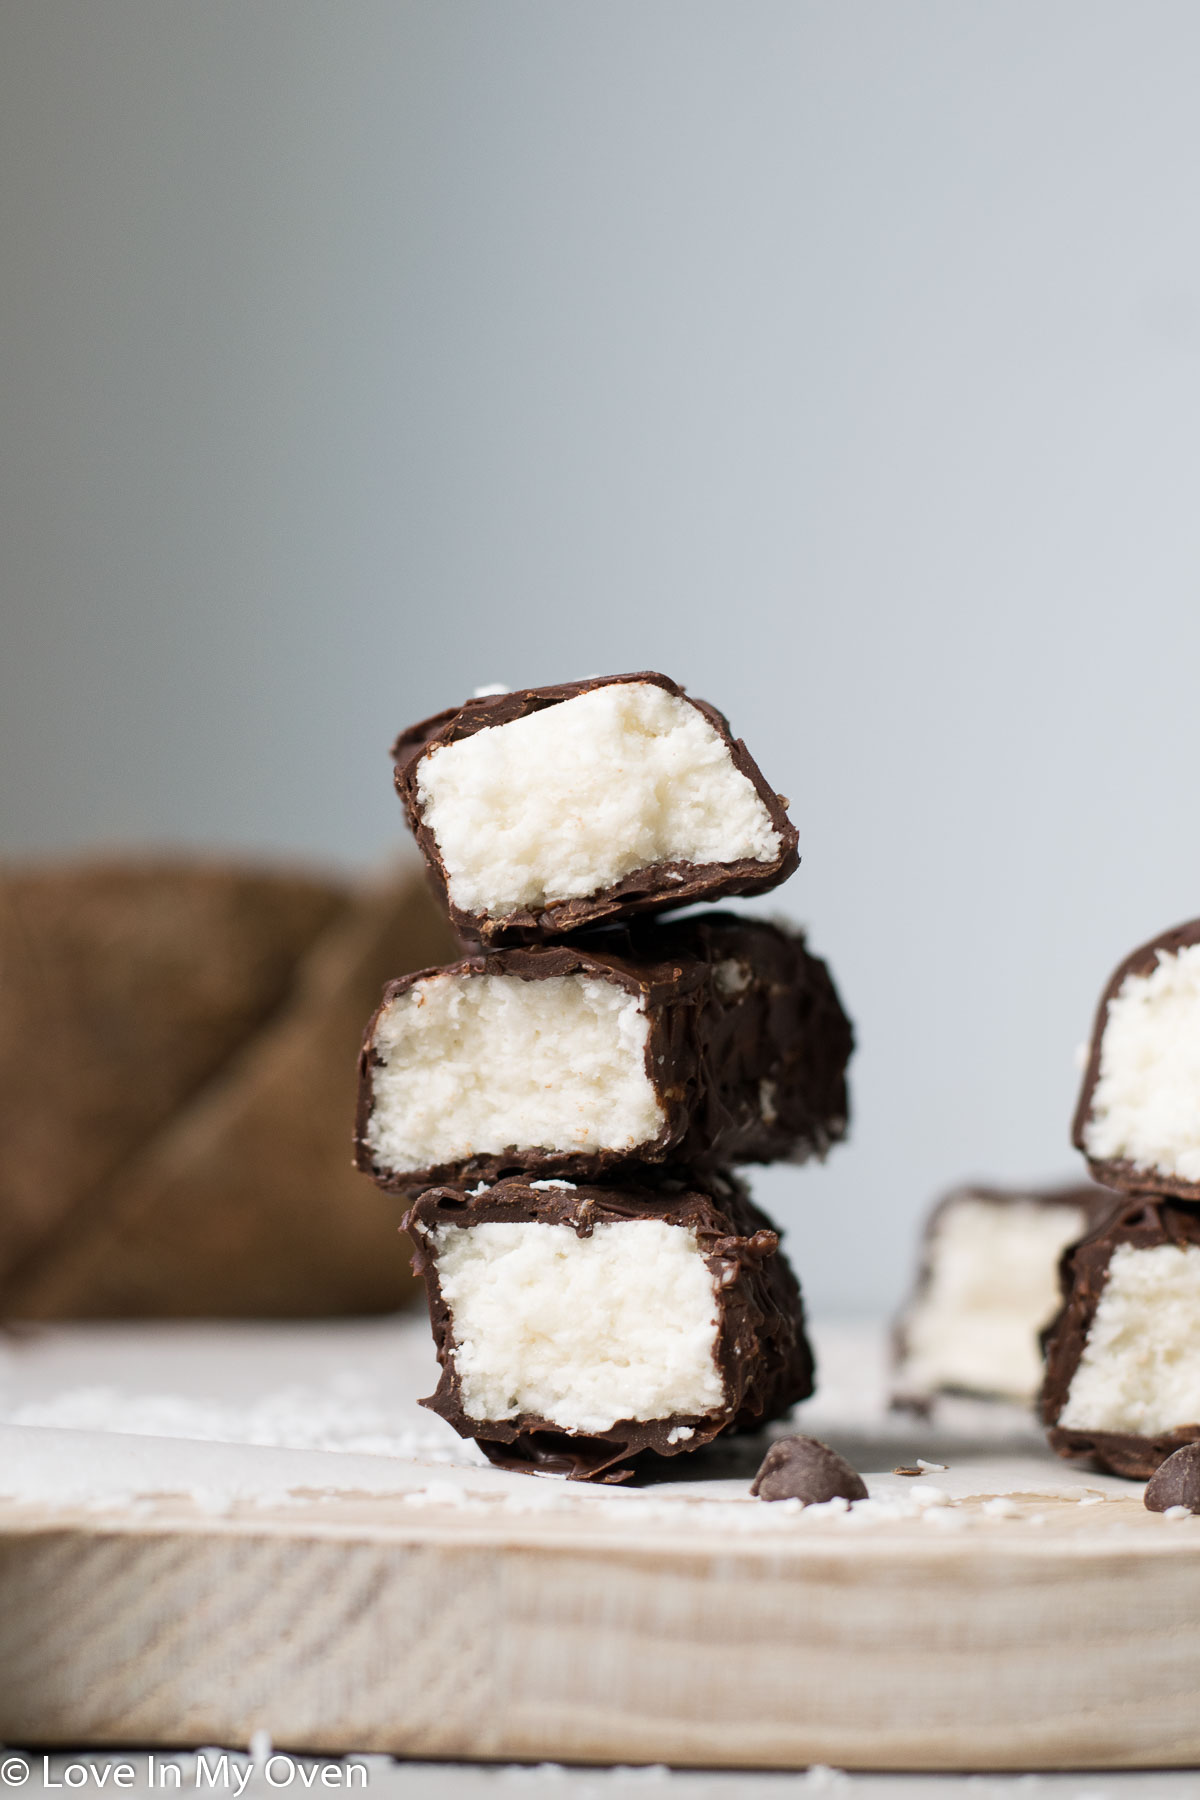
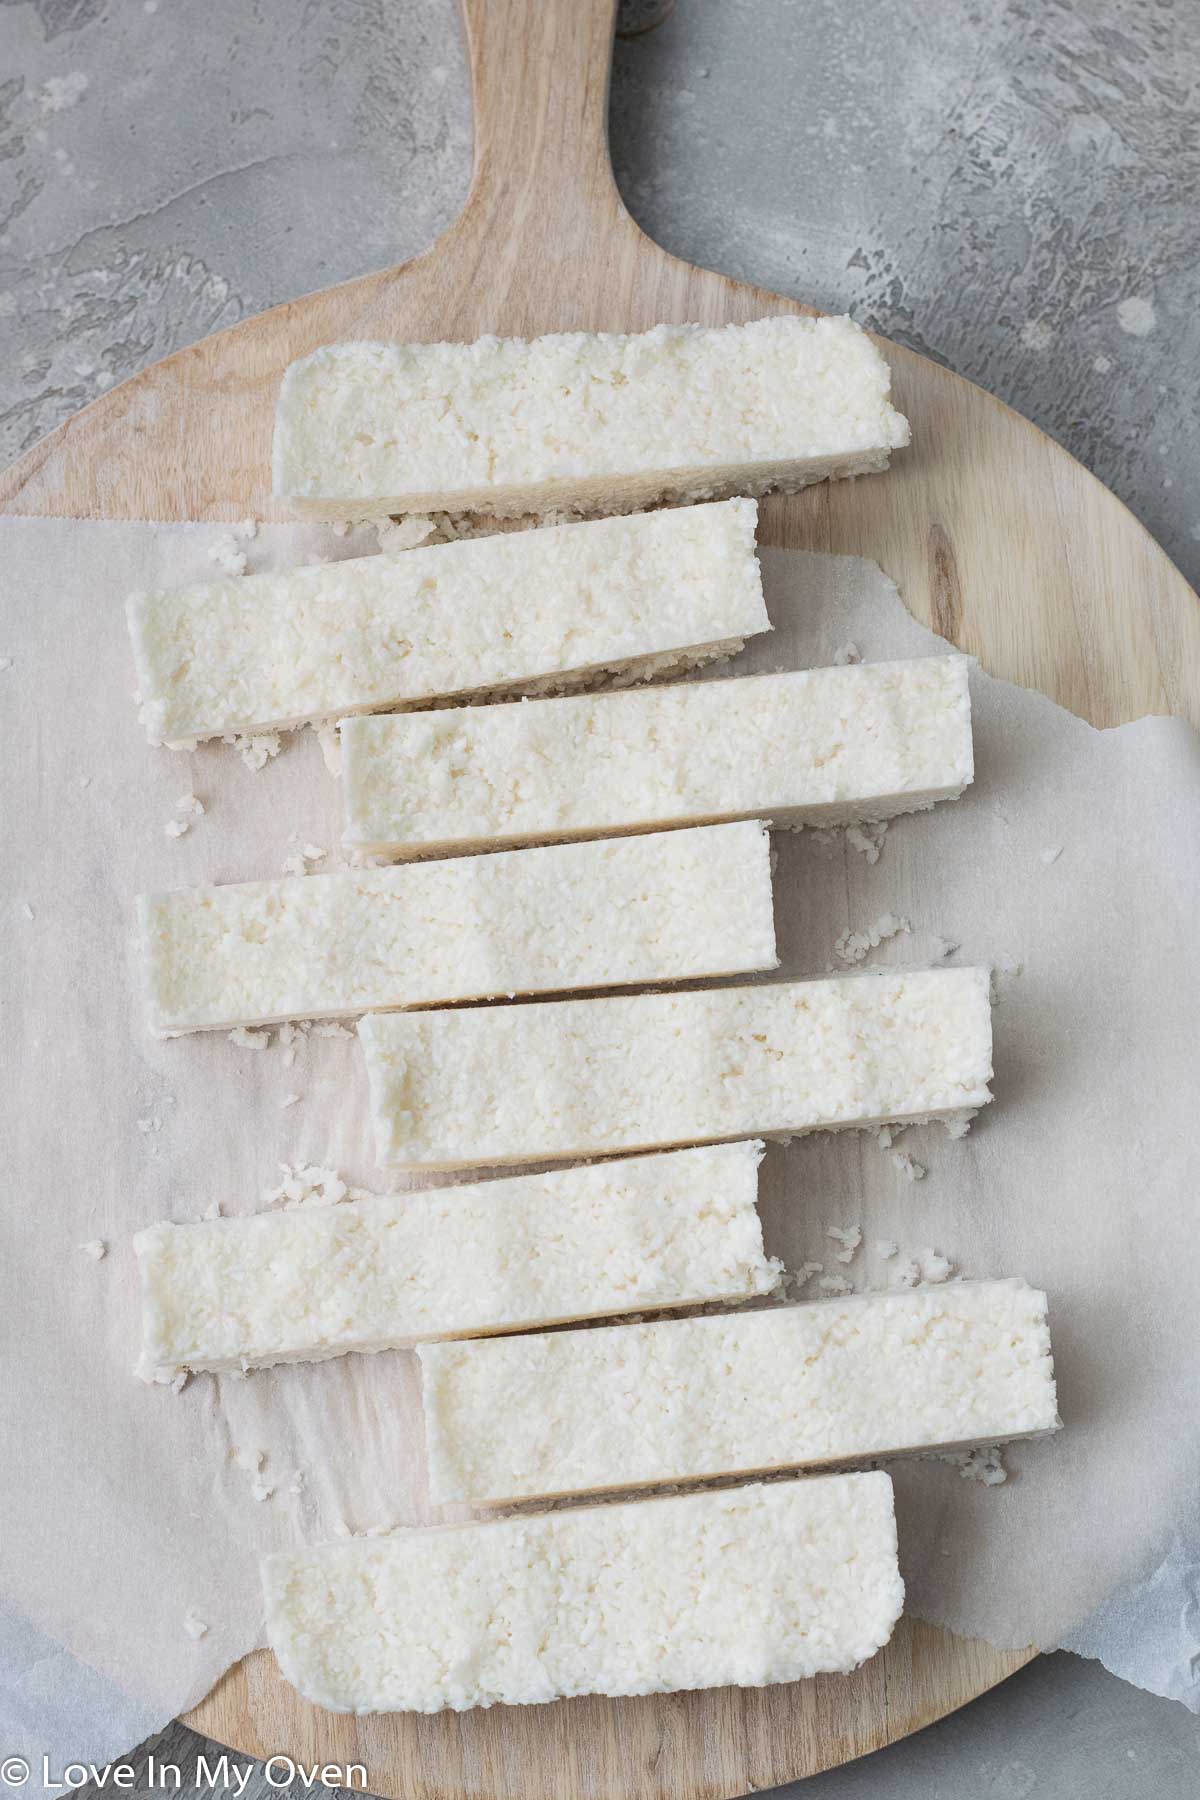
Remove the bars from the freezer, and gently lift the edges of the parchment paper up and out to release the bars. Place them on a cutting board, and carefully slice the slab into 8 even slices (or 16 if you want them to be smaller).
I like cutting mine into 8 large pieces because they look like an actual Bounty bar!
Place the bars back into the freezer until they are very firm and set, about 1-2 hours.
Now you can melt the chocolate!
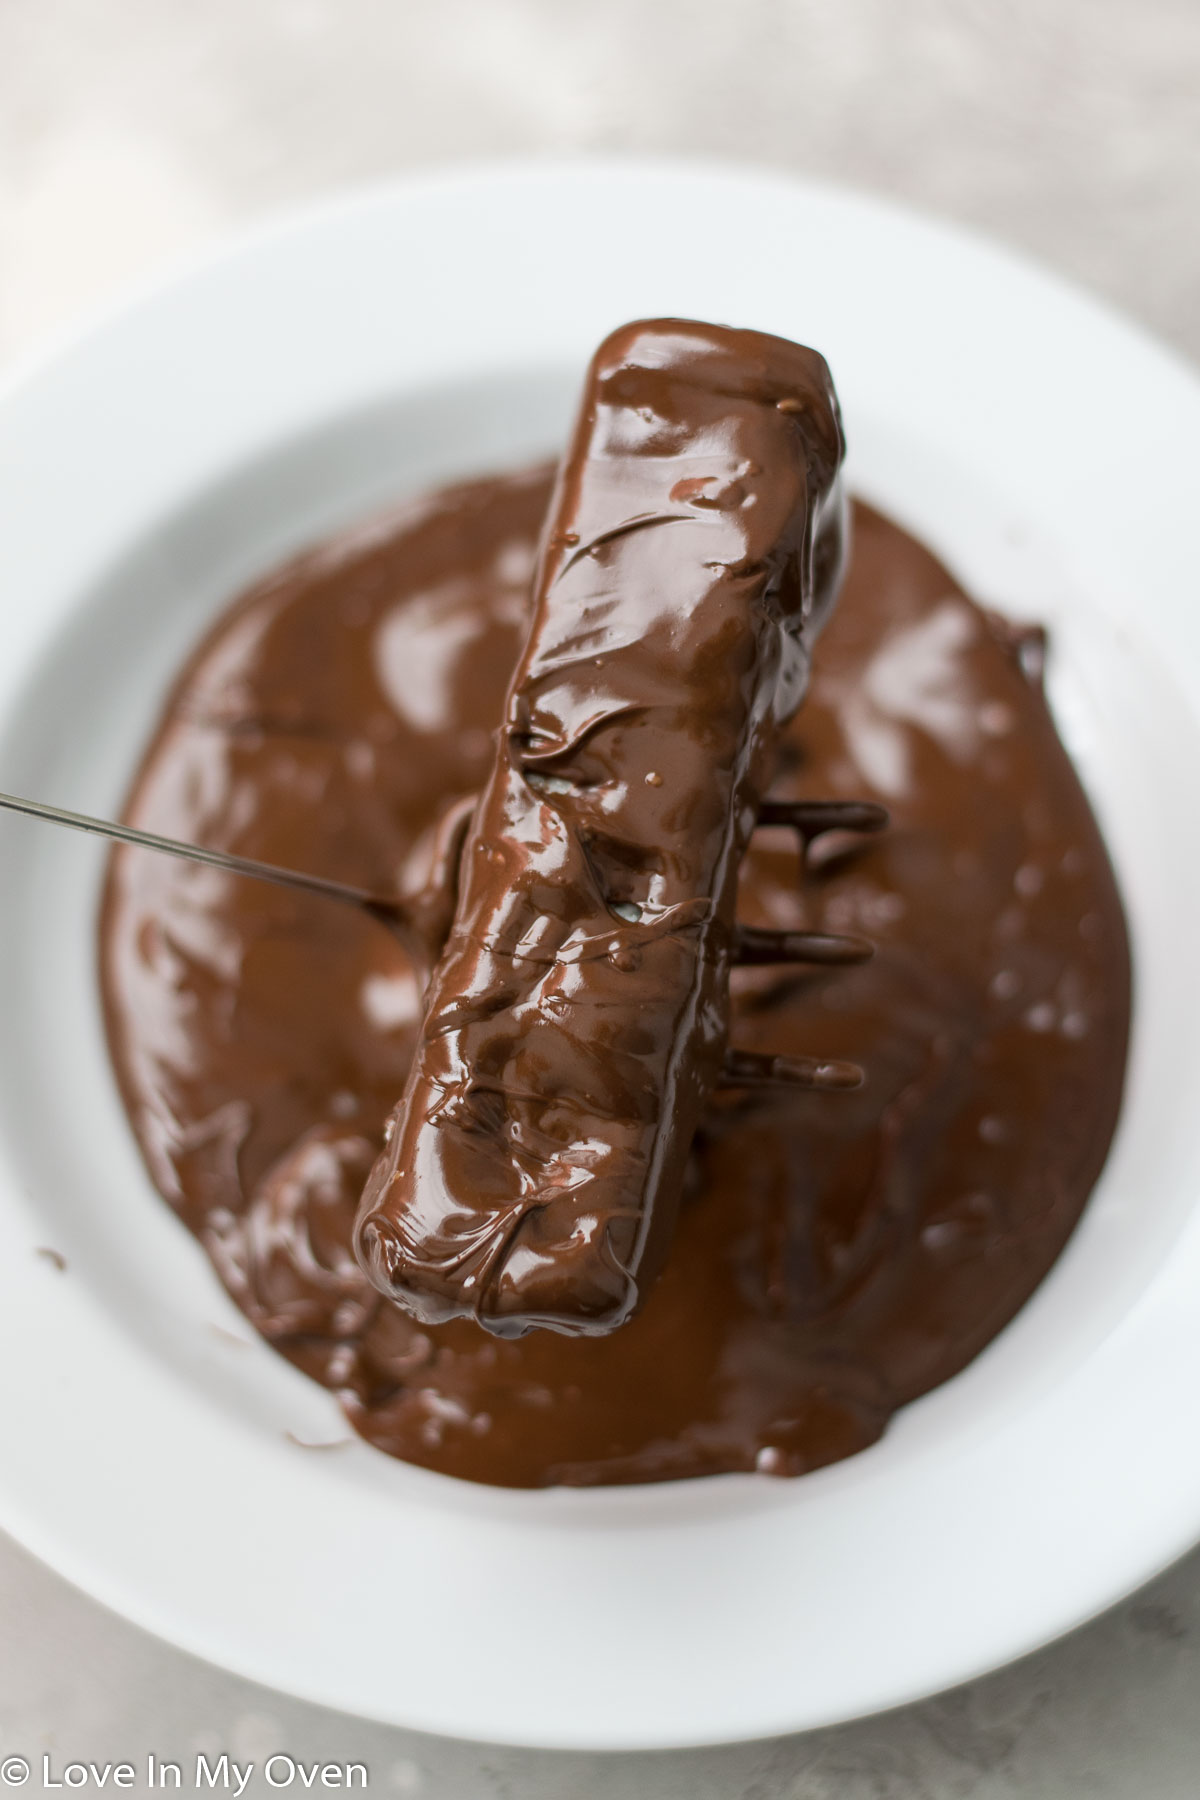
You will want to combine chopped dark chocolate with coconut oil to make it super smooth and dippable. Melt the chocolate with the coconut oil in the microwave, in 30 second increments on high, stirring in between until the chocolate is runny and smooth.
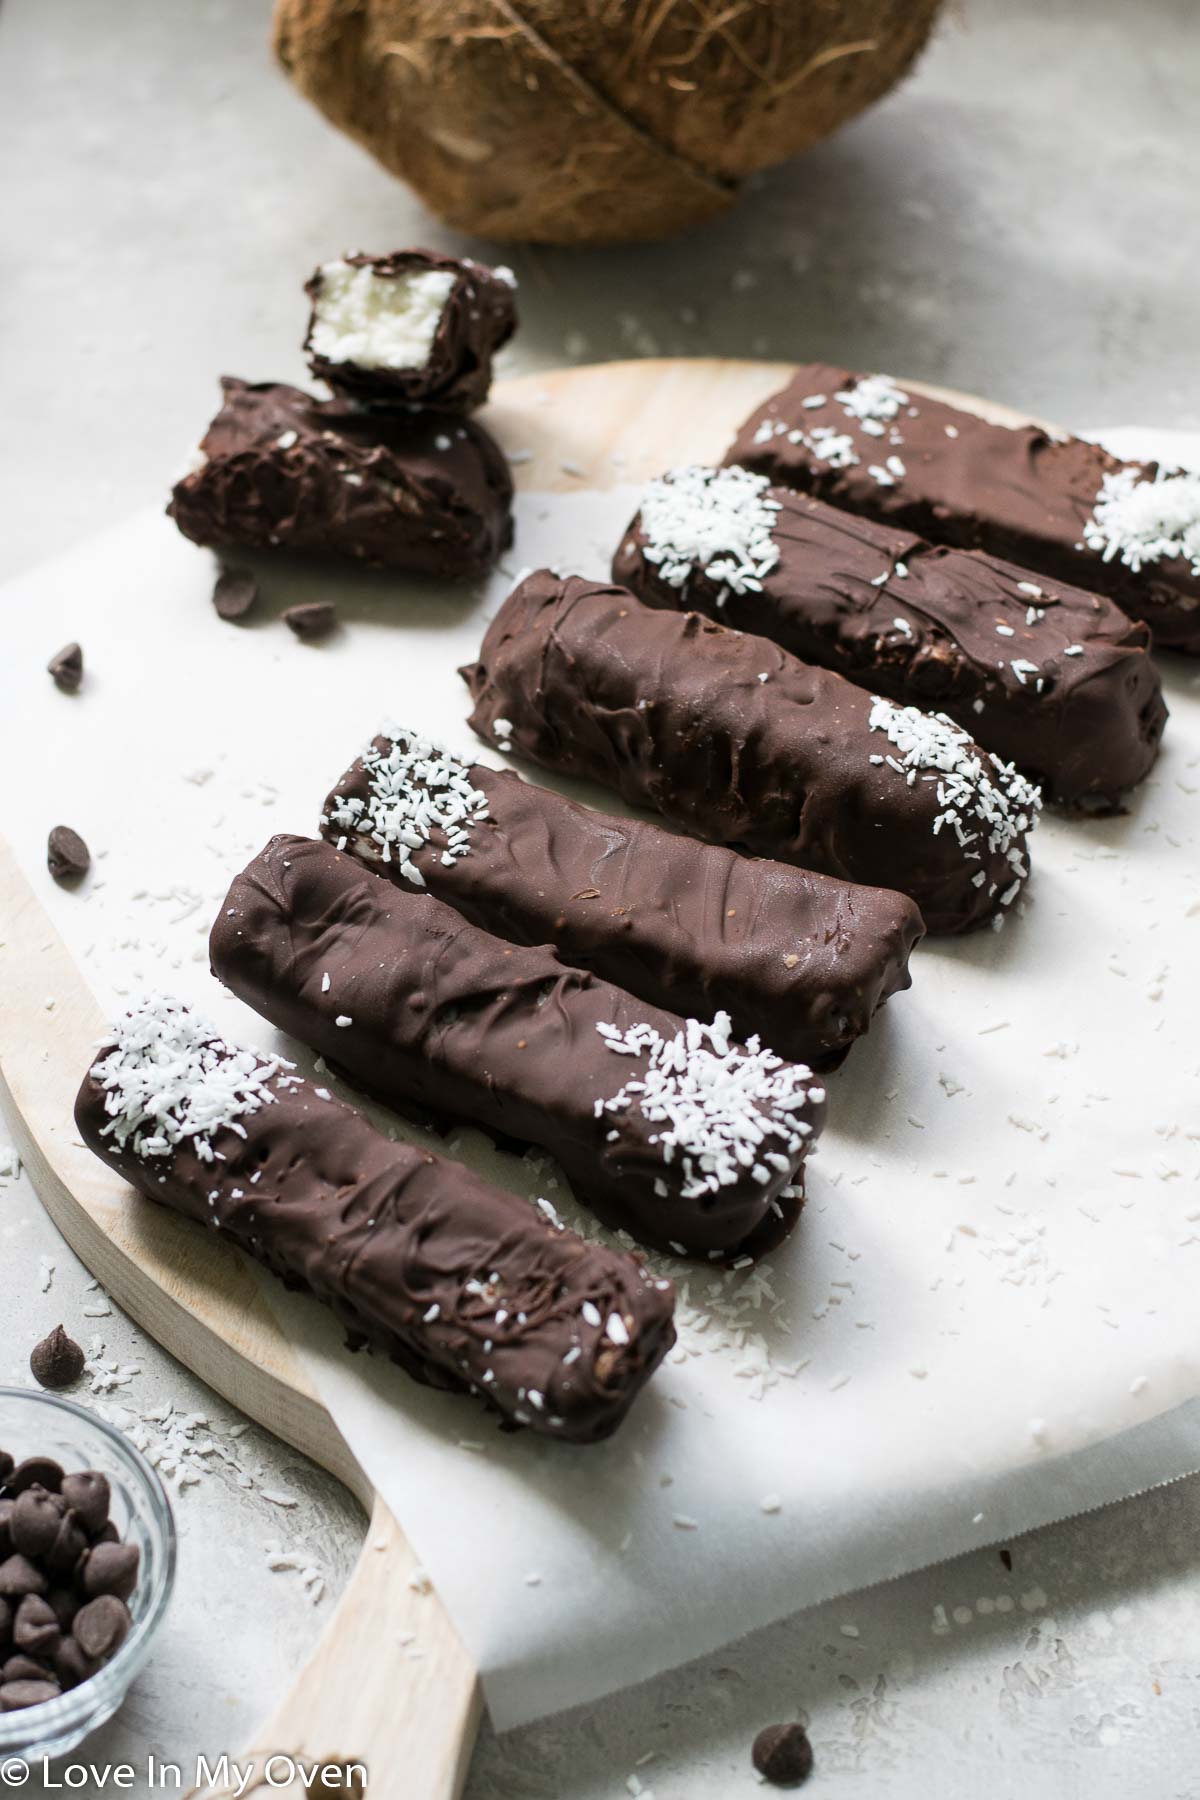
Using a fork or a chocolate dipper, remove one frozen bar at a time and dip it completely into the melted chocolate, placing the bar back on to a parchment-lined baking tray. Repeat with all of the remaining bars and then place all the bars into the freezer or fridge to set.
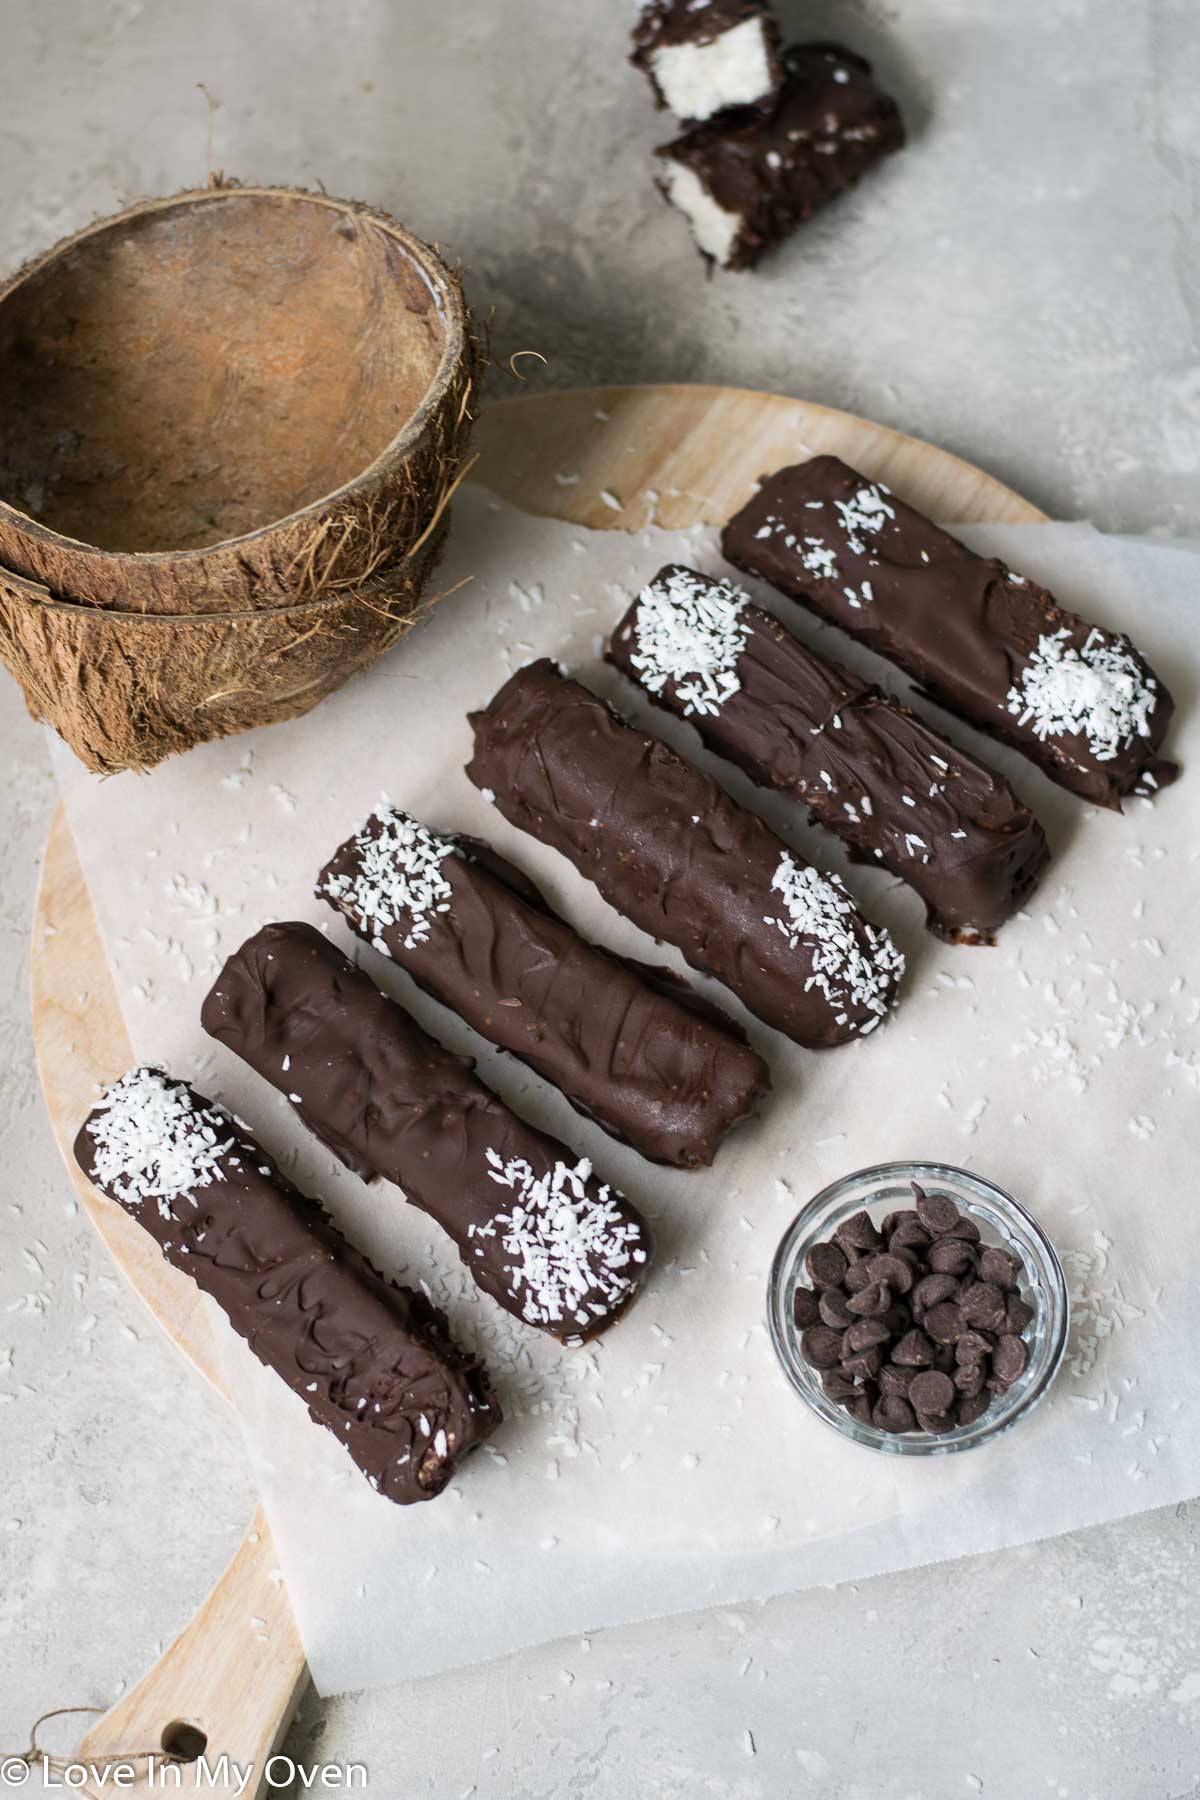
Keep the bars in the fridge or freezer, and enjoy them whenever you want!
How long do the Bounty bars last?
If you store these in the freezer, you can literally keep them in there for up to 2 months! They’re actually delicious right from frozen, but you can also remove them to the fridge to thaw a bit overnight.
I always keep mine in the fridge, as they’re still good for up to 2 weeks in the fridge, in an airtight container.
As for room temperature, they will soften up after an hour or so and may start to fall apart. So it’s best to keep them cold!
Can you make these bars vegan?
Yes! Since these are sweetened with honey, these bars are not inherently vegan, but we can make them vegan by swapping the honey for powdered sugar and increasing the amount of coconut oil by 1 tablespoon!
Can you make these homemade Bounty bars low-carb/keto?
Yes! You’ll want to make the same substitutions as above for the vegan version, but use a powdered sweetener alternative like this Swerve sweetener
The chocolate coating will also need to be either a super high percentage of cocoa like 90% or use a sugar-free chocolate alternative.
If you’re a fan of coconut and chocolate you will love these Bounty bars!!
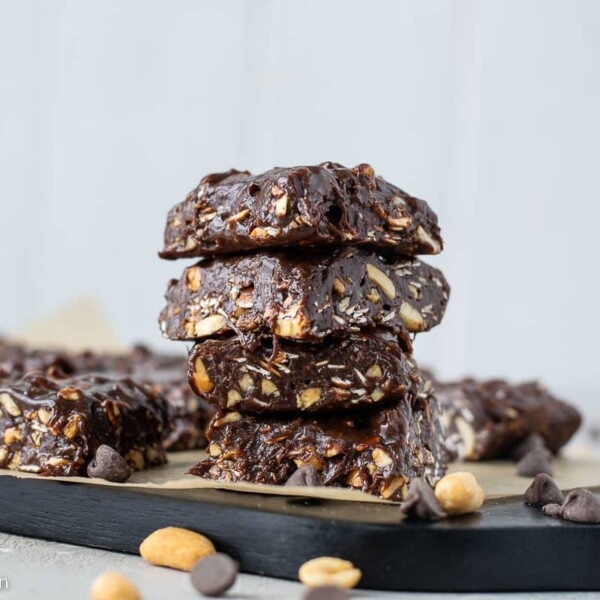
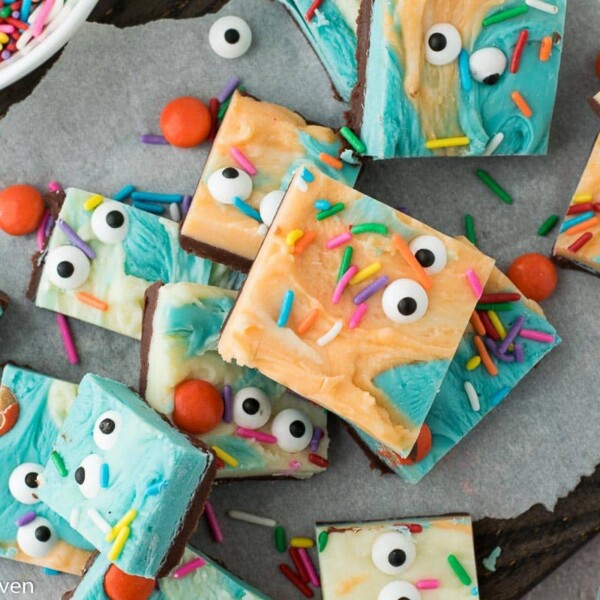
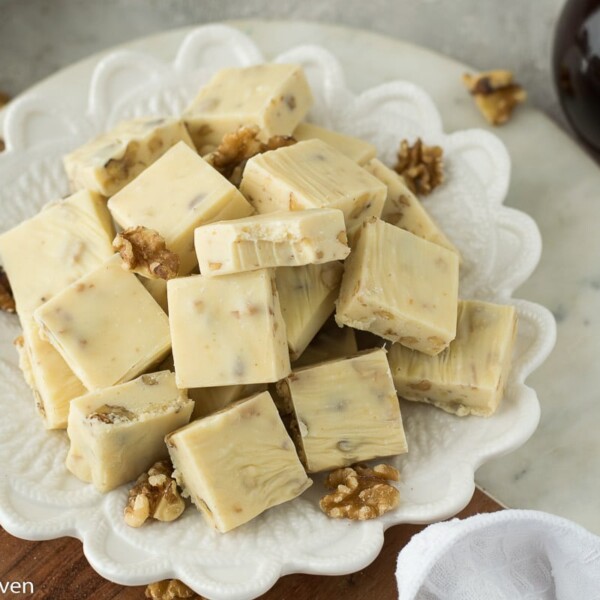
If you like these bars you’ll love some of my other favorite bars:
Print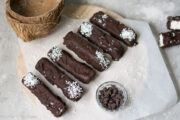
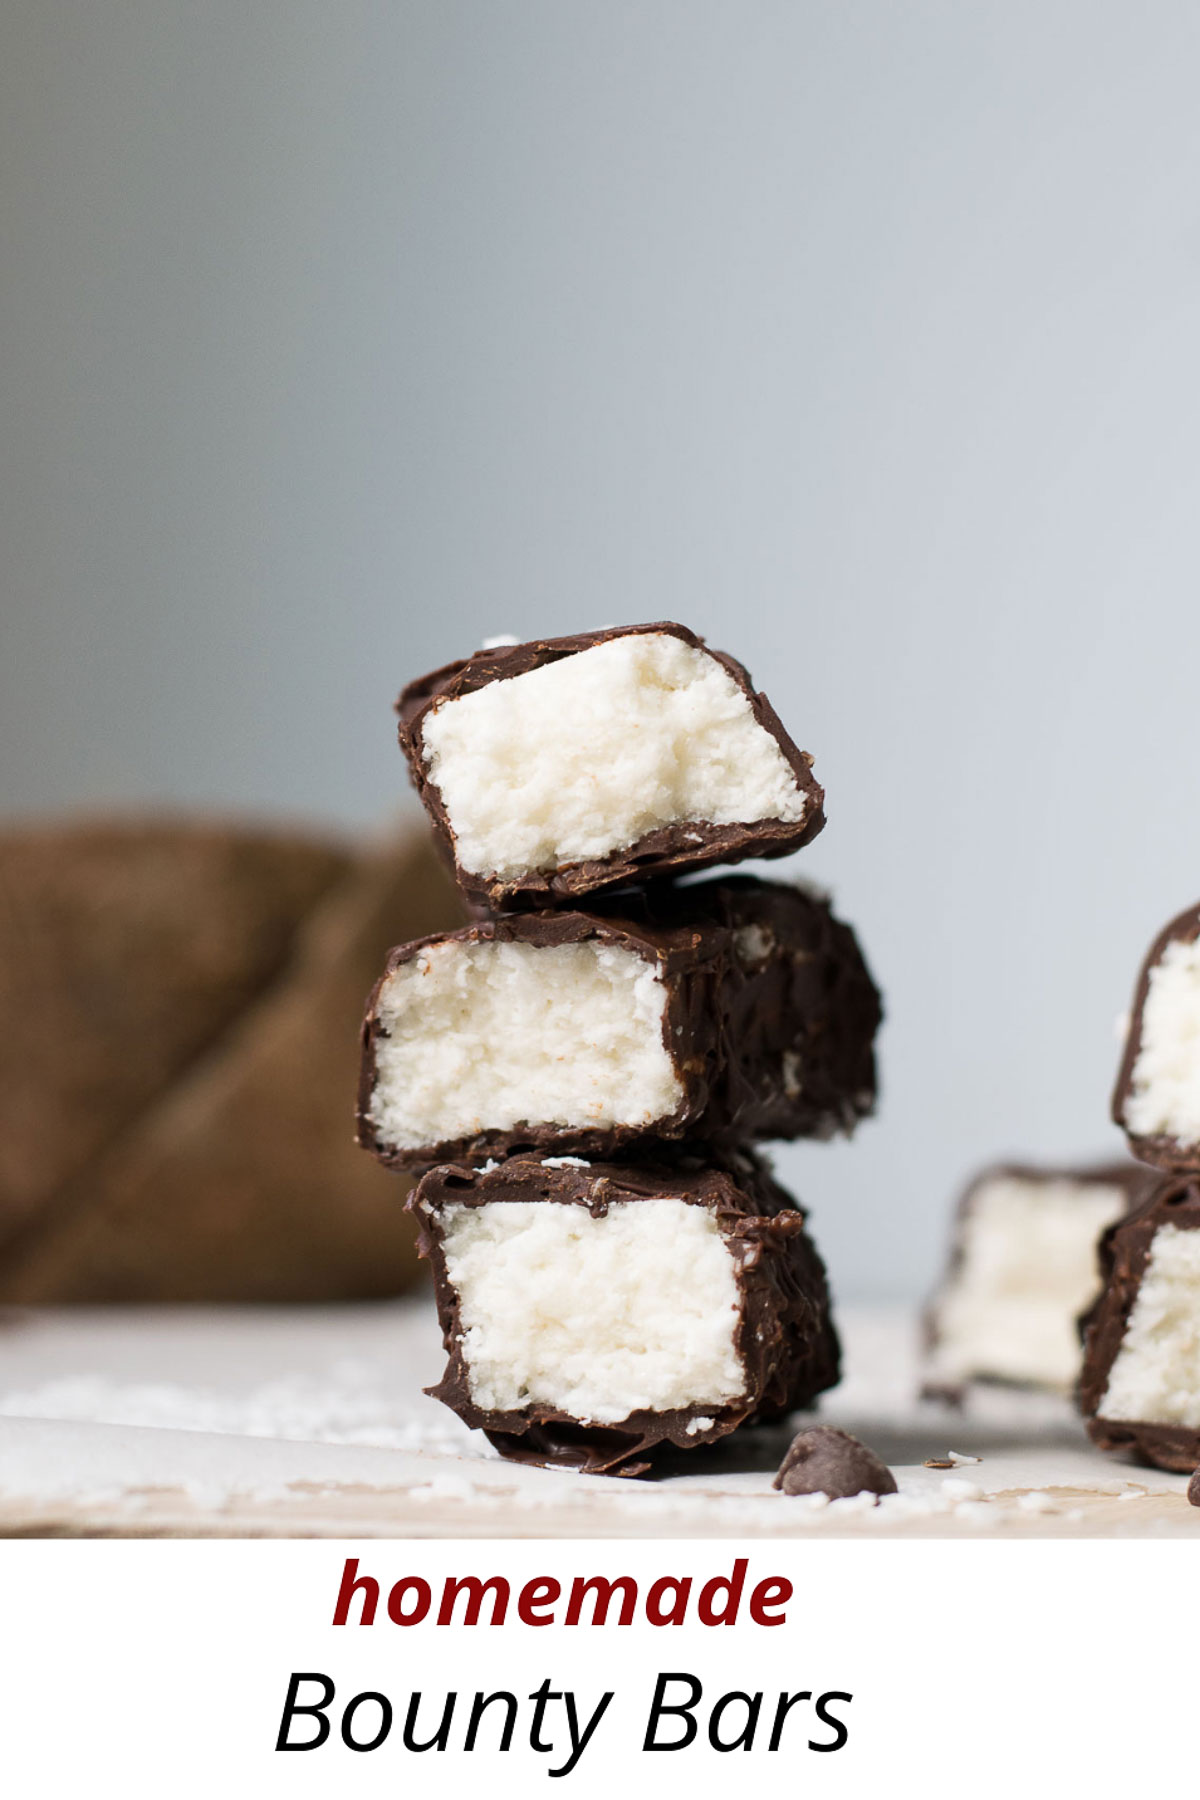
Homemade Bounty Bars
- Total Time: 30 minutes
- Yield: 8 bars 1x
Description
Once you try these homemade bounty bars you’ll never buy them again! The filling is refined sugar-free and full of flavor. They’re delicious!
Ingredients
- 3 cups shredded coconut
- 1/4 cup coconut oil, solid
- 1/4 cup canned coconut cream
- 1/4 cup liquid honey
- 1 cup chopped dark chocolate*
- 1 tsp melted coconut oil
Instructions
- Add the shredded coconut, coconut oil, coconut cream and honey to a food processor and mix together until combined. The mixture should stick together when you roll it into a ball.
- Line a standard-sized loaf pan with parchment paper so that there is an overhang on either side. Press the coconut mixture down flat into the loaf pan and place it into the freezer for 20 minutes to set and harden.
- Lift the slab out of the pan using the edges of the parchment paper and cut the coconut into 8 bars. Place the bars on to a parchment-lined baking tray and return them to the freezer until they are very firm and set, 1-2 hours.
- Place the chocolate into a microwave-safe bowl along with the coconut oil. Microwave the mixture in 30 second intervals, bringing it out to stir every 30 seconds until completely melted and smooth.
- Removing one bar from the freezer at a time, use a fork or chocolate dipping tool to dip each bar into the chocolate, and flip it over quickly so that its completely covered on all sides. Quickly return the bar to a parchment-lined baking tray. Repeat for the remaining 7 bars. Return the baking tray to the freezer or fridge to harden and set, about 15 minutes. Enjoy!
It’s best to keep the bars in the fridge for up to 2 weeks, and serve them cold, as they will soften up at room temperature after about an hour. You can also keep them in the freezer for up to 2 months.
Notes
*You can use a good quality chopped chocolate or chocolate chips
**See the blog post for keto and vegan variations of these bars!
- Prep Time: 10 minutes
- Category: candy
- Method: no bake
- Cuisine: canadian


Such a creative homemade recipe! I enjoy Bounty Bars, so these look irresistible!
Thanks Caleb!! I love Bounty too!
These Bounty Bars look SO heavenly and I love these gorgeous photos!
Thank you so much my friend!! They’re so delicious!
Do you think substituting Allulose in place of the honey would work?
Yes! It may be extra sweet, so I would use only 2 tablespoons at first.