This post may contain affiliate links. Please read our disclosure policy.
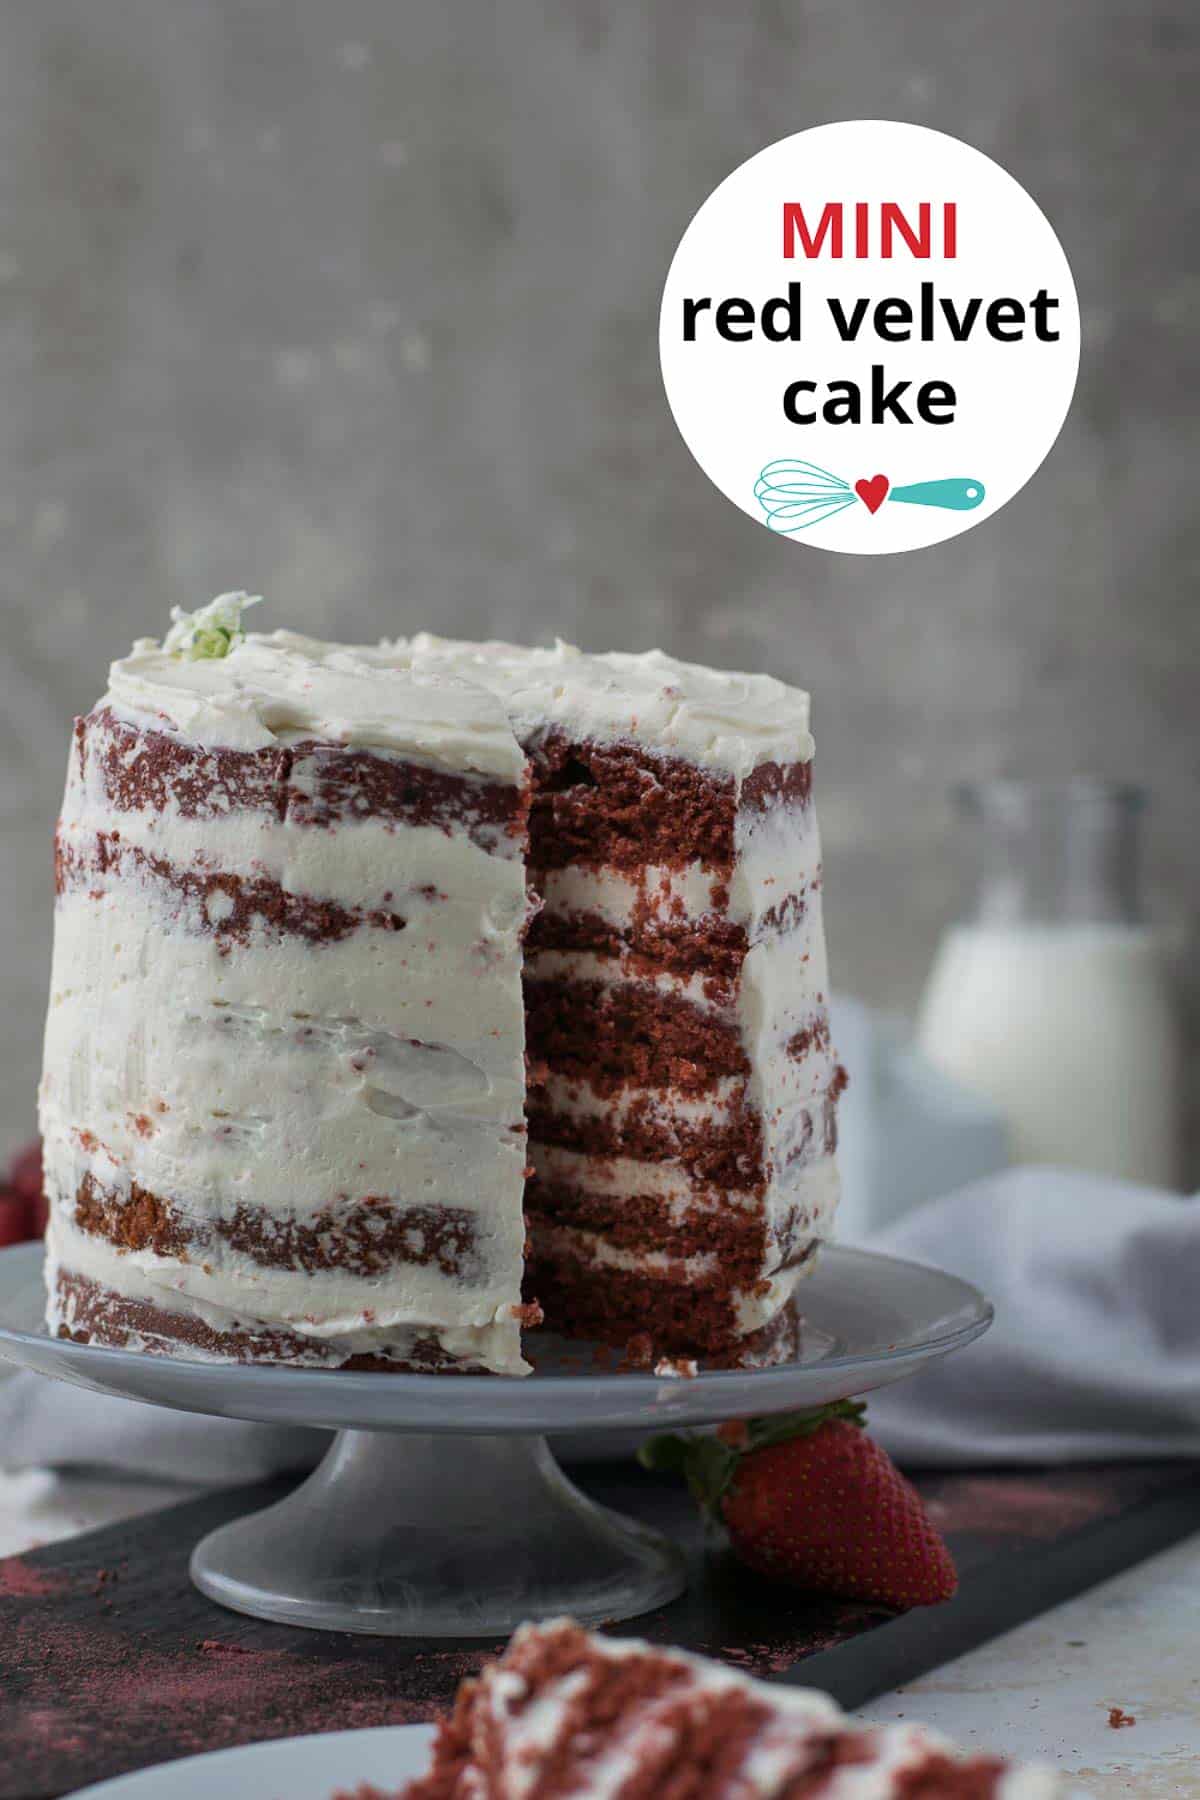
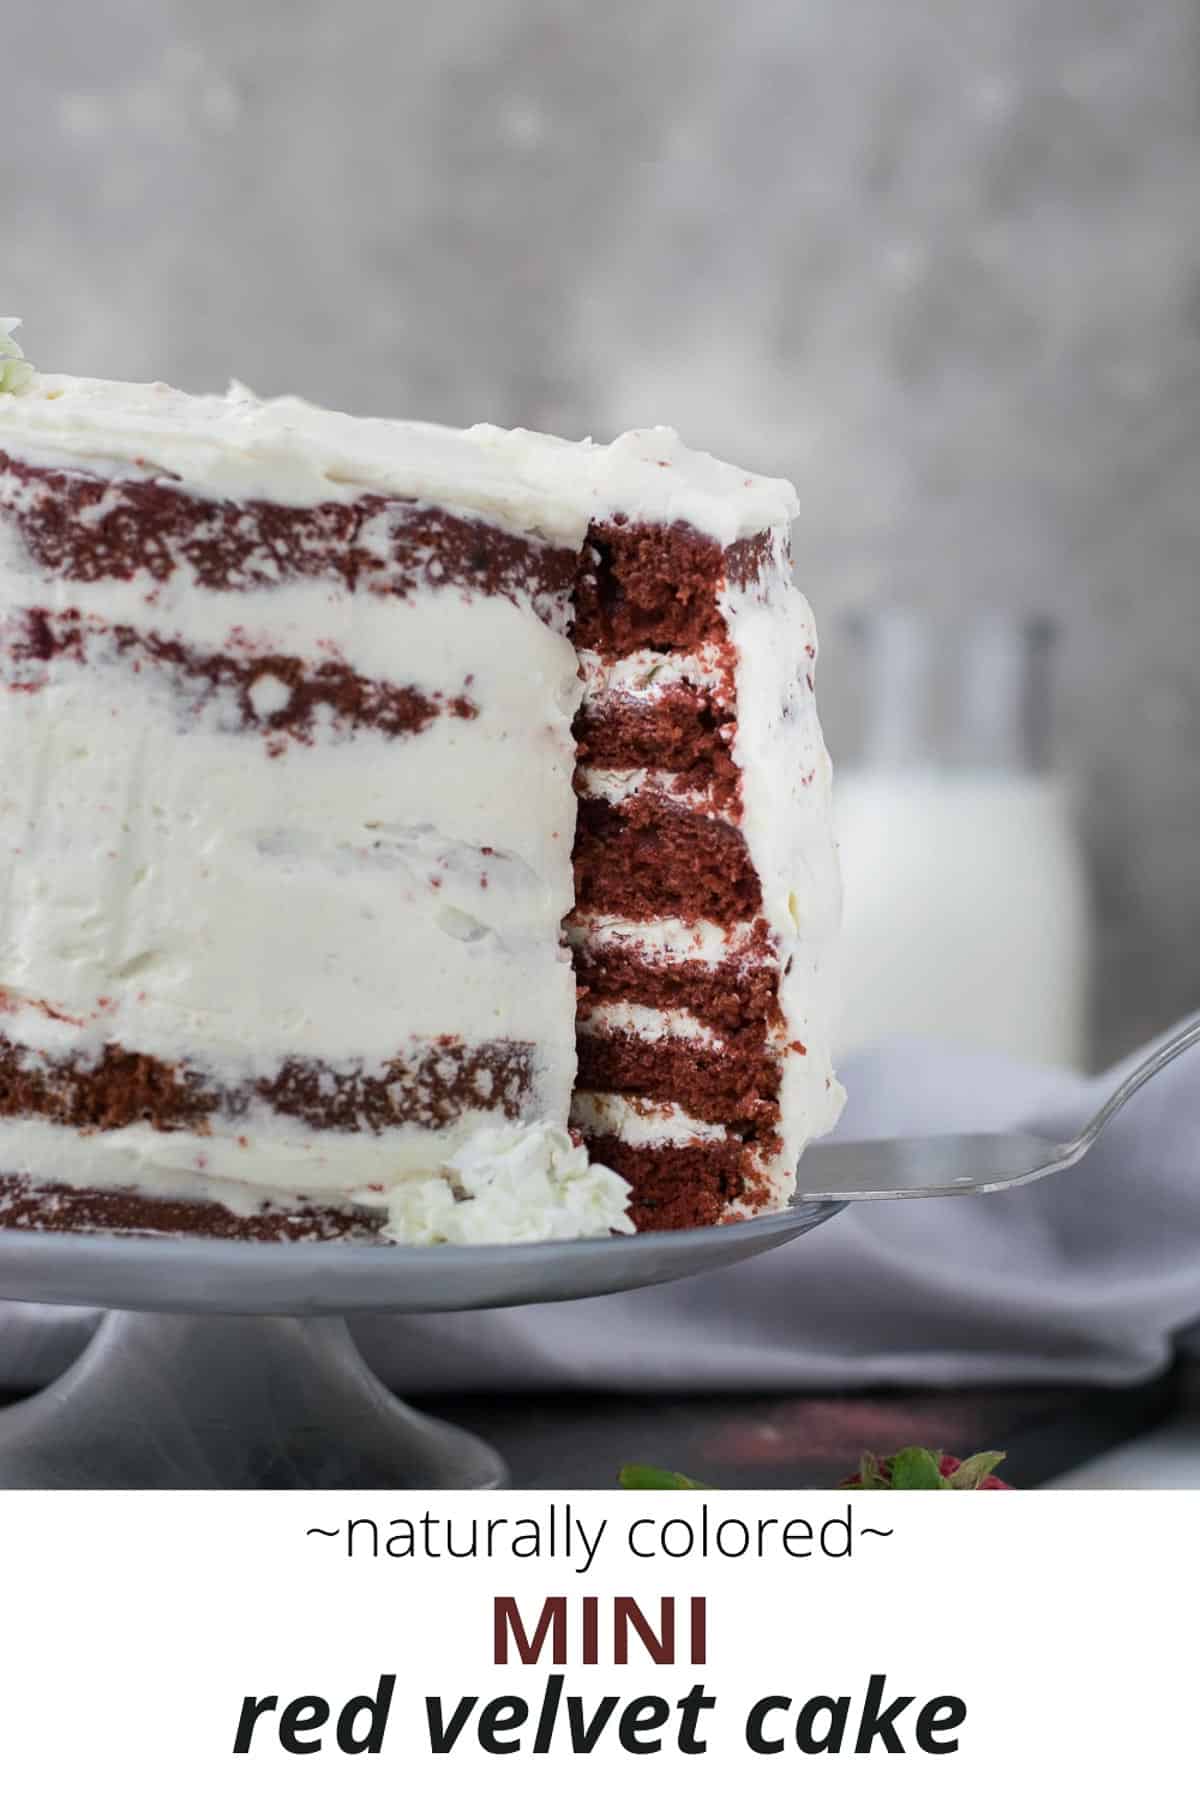
Think you can’t make a red velvet cake without food coloring? This mini red velvet cake is made with natural red coloring and tastes incredible!
Well I didn’t end up posting anything green yesterday for St. Patrick’s Day, so instead I’m doing the opposite and posting something very, very red with this mini red velvet cake.
I make a cake every year on the 18th of March to celebrate my Dad’s birthday and this time I knew I wanted to make something decadent! Red velvet is not something I ever thought was something special, since I just thought of it as a regular chocolate cake with red food coloring. And I try to avoid too much food coloring in general!
Luckily, I have a great way to make this vibrant cake without the red dye!
So, is red velvet cake just regular cake?
Ok, so if you’re like me you might not understand the fuss of this red cake that so many people seem to love. Isn’t it just regular cake? Well, yes and no. Red velvet cake is actually unique in that it has a few specific ingredients that work together to give it a signature taste and texture:
- buttermilk
- vinegar
- cocoa powder
This particular combination of ingredients creates a reaction (yay, science) that creates a certain color and “velvety” texture that you can expect from this specific cake! Since the color is far from the bright red you see in most bakeries and on blogs, most bakers will add red food coloring to the batter.
What can you substitute for red food coloring in red velvet cake?
For this recipe, I’m using dried beetroot powder. It’s made by Suncore foods, and they have a ton of fun, colored powders made of natural ingredients. (Not sponsored, I just love them)! If you can’t get your hands on this specific powder, you can also use dried pomegranate powder or another beetroot powder. You can usually find this ingredient in a natural foods store!
Do I have to use beetroot powder or can I use red food colouring?
I totally understand the beetroot powder might not be for everyone! If you want to just use regular red food colouring, I recommend using a red gel colorant rather than the liquid type. It is much more effective, and you’ll need a LOT of the liquid colouring!
Add the red food gel at the same time as you would add the beetroot powder, in step 2. I would recommend using about 1/8th of a tsp of the colorant to start with, and adding more (slowly) until you reach the desired shade of red.
Recipe Instructions
Start by preheating the oven to 350 F and spraying 3 6″ round cake pans with nonstick spray and lining them with parchment paper. I usually also give them a dusting of flour.
Next, sift together:
- all-purpose flour
- cocoa powder
- baking soda
- baking powder
- salt
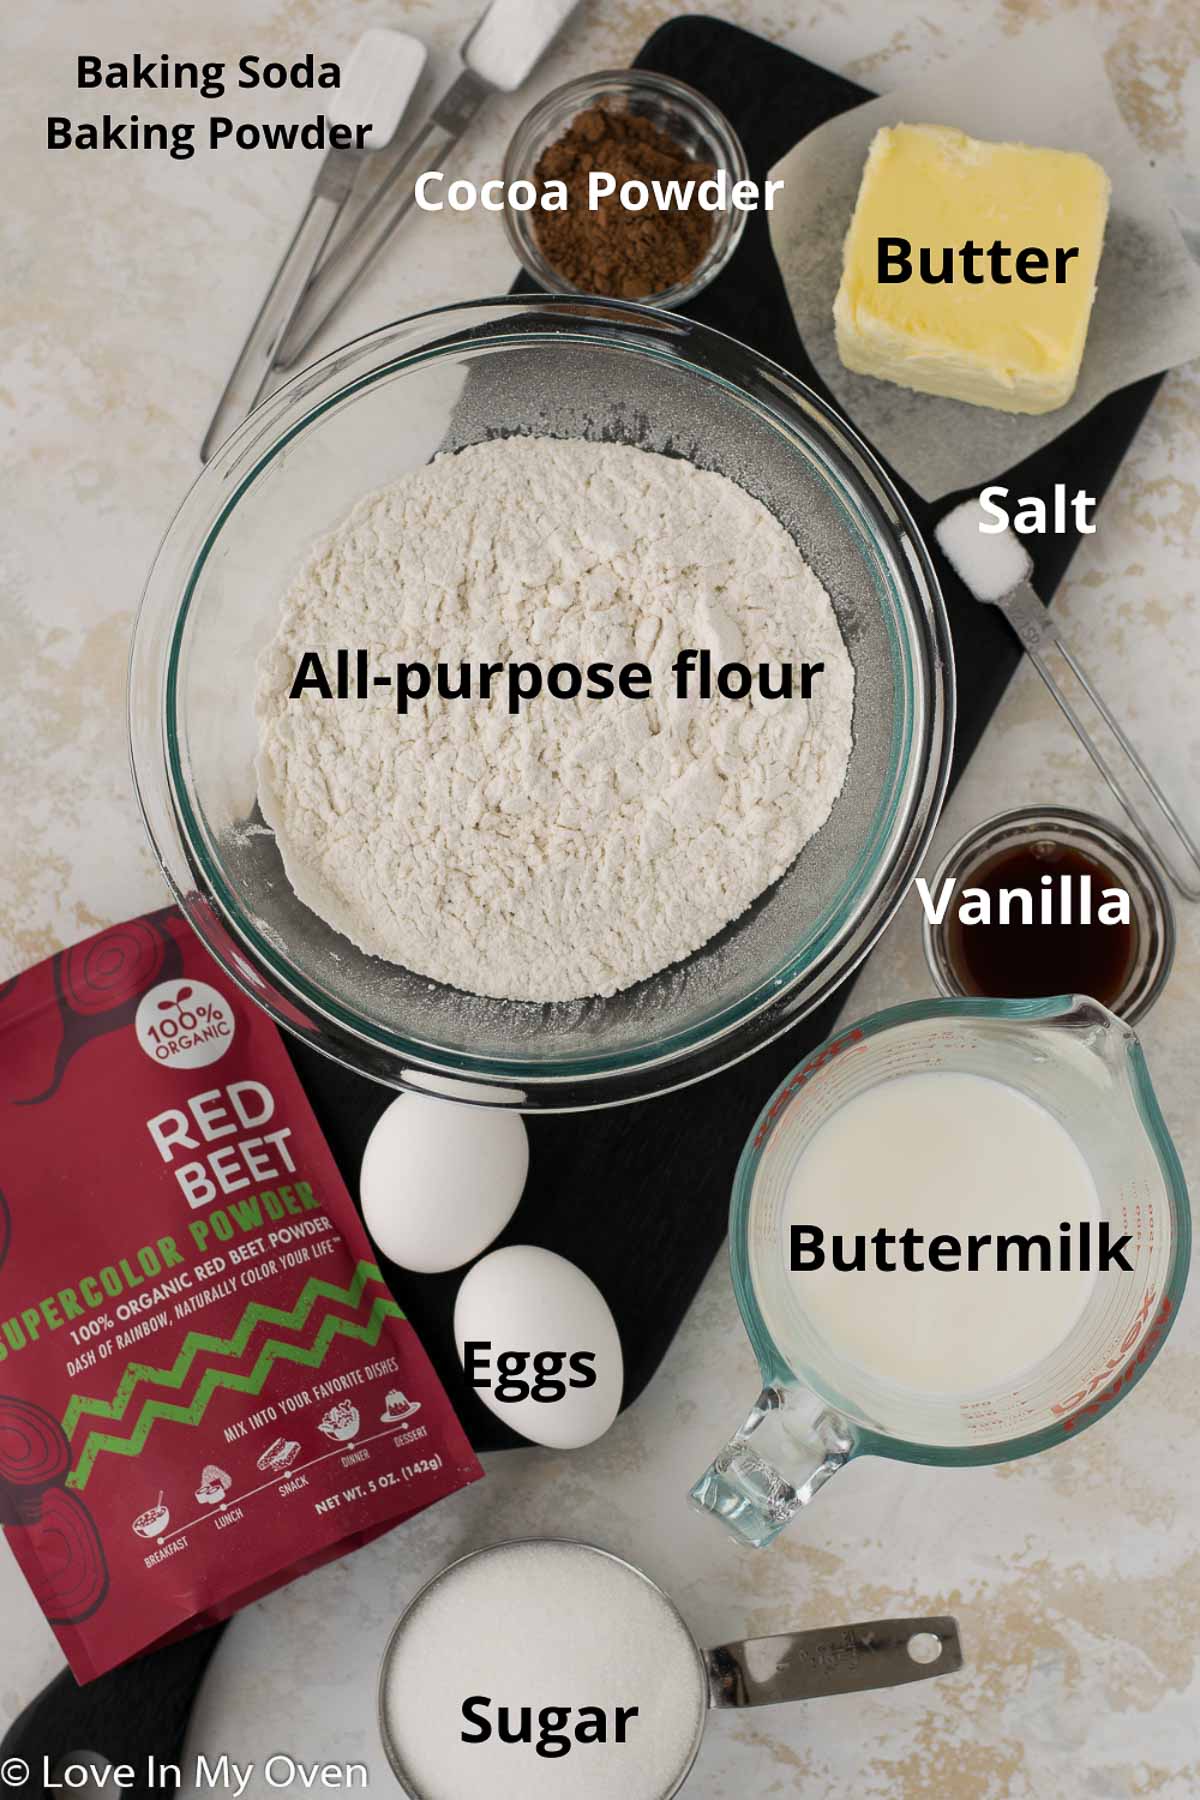
Next, in the bowl of a stand mixer fitted with the paddle attachment, mix the room temperature butter on high for about a minute. Add in the sugar and mix again for another minute or two. With the mixer running on low, add in the eggs, one at a time, followed by the vanilla.
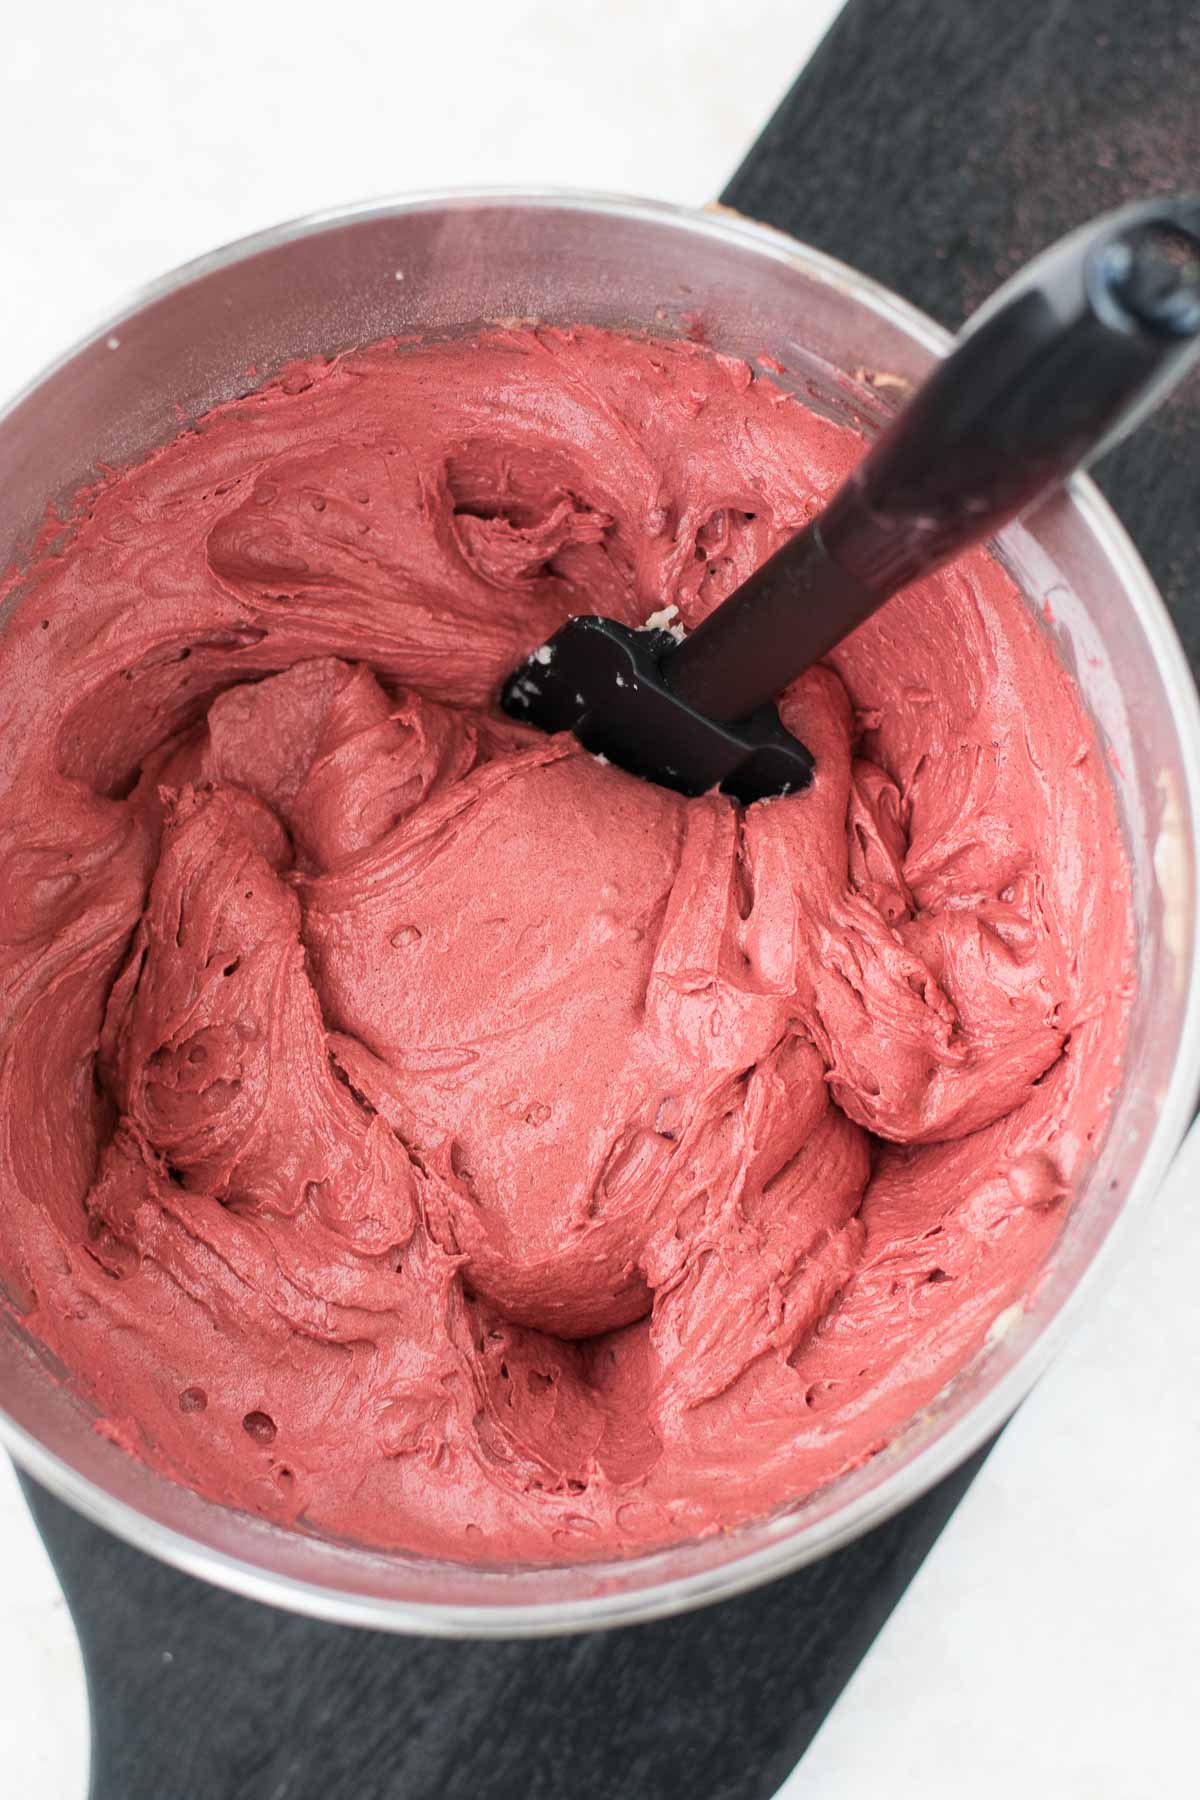
This is also a good time to add in the red beet powder! You can always adjust it again later, but I used 2 tablespoons in this recipe. Be sure to scrape down the sides of the bowl as you go!
Next, with the mixer still on low, add half of the sifted dry ingredients, followed by half of the buttermilk, then the vinegar, then the remaining dry ingredients followed by the remaining buttermilk! Mix just until everything is combined. If you want to add more coloring at this point, you can add it in now.
Divide the batter evenly between the 3 greased pans. I use a scale!

Bake the cake layers for about 26-27 minutes or until a toothpick inserted in the center of each one comes out clean.
Let the cakes cool for 10 minutes in the pan before carefully inverting on to a wire rack to cool completely before frosting!
What frosting do you use for this mini red velvet cake?
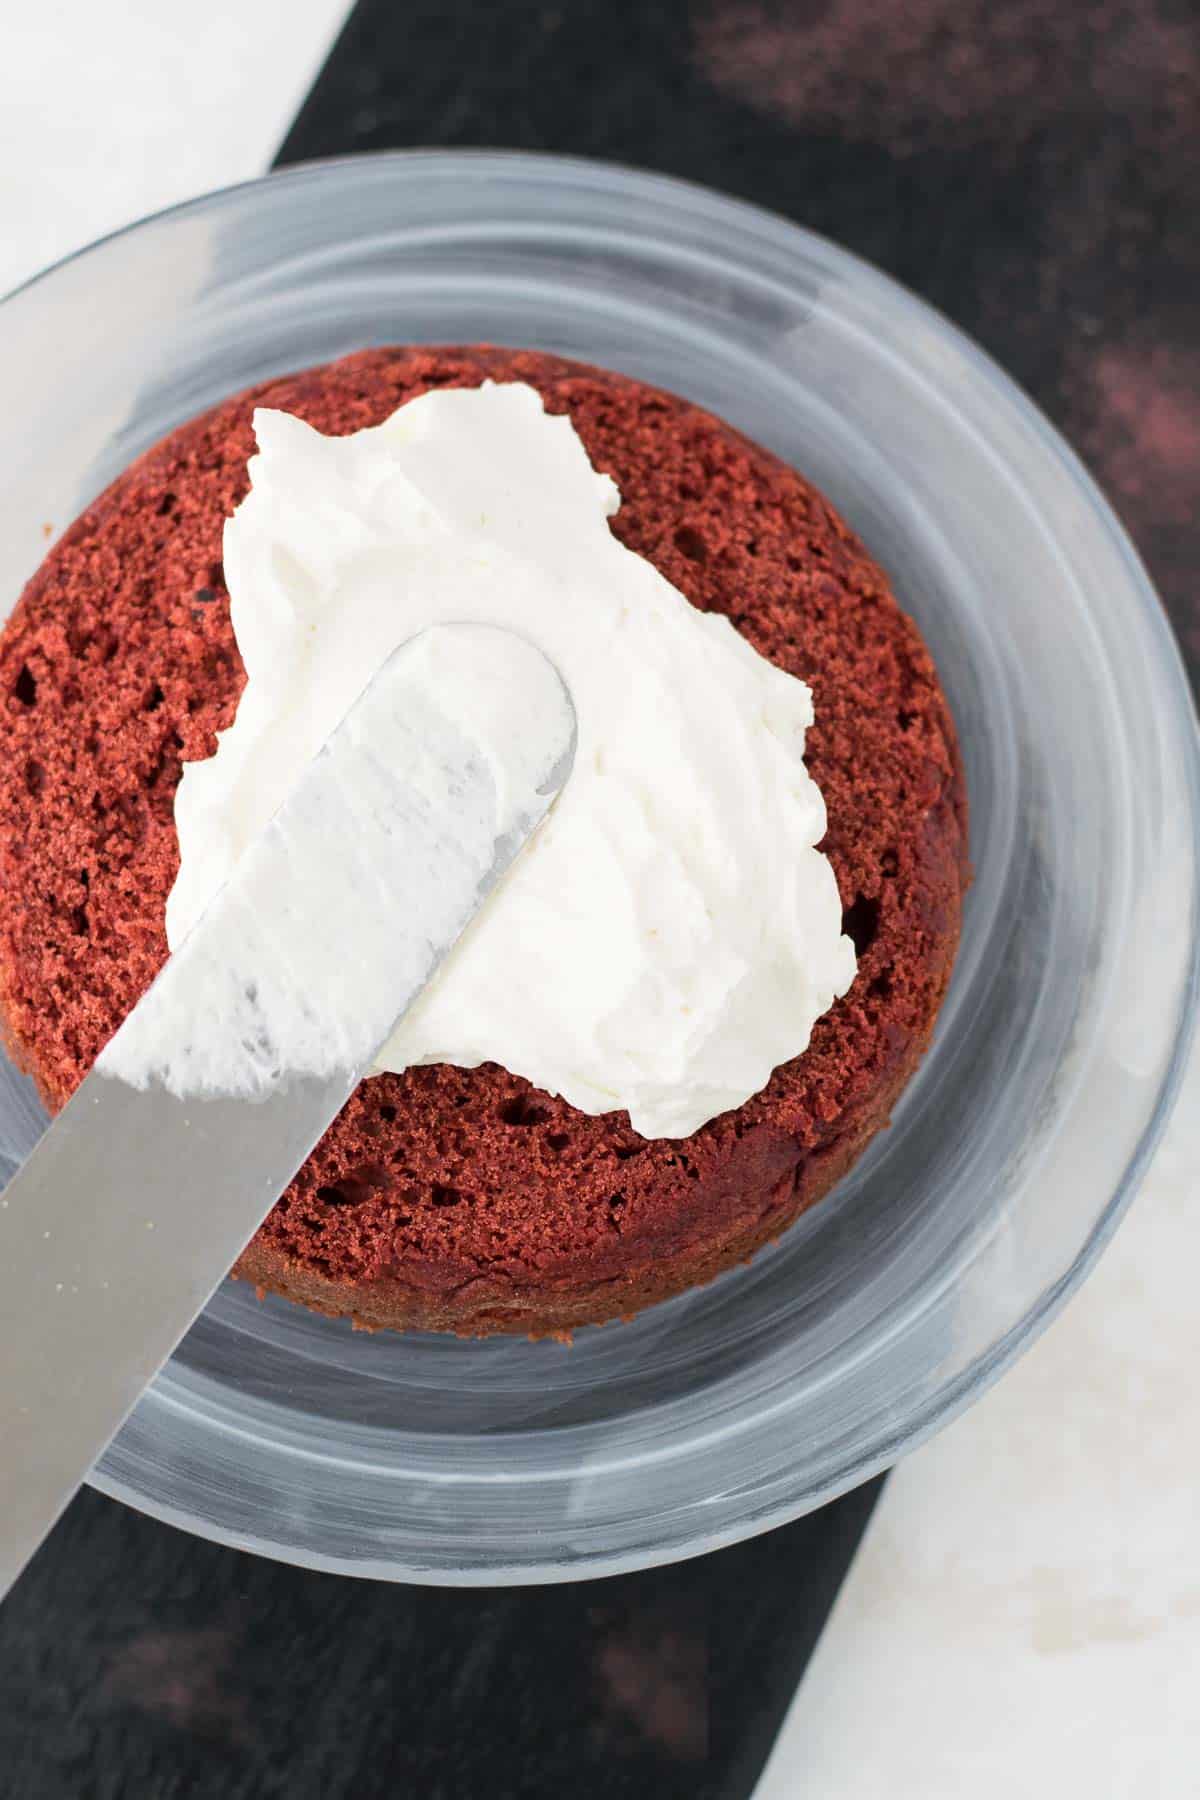
Red velvet cake typically pairs very well with a white cream cheese frosting. I love love cream cheese frosting, but you know what I love even more? Whipped cream cheese frosting! It’s lighter, less sweet and super fluffy! Perfect for layer cakes.
To make this frosting, beat a cold block of cream cheese (I always use full fat) with granulated sugar, before slowing adding in some vanilla and cold heavy whipping cream, cranking up the speed until the frosting is light and fluffy.
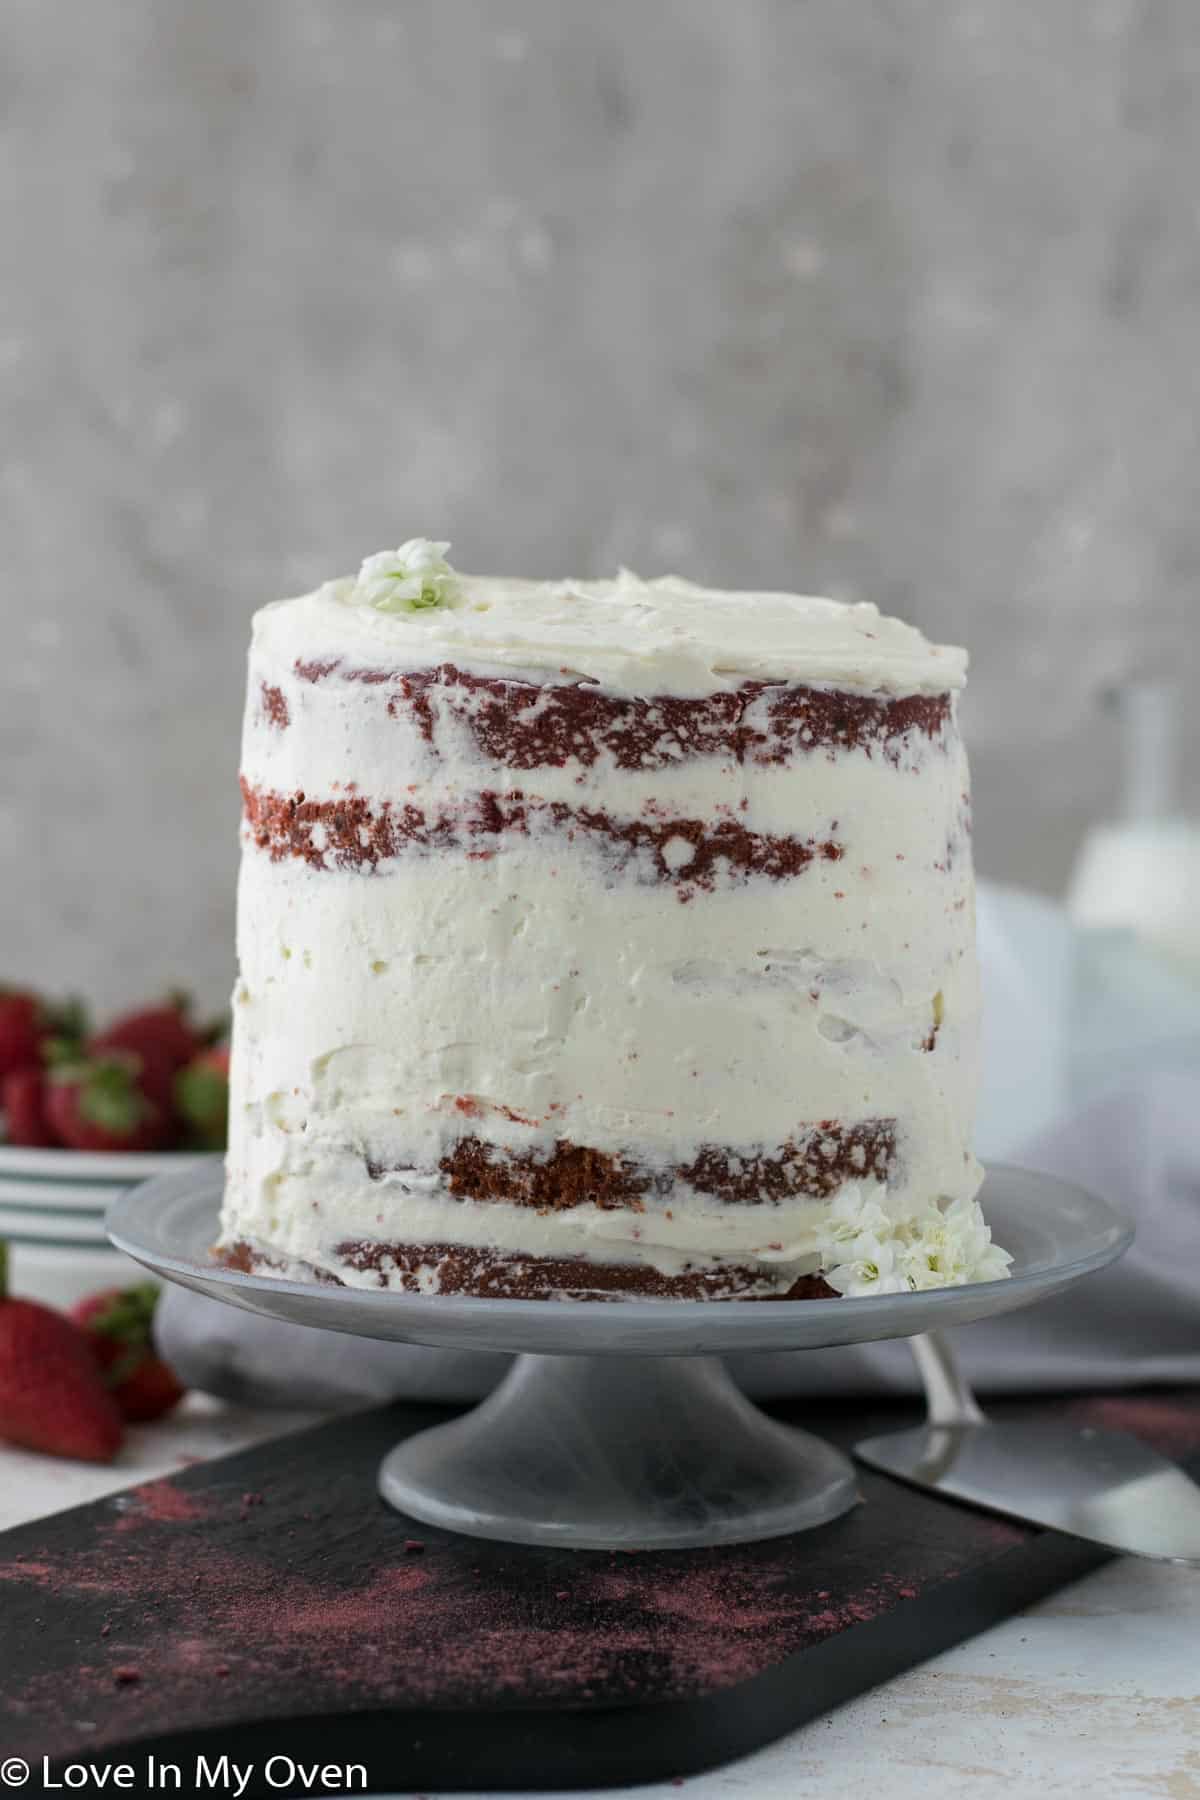
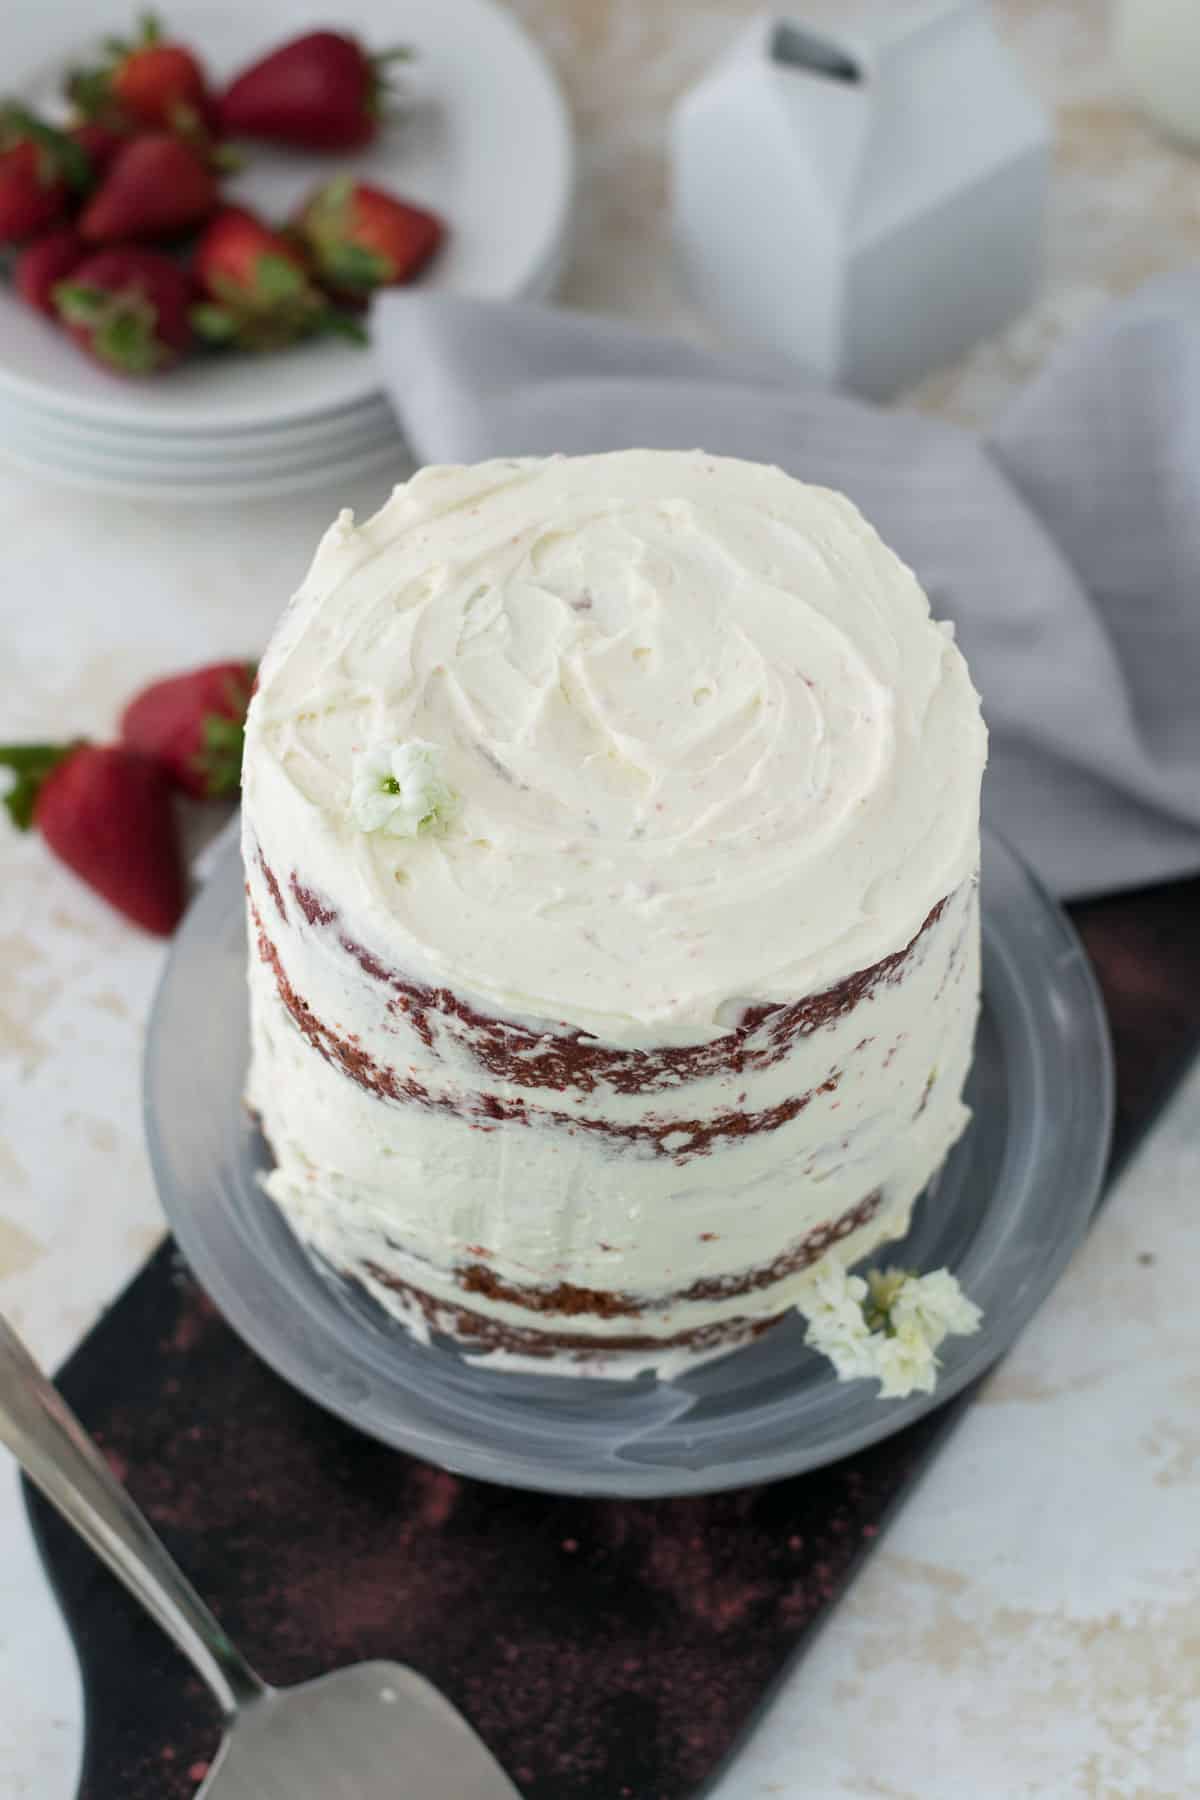
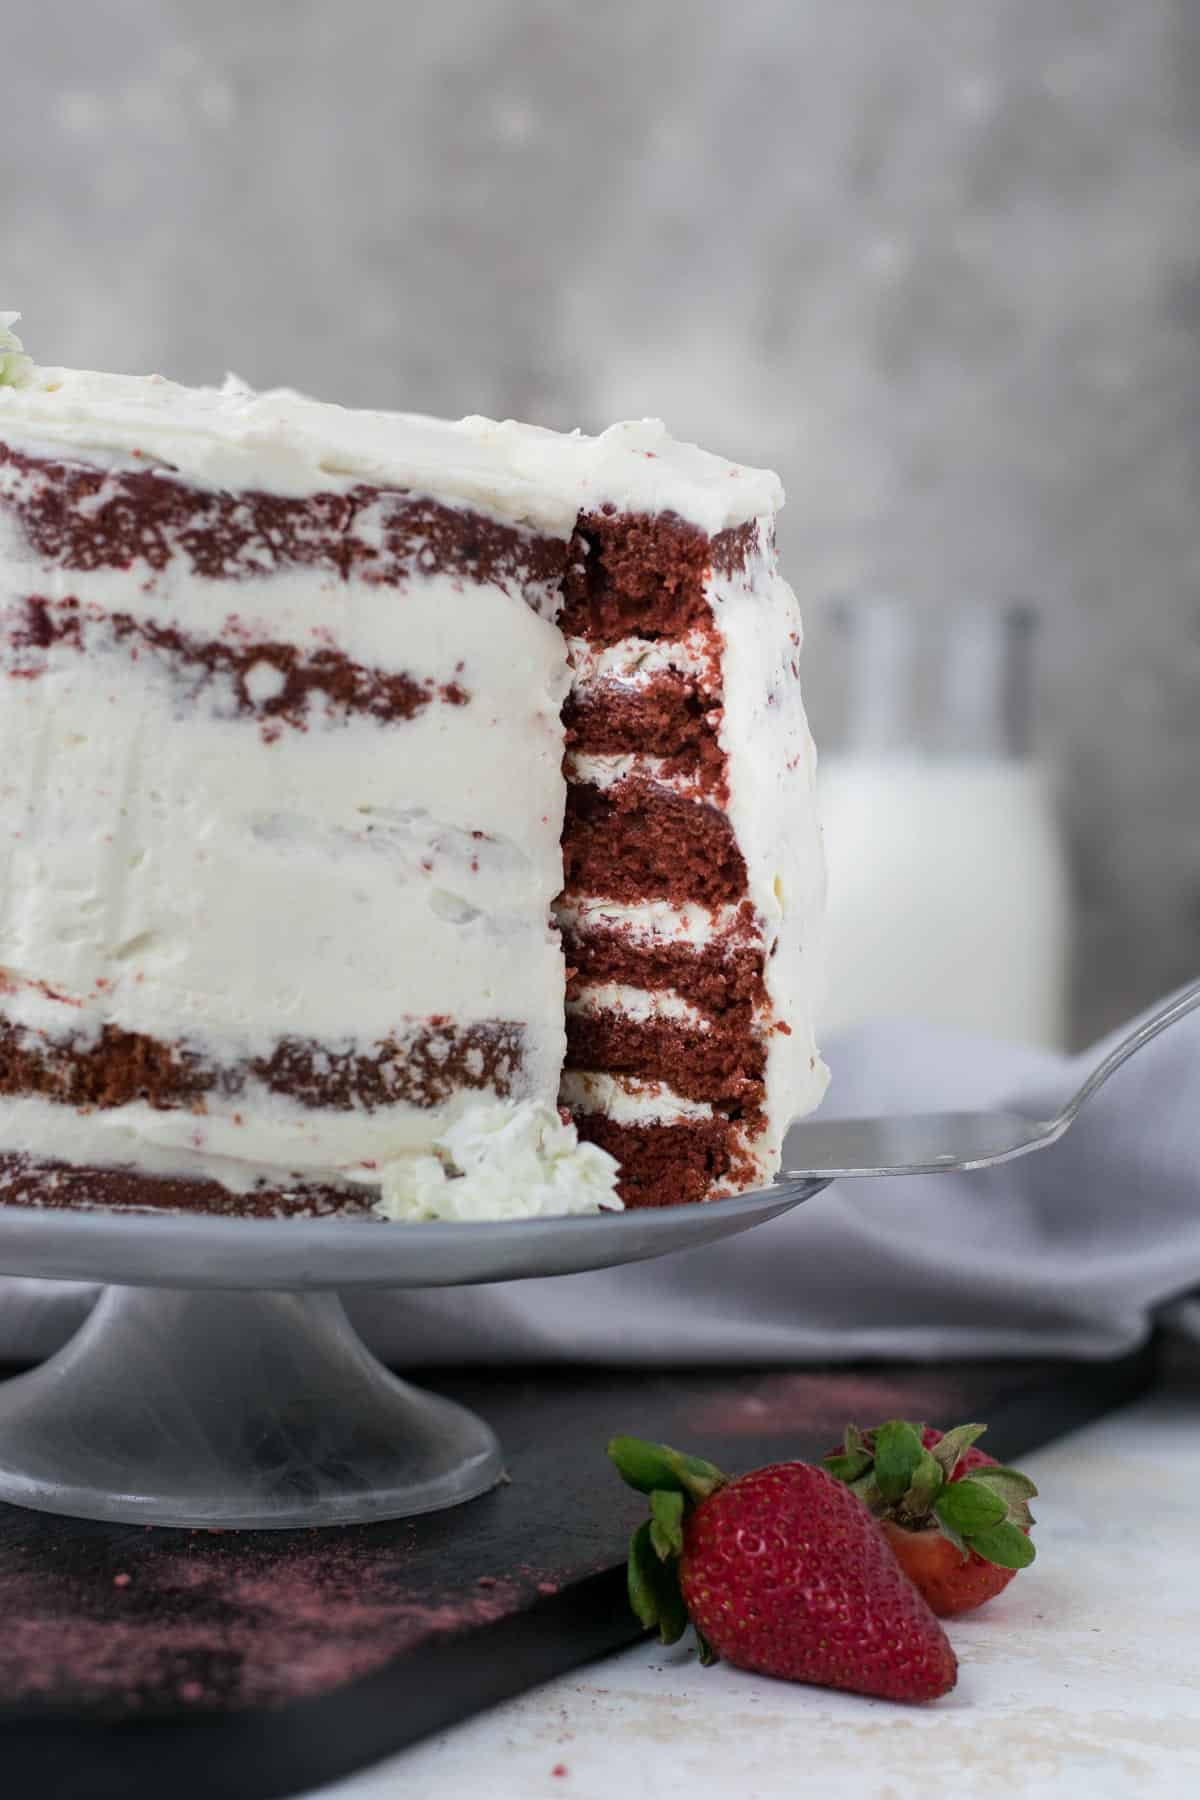
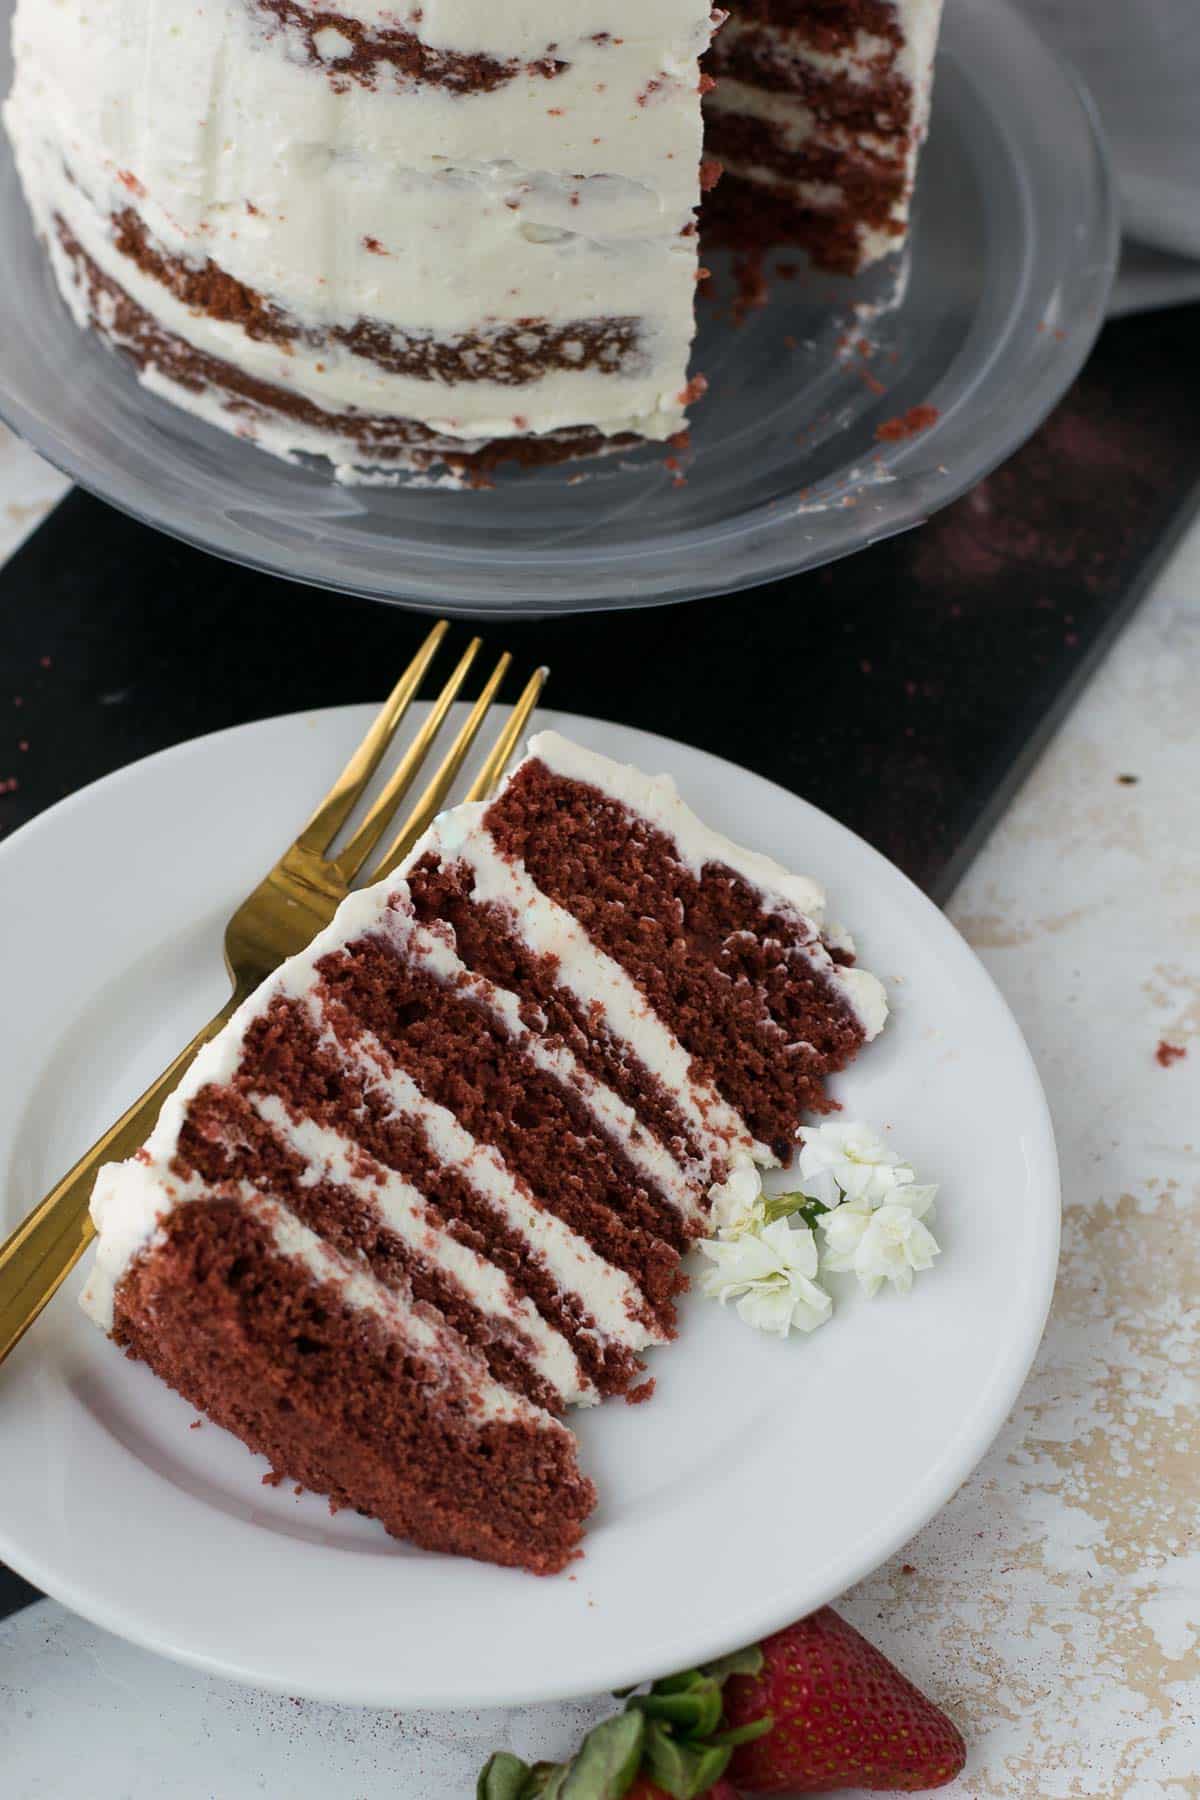
For this cake, I sliced each layer in half to get 6 layers in total. This is totally optional! However you want to frost your cake, this whipped cream cheese frosting works beautifully, even for piping!
PS – I know my layers are not perfectly straight and I have a few crumbs in the mix…..but don’t let my lack of cake decorating skills deter you!
This mini cake is the perfect size to feed about 6-8 people, which is great when you don’t want a ton of leftover cake! Mini cakes are definitely the way to go.
Can you turn this mini cake into cupcakes?
Yes! This recipe would make about 14 cupcakes, so make the recipe exactly the same, and fill the cupcake liners about 2/3 full before baking. The bake time will only be about 15-16 minutes, but as always, check the cupcakes with a toothpick!
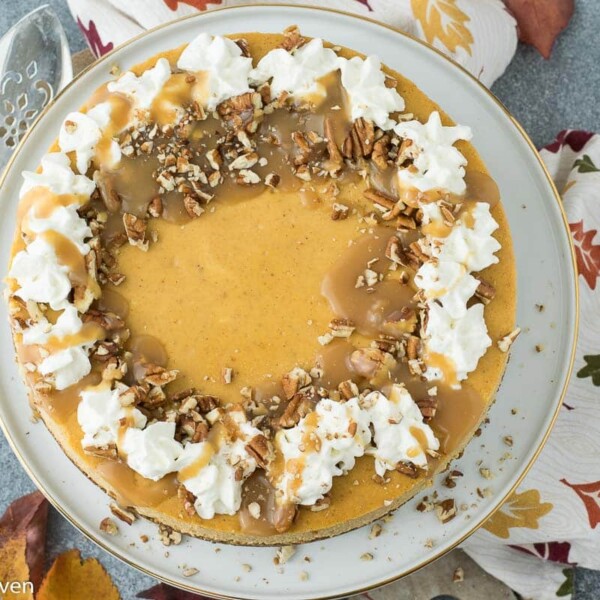
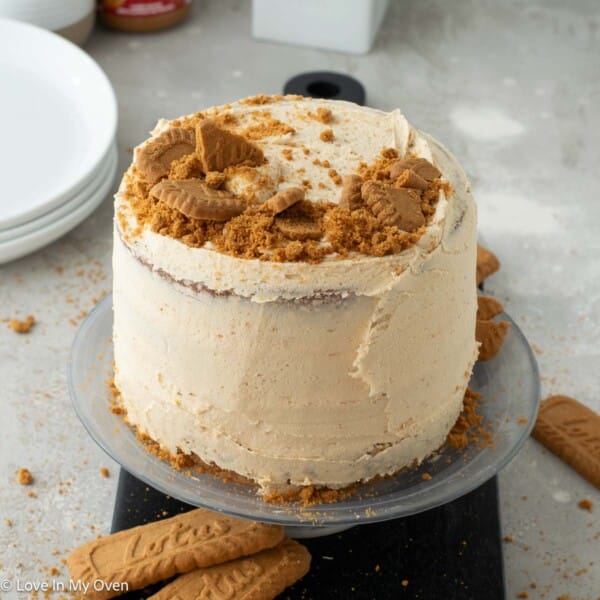
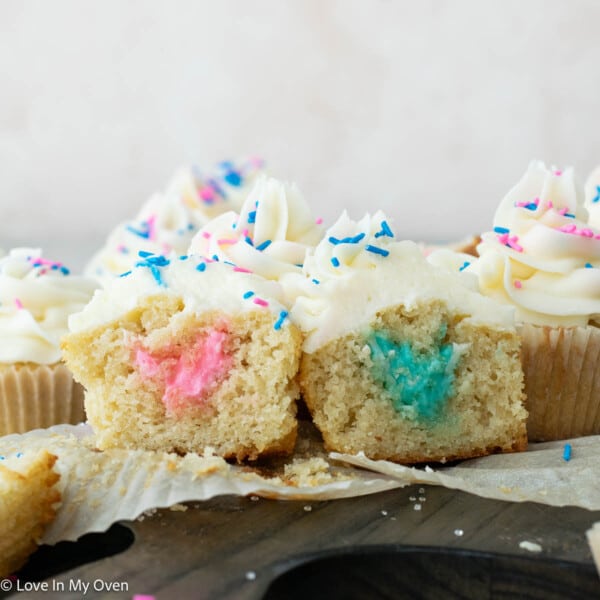
Mini cakes are the best! Here are a few of my other favorites:
Did you know? That many cupcake recipes can actually be turned into a mini 6″ cake!

Mini Red Velvet Cake
- Total Time: 1 hour
- Yield: 6–8 servings 1x
Description
Think you can’t make a red velvet cake without food coloring? This mini red velvet cake is made with natural red coloring and tastes incredible!
Ingredients
- 1 2/3 cups all-purpose flour
- 3 tsp natural cocoa powder
- 1/2 tsp baking soda
- 1 tsp baking powder
- 1/4 tsp salt
- 1/2 cup unsalted butter, room temperature
- 1 cup granulated sugar
- 2 eggs, room temperature
- 1 tbsp pure vanilla extract
- 2 tbsp red beetroot powder*
- 3/4 cup buttermilk
- 1 tsp white vinegar
Whipped Cream Cheese Frosting
- 8 oz full fat cream cheese, cold
- 3/4 cup granulated sugar
- 1 tsp pure vanilla extract
- 1 1/2 cups heavy cream, cold
- 1/8 tsp salt
Instructions
- Preheat the oven to 350 F. Thoroughly spray 3 6″ cake pans with nonstick spray and line the bottoms of the pan with parchment paper. Lightly flour the bottoms of the pan and set aside.
- In a large mixing bowl, sift together the flour, cocoa powder, baking soda, baking powder and salt. In the bowl of a stand mixer fitted with the paddle attachment, or using a handheld electric mixer, beat the softened butter on high for 1 minute. Add in the sugar and beat for another 2 minutes. With the mixer running on low, add the eggs, one at a time, scraping down the sides with a spatula. Add in the vanilla extract and beetroot powder and mix for another minute.
- With the mixer running on low, add in half of the sifted dry ingredients, followed by half of the buttermilk, then the remaining dry ingredients, the vinegar, then the last of the buttermilk. Mix just until combined.
- Divide the cake batter between the 3 prepared pans and place them in the oven for 26-27 minutes or until a toothpick inserted in the center of the pan(s) comes out clean. Let the cakes cool for 10 minutes before running a knife around the edges of the pan and inverting the cakes on to a wire rack to cool completely before frosting.
- Prepare the whipped cream cheese frosting. In the bowl of a stand mixer fitted with the whisk attachment, whip the cold cream cheese for 1 minute on high until smooth. Add in the sugar and mix again for 1-2 minutes.
- With the mixer running on low, add in the vanilla, followed by cold whipping cream. Once you’ve added all the whipped cream, add in the salt, then turn the mixer to high and whip the mixture until stiff peaks form and the frosting is light and fluffy. Frost the cooled cake layers and serve!
Cake can be stored at room temperature, covered, for 1-2 days. Leftover cake can be stored in the fridge, in an airtight container, for 3-4 days, or in the freezer for up to 2 months. Unfrosted cake layers can be tightly wrapped in plastic wrap and placed in the freezer for up to 3 months.
Notes
*If you do not want to use red beet powder or cannot find it, see the blog post above for other substitutions. If using red food gel, add it in Step 2 in place of the beet powder. I would recommend using about 1/8th of a tsp of the colorant to start with, and adding more slowly until you achieve the desired shade of red.
- Prep Time: 30 minutes
- Cook Time: 30 minutes
- Category: cakes
- Method: oven bake
- Cuisine: american


This is beautiful. I’m so sorry you lost your dad at obviously a young age.
Sending you so much love Katherine! I’m sure your dad would have loved this beauty of a red velvet cake! And using beetroot powder is brilliant for the color.
I love that you make a cake every year to celebrate and remember your Dad! This red velvet cake looks perfect! I also appreciate that it’s mini since we’re just a 2-person household. Sending you a big hug, Katherine.